

Bathroom contractor near me


A narrow work zone
Plumbing in the floor
Rebuilding the shower
Making storage fit
Tile and fixtures
Four-week closeout
A narrow work zone
The first message contained “bathroom remodel contractors near me,” followed by the useful part: small bathroom, weak storage, no room to expand. We had four weeks and a working budget between $13,000 and $21,000.
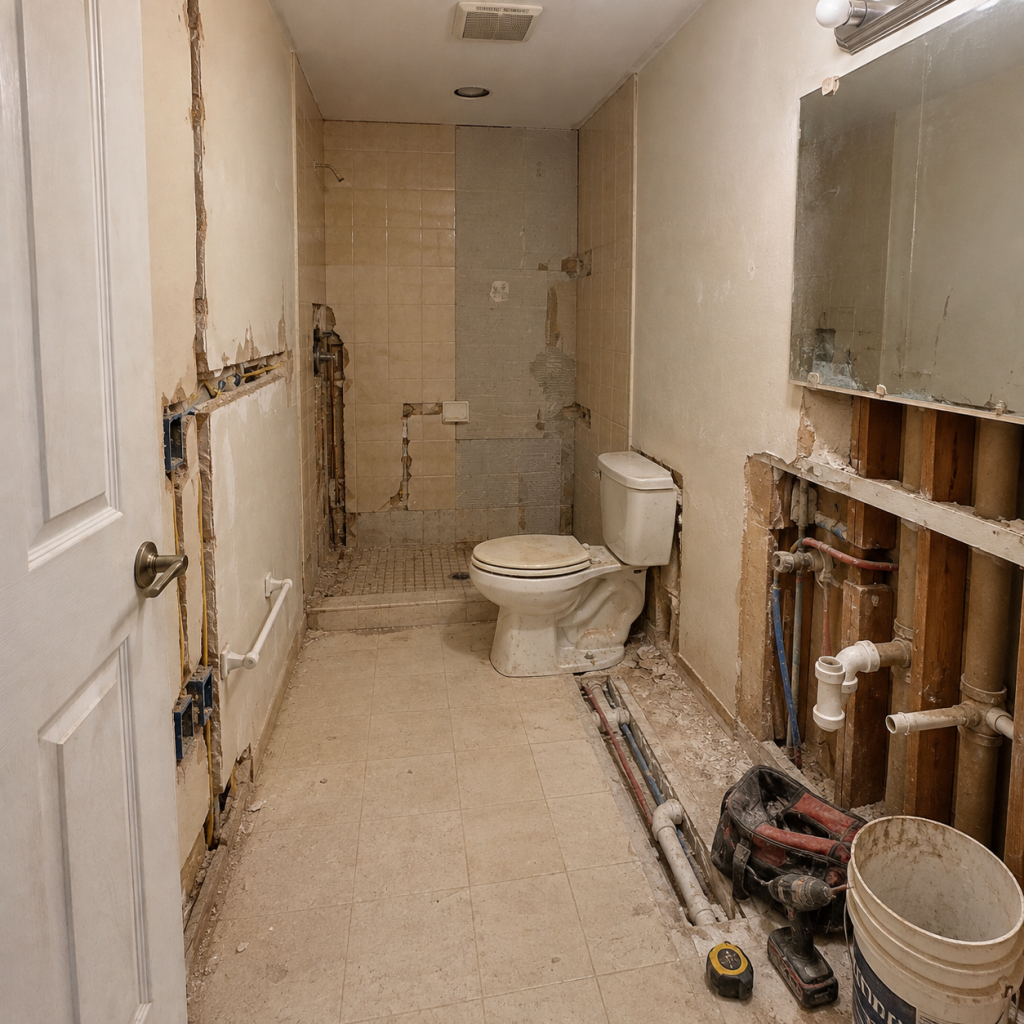
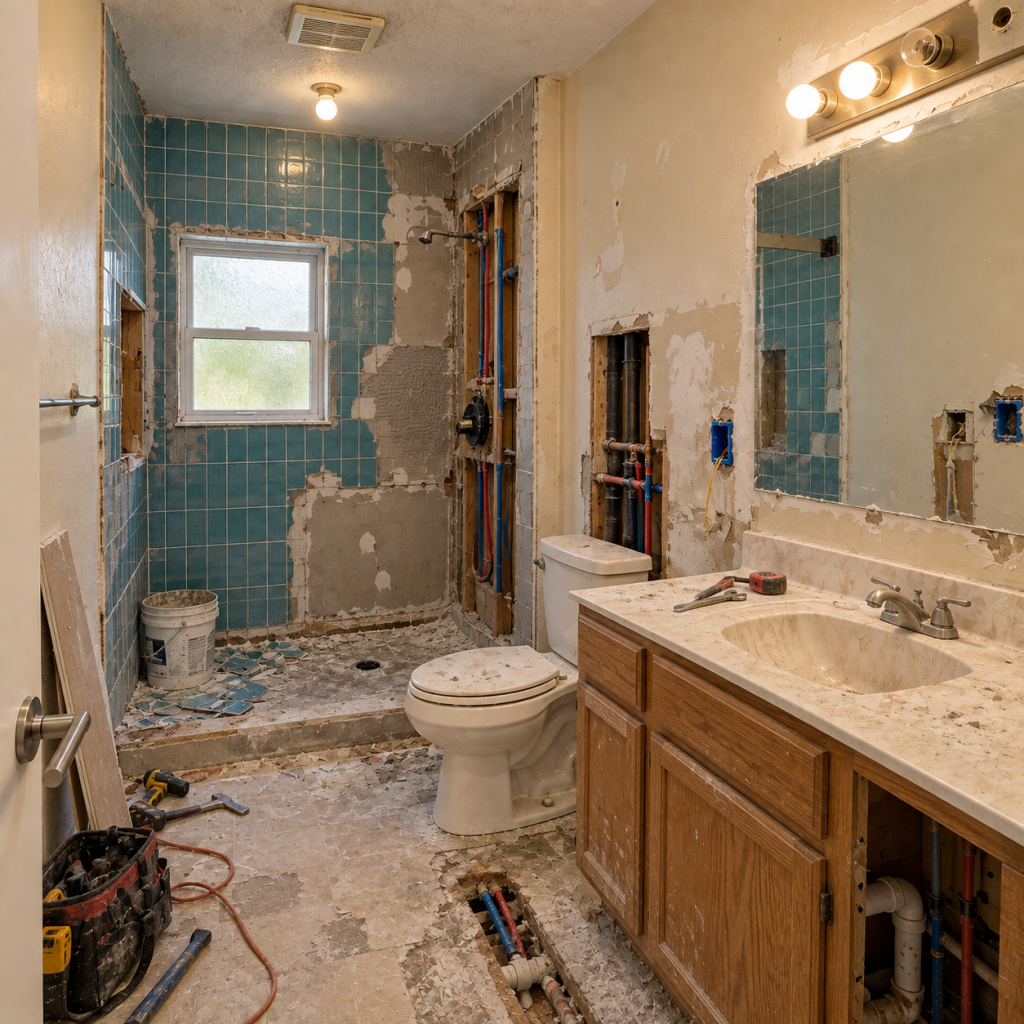
Demolition was already well along when we opened the remaining sections. The old vanity was out, the shower tile was partly stripped, and the plumbing wall stood open. A floor trench ran beside the toilet toward the vanity rough-in.
The toilet stayed in the room during part of the rough work. So did a bucket, tool bag, drill, and whatever else had nowhere better to sit. Getting from the doorway to the shower required a little planning.
This bathroom remodeling job was mostly about inches. The room had enough length for a useful vanity and shower. It did not have spare width for mistakes.
Plumbing in the floor
The vanity drain and water lines were exposed along the right wall. The old supply lines was routed through the opened floor, so we could check everything against the new cabinet plan before closing the trench.
We marked the sink position, drawer banks, and cabinet depth on the wall. The drain needed to land inside the plumbing section instead of cutting through usable storage. Our plumber reset the rough-in, and I checked the cabinet drawing against it again.
The toilet remained close to its existing location. Moving that waste connection would have added work without helping the walkway. We replaced the fixture later, after the floor was ready.
One client question had been whether the vanity could be longer. It could. The harder part was keeping enough room beside the toilet and leaving the drawers somewhere to open.
Rebuilding the shower
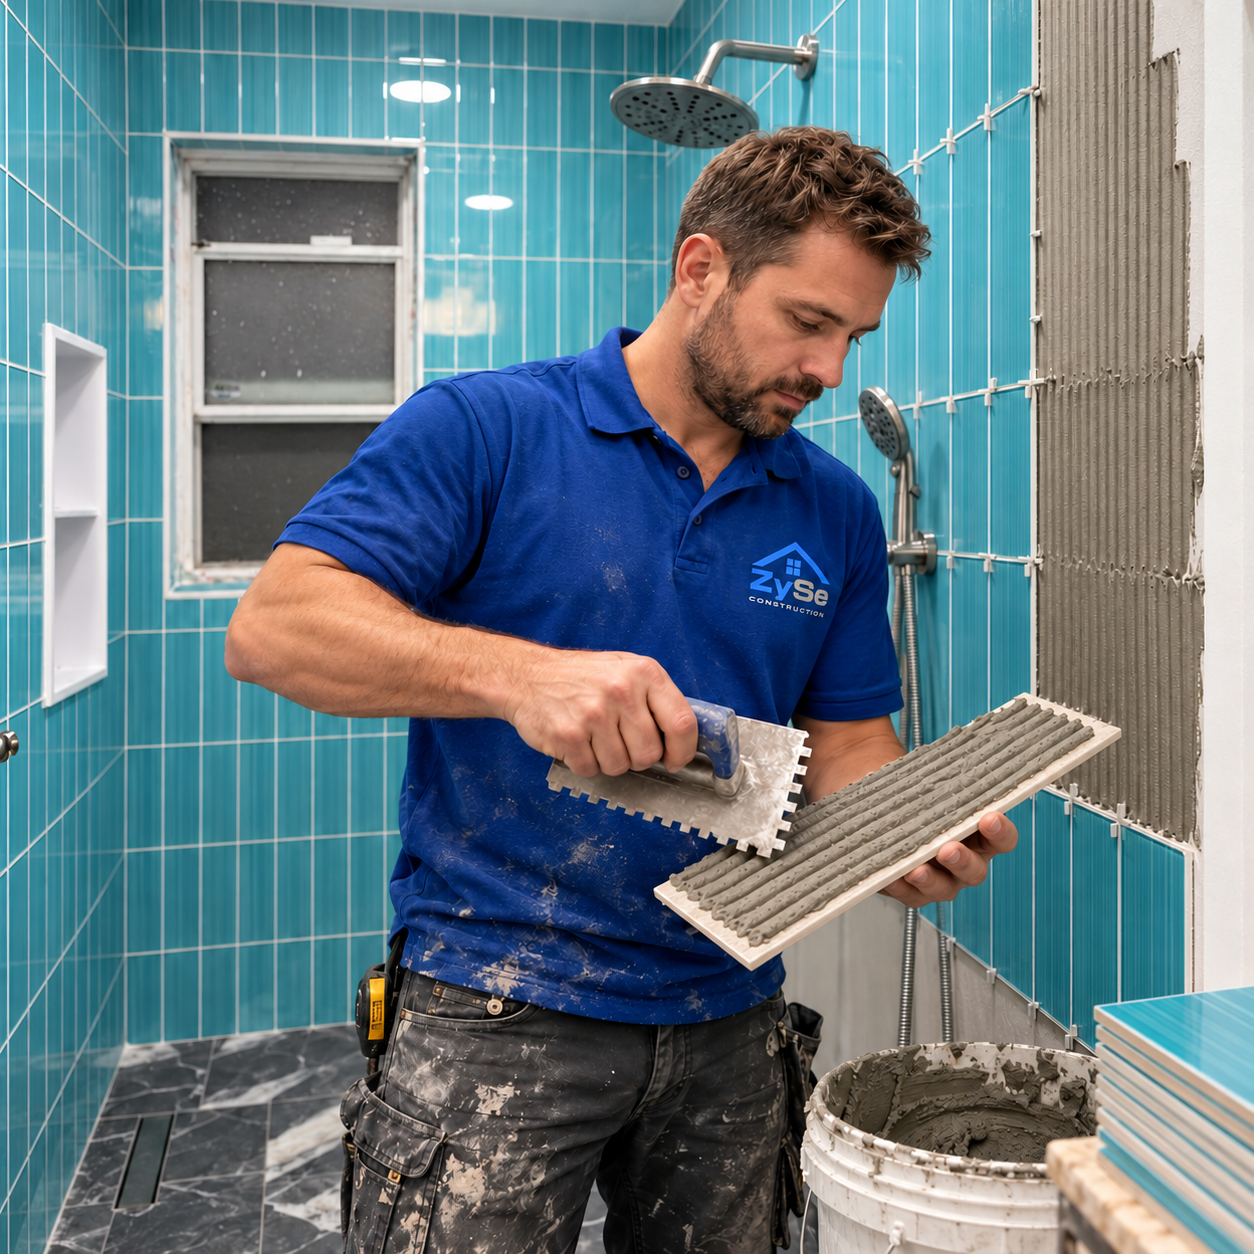
We stripped the shower back and rebuilt the wet area inside the same general footprint. The wall surfaces needed preparation before waterproofing, and the shower pan had to work with the existing drain zone.
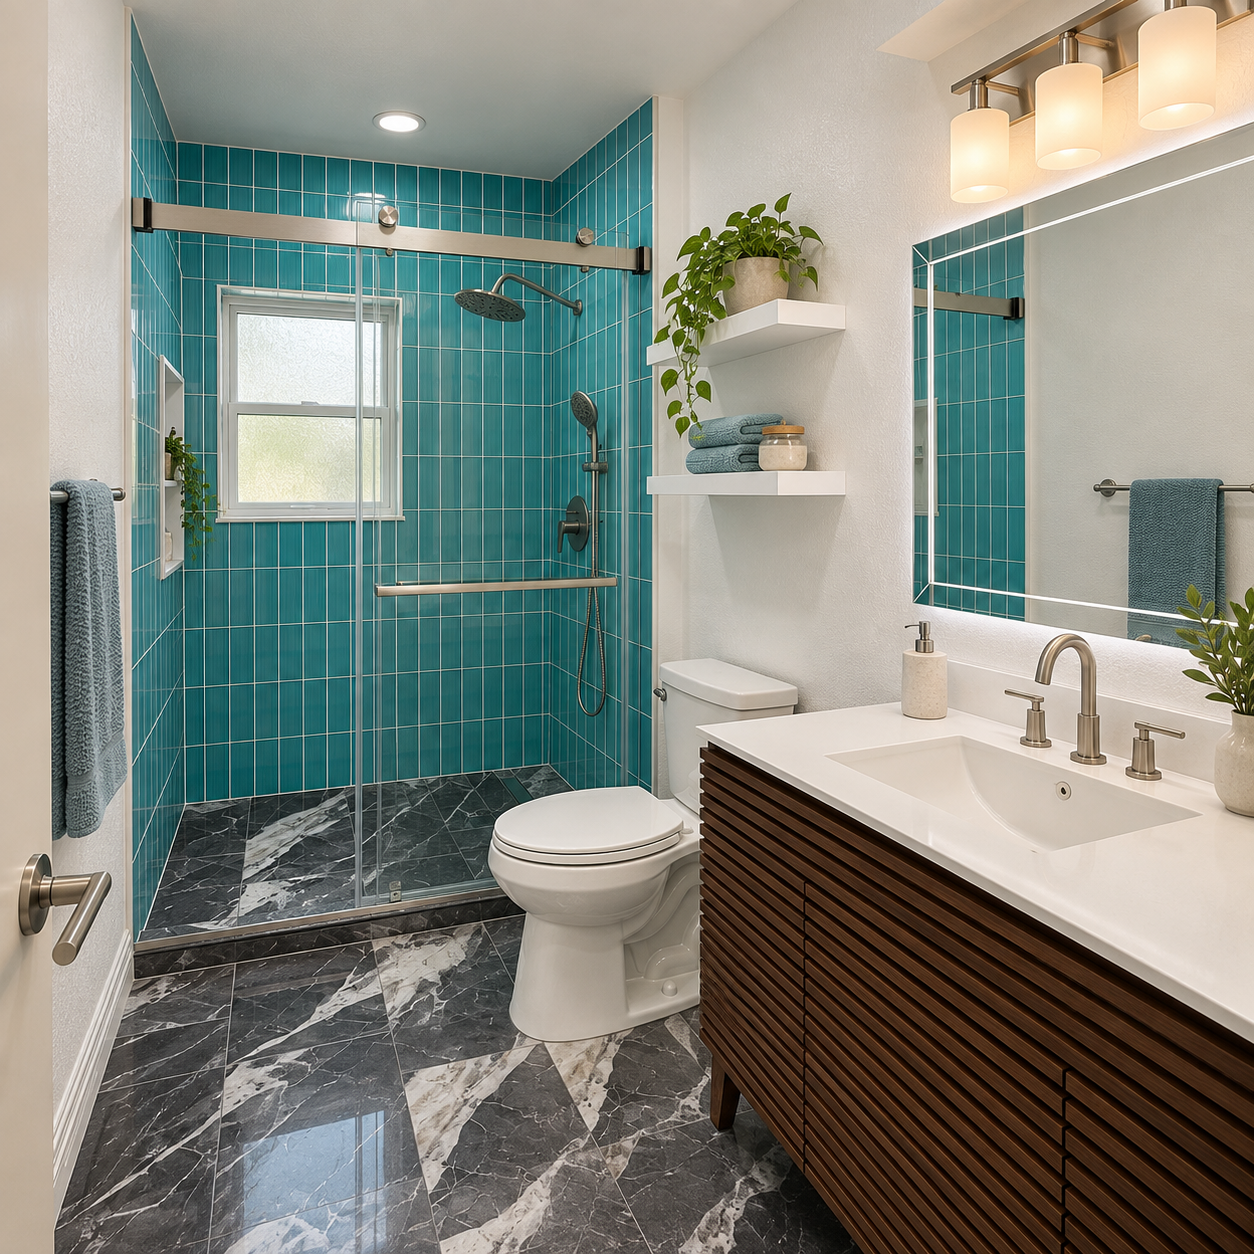
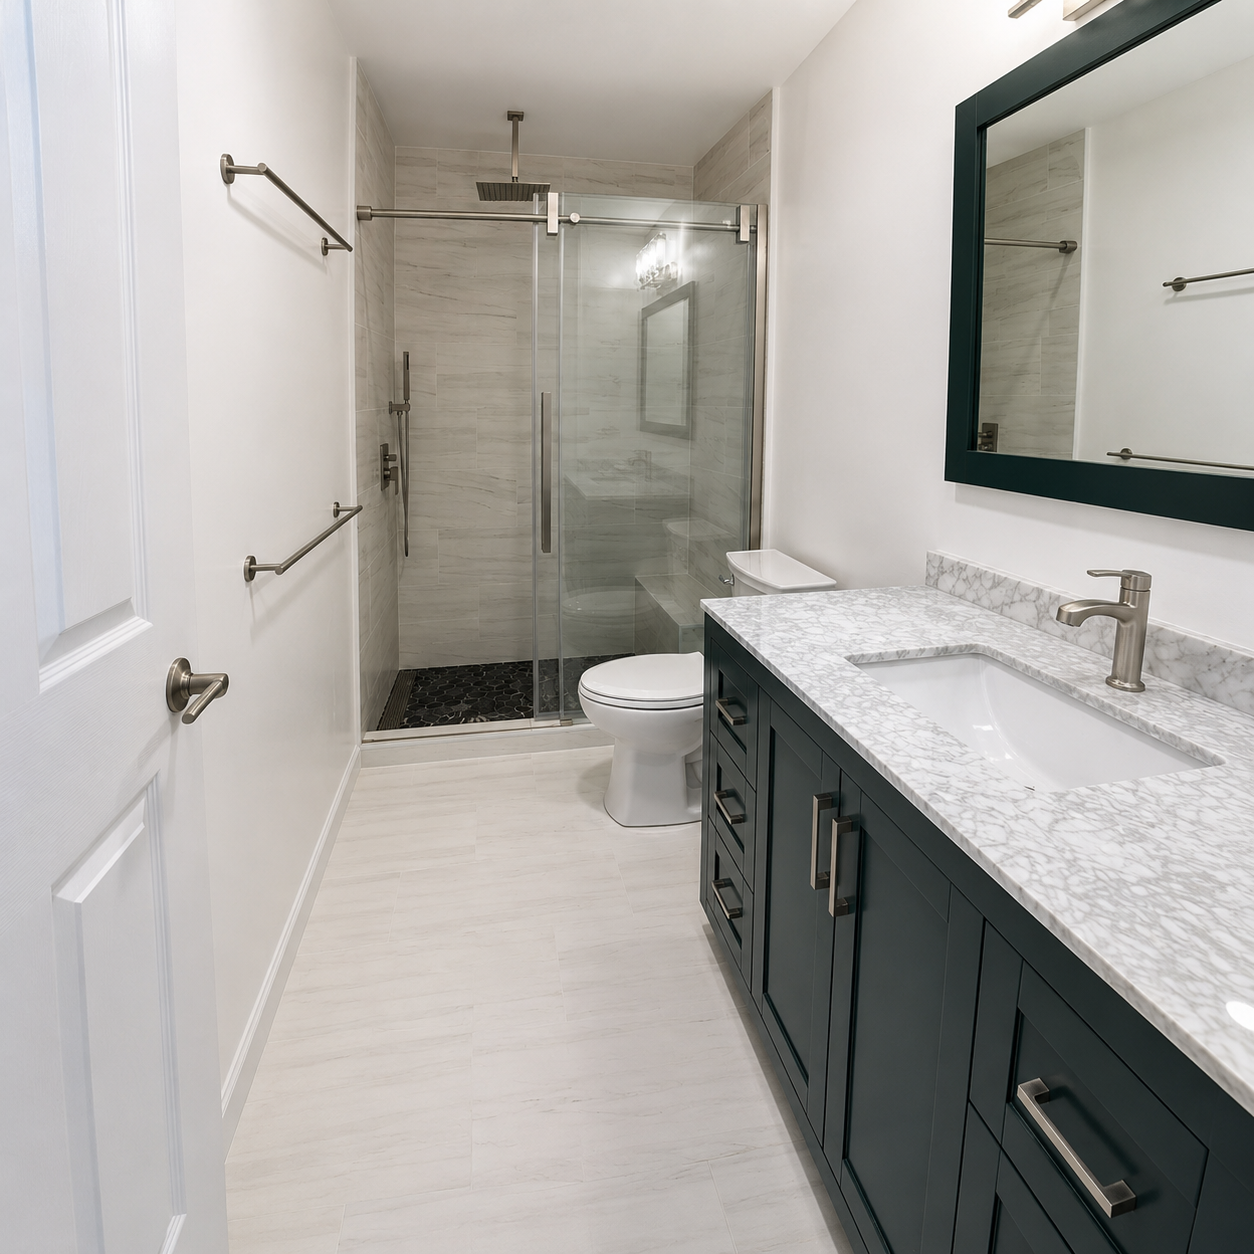
A large overhead head and a separate hand shower went on the left wall. We set the valve positions while the framing was accessible. The glass rail also needed backing before the wall closed.
The sliding enclosure solved a simple problem. A hinged door would swing into the toilet area or block the center aisle. The slider stays inside its own line.
The glass installer had to wait for the porcelain and finished curb. Rough framing dimensions were no use to him. Mortar, tile, and the final wall plane changed the opening enough to matter.
Making storage fit
The new vanity used nearly the full right wall. That gave the owner drawers, cabinet space, and a wide coutertop without placing a separate storage tower in the walkway.
We positioned the cabinet from the shower end and checked the toilet clearance before fastening it. Two drawer banks was also checked against the sink bowl and plumbing section. That took longer than setting the cabinet itself.
The dark finish made the storage run look more like one solid piece. It also gave the light floor and shower walls some contrast. A matching framed miror kept the right wall from turning into another large white surface.
Bathroom contractors near me appears in plenty of estimate requests. What I need after that is the vanity specification. Cabinet depth, sink position, and drawer layout tell me far more about the actual work.
Tile and fixtures
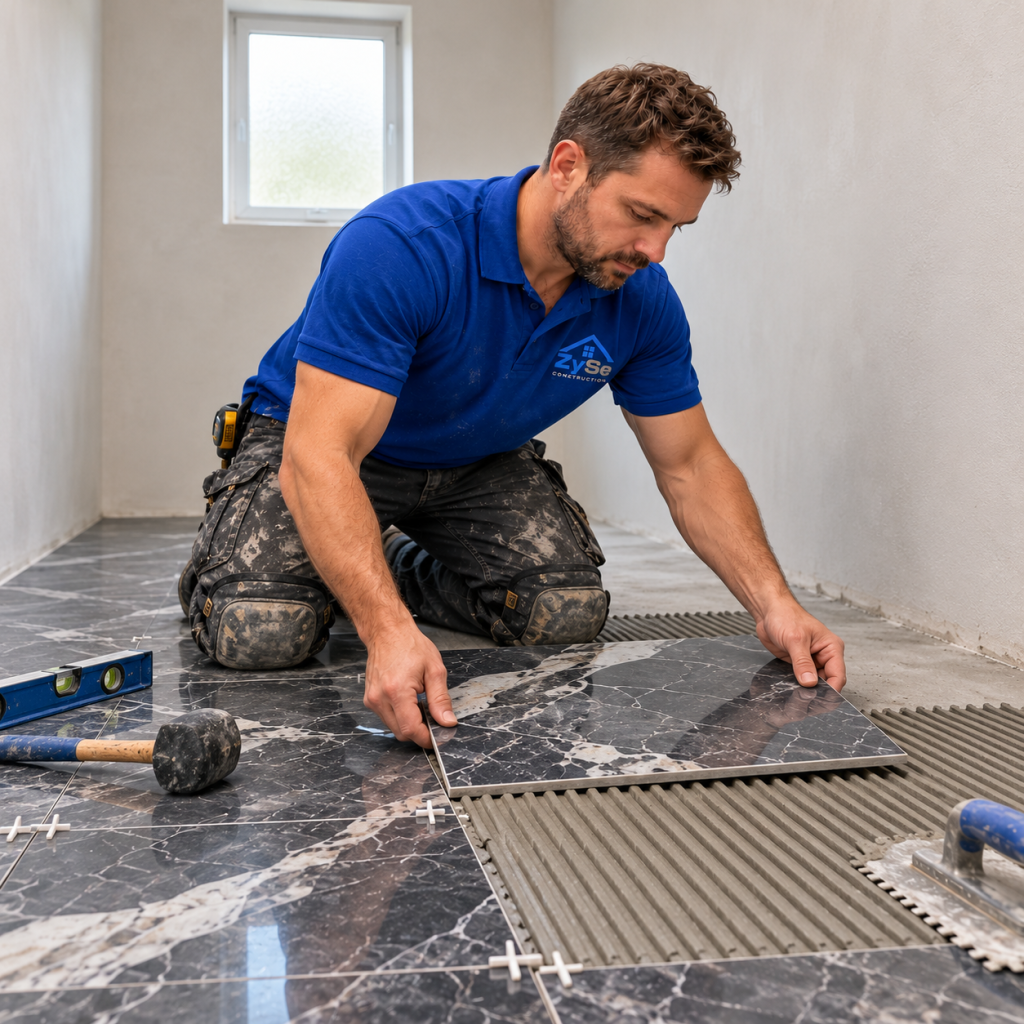
We ran light porcelain through the main floor and used a similar tone on the shower walls. Inside the pan, smaller dark pieces followed the slope toward the drain. Large pieces would have fought that pitch.
The first floor layout started from the shower opening and carried toward the doorway. We kept the long joints moving with the room. Turning them across the width would have broken the floor into short sections.
There was very little room for a lazy cut around the toilet and glass track. We dry-fitted those areas before setting them. The matte-finish shower trim and faucet went in after the grout work.
For bathroom remodeling in a compact room, the accessory locations matter too. We installed the towel bars on the open wall where they could be reached without crowding the glass.
Four-week closeout
The last stage covered the glass enclosure, toilet, vanity plumbing, lighting, mirror, and accessories. We adjusted the sliding panel and ran both shower outlets. The sink was filled and released while we watched the drain below.
The remaining punch items was kept on one sheet. A drawer needed adjustment, the glass stop needed another check, and one sealant joint received a second pass. Small work, but it still had to be finished before cleanup.
The room stayed inside its original footprint. Better storage, lighter porcelain, and a sliding shower enclosure made the aisle feel less boxed in.
If you are comparing local bathroom contractors, bring the vanity specification and preferred shower-door style to the site visit. Those details let us check the plumbing and clearances before materials are ordered.