

Drywall contractors in San Jose


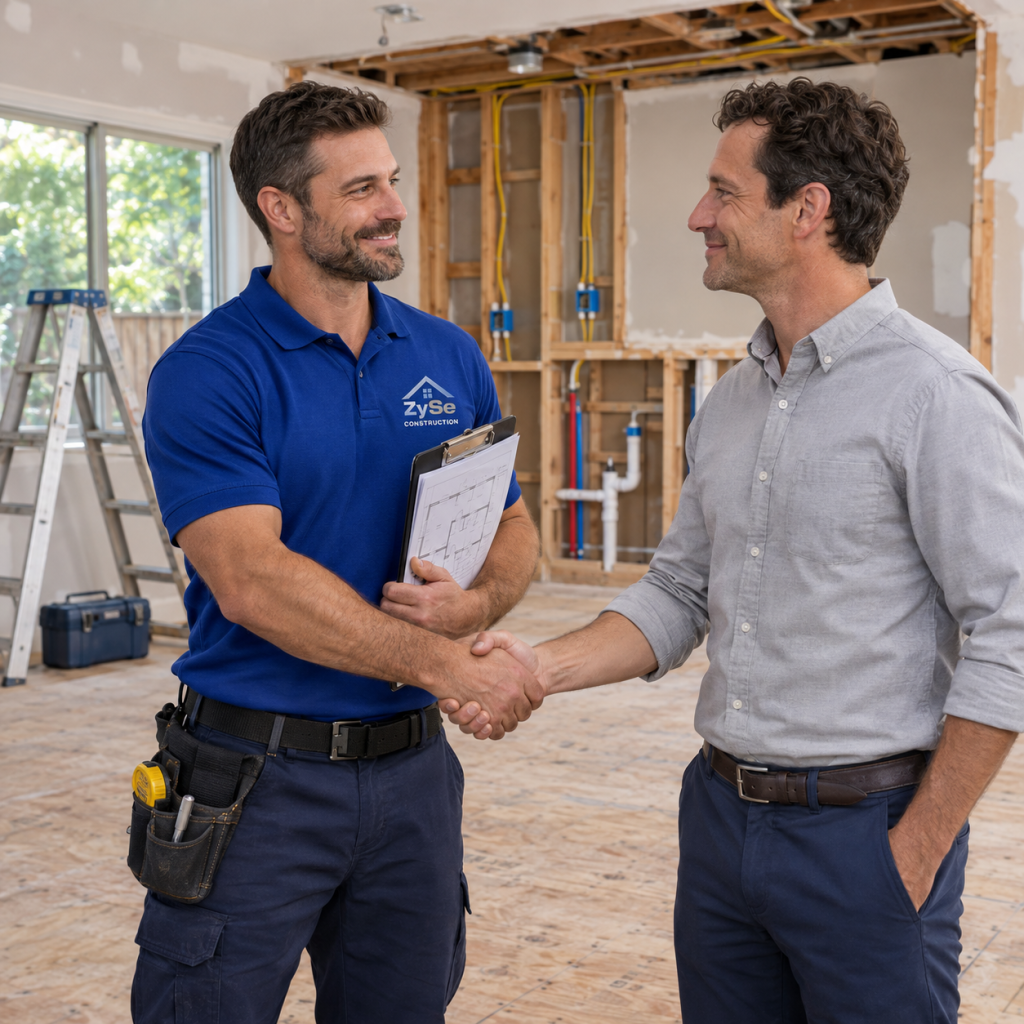
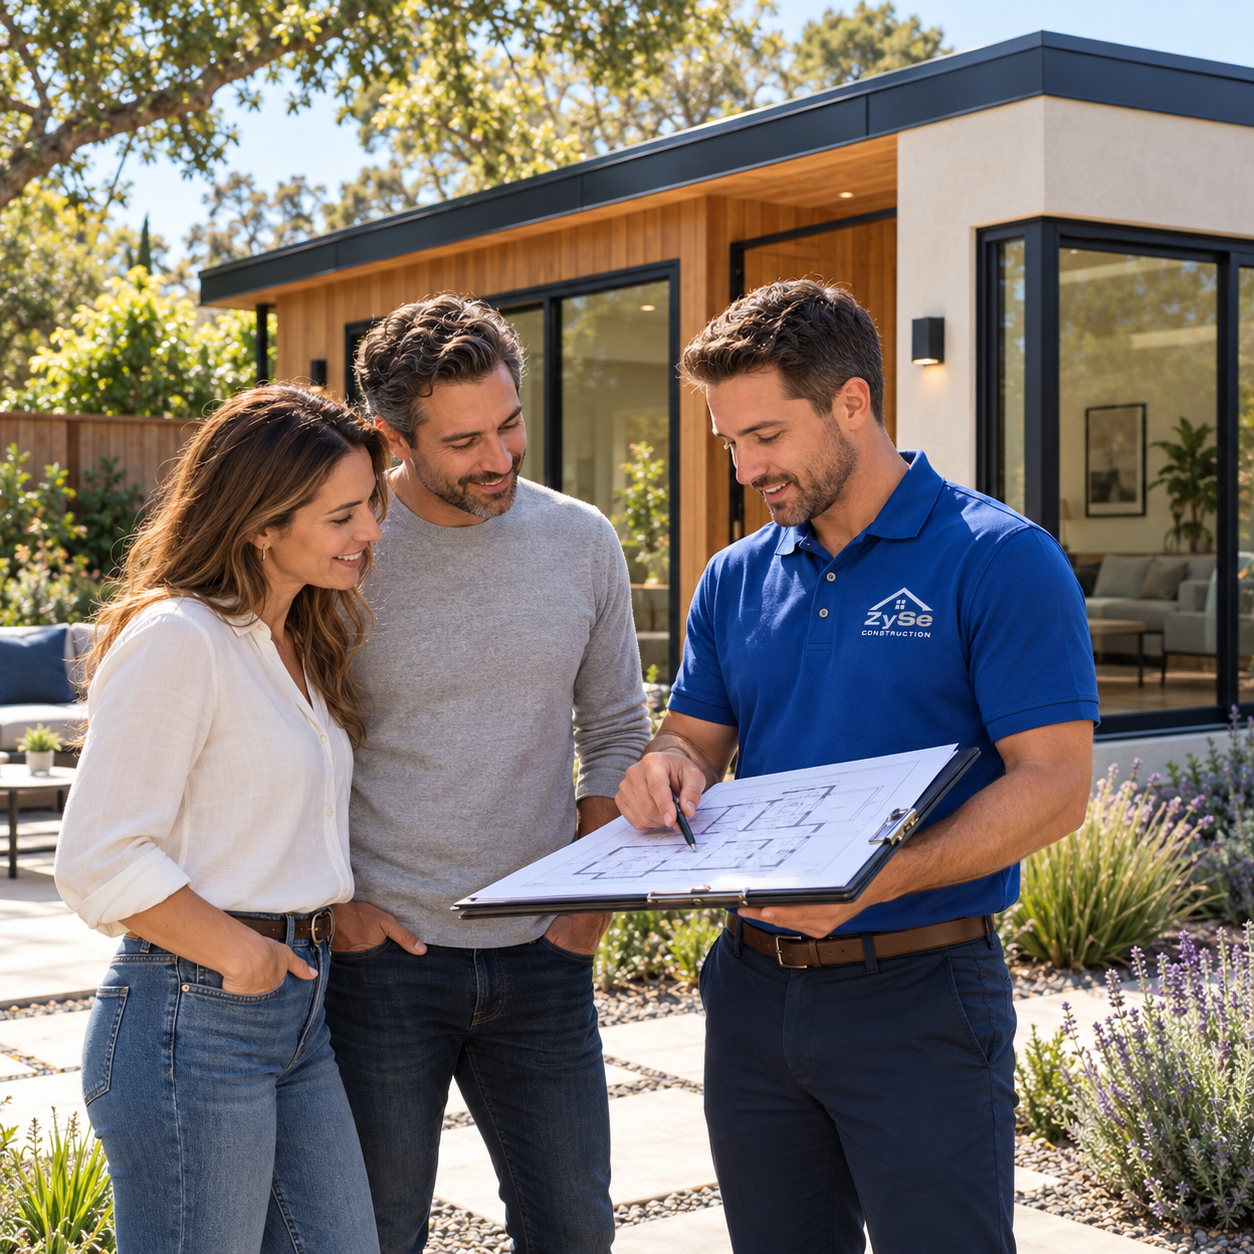
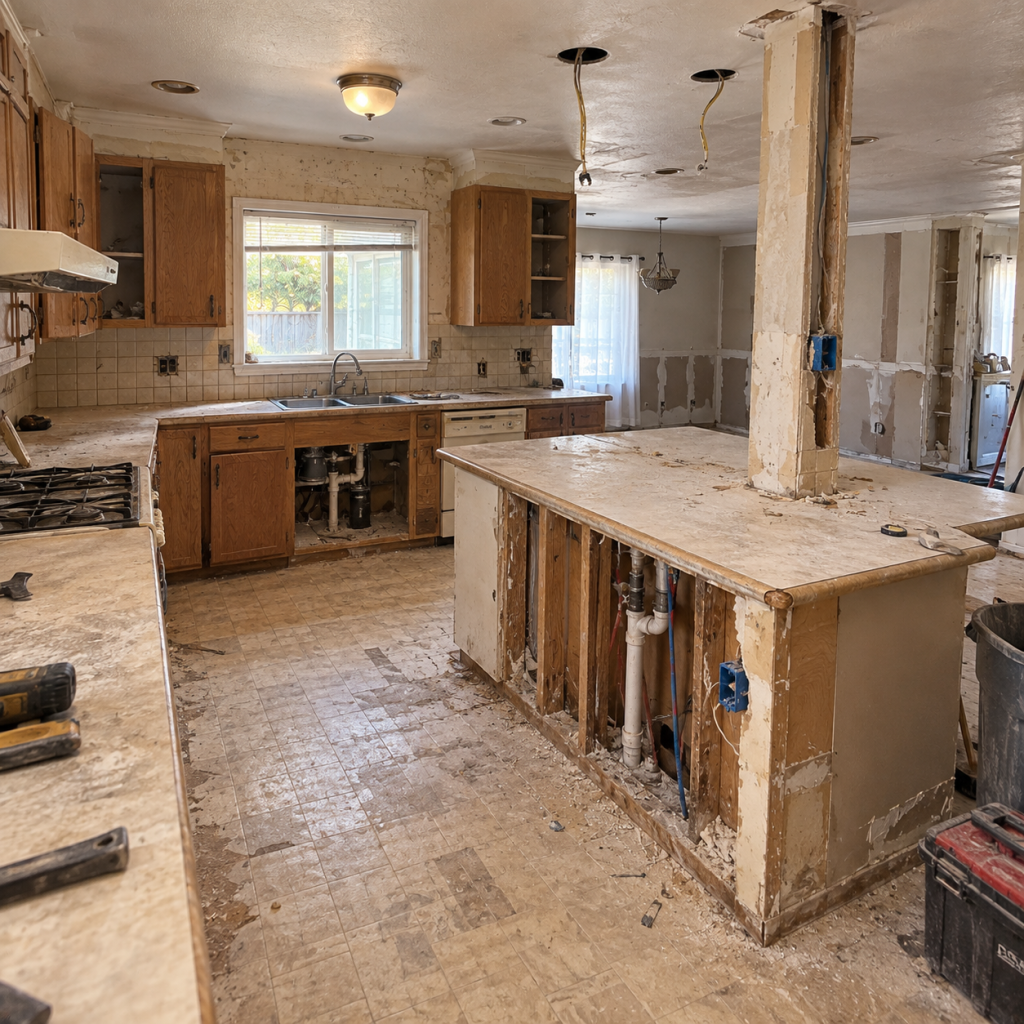
If you’re planning to move an outlet or change a shower valve, tell us before the new drywall goes up. We need access inside that wall. Get a free estimate for your project, and we’ll discuss what needs opening and how you want the room finished. At ZySe Construction, our drywall contractors handle walls and ceilings in San Jose, from repairs around new plumbing to complete room renovations. Our own team performs the work, including plumbing and electrical, without subcontracting it out.
Leave the wall open
Framing before finishing
Hanging the sheets
The finish takes visits
Paint, wallpaper, and tile
What the estimate includes
Leave the wall open
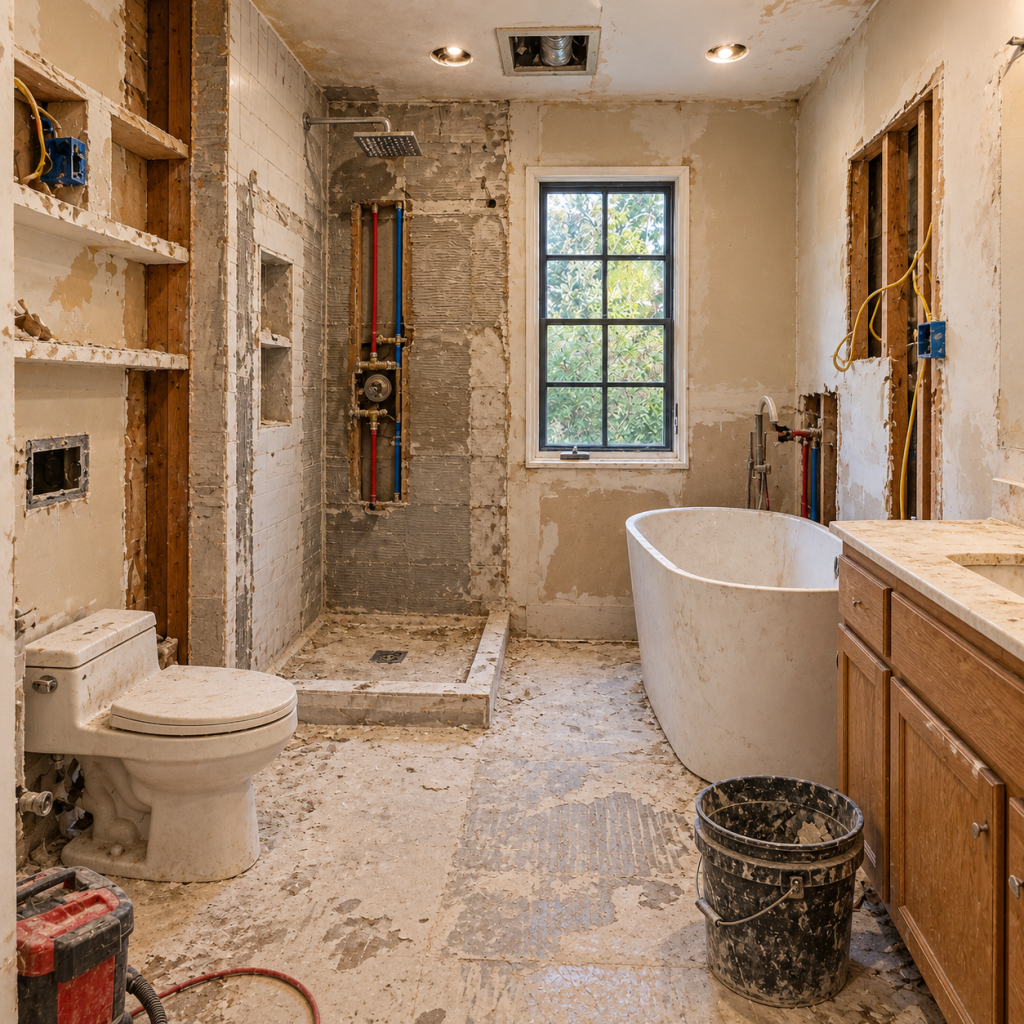
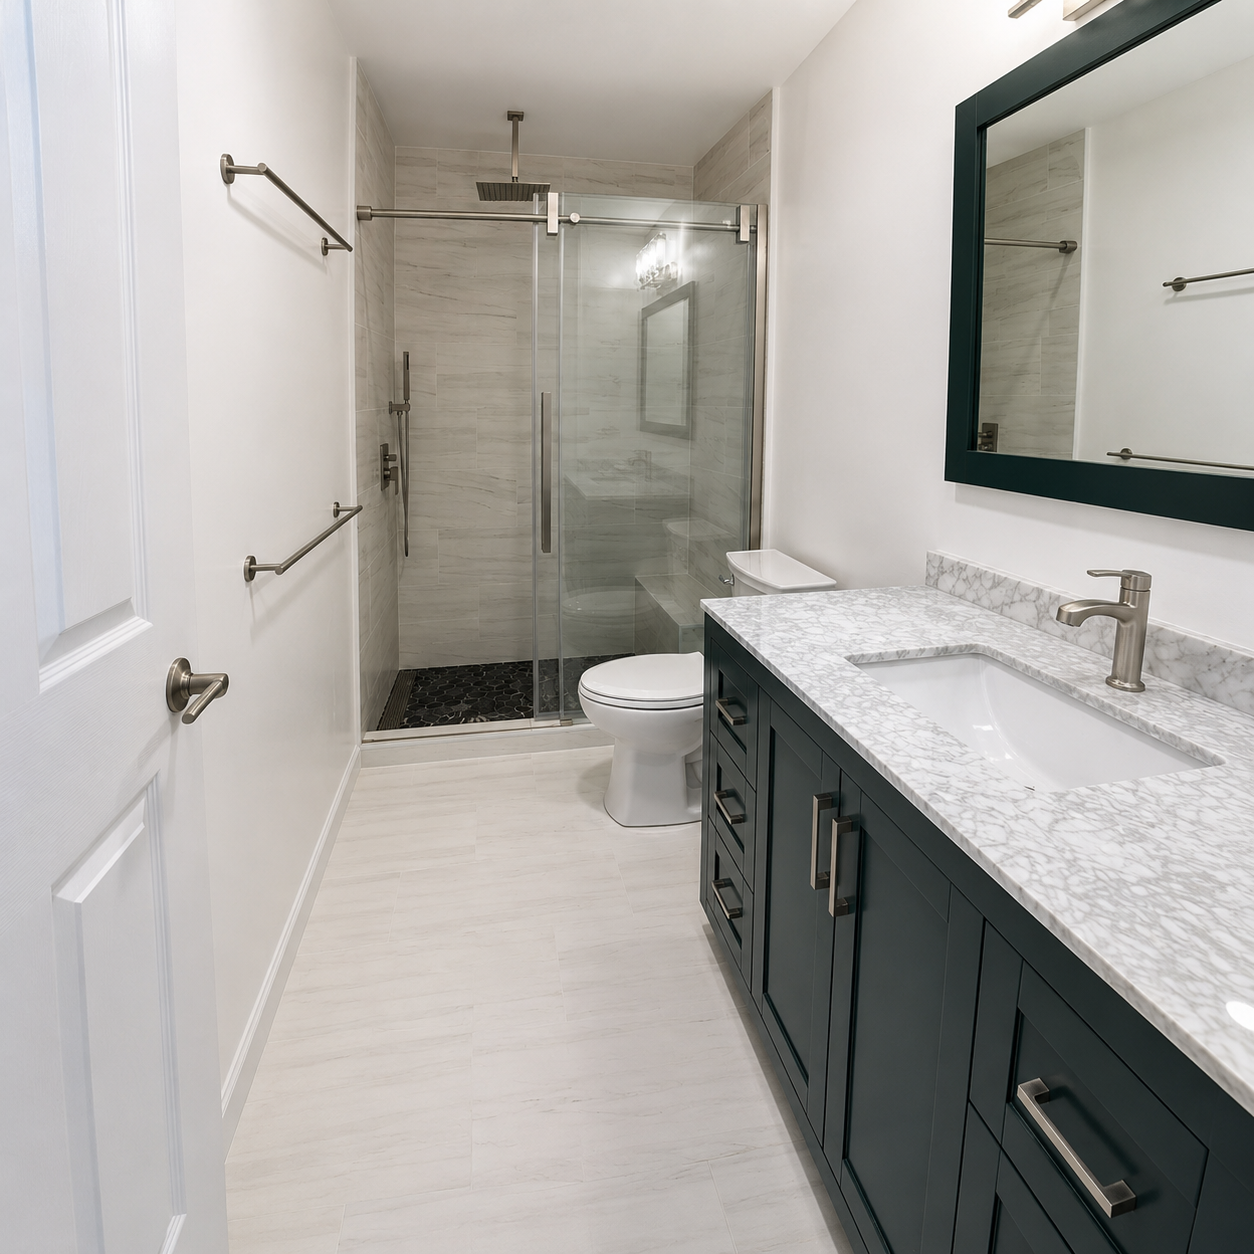
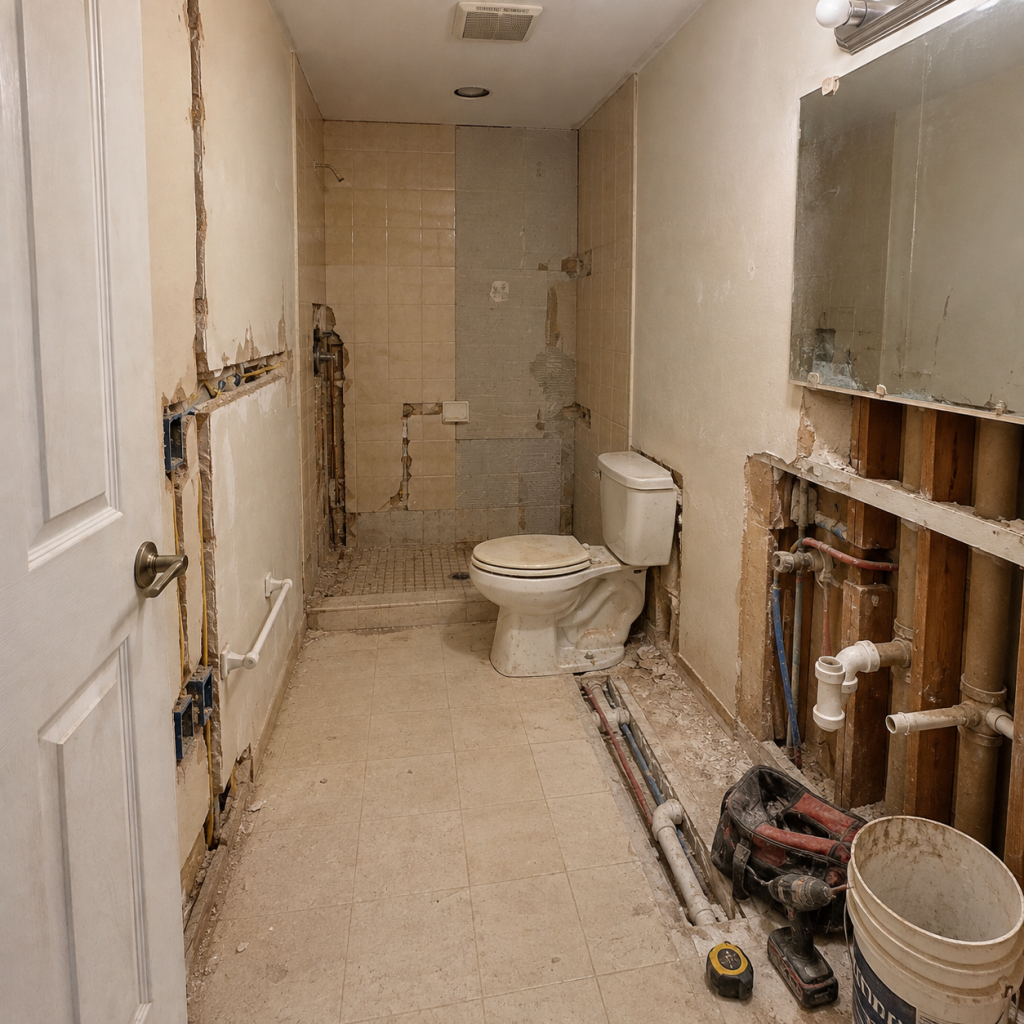
We ask about the fixtures early. A recessed medicine cabinet takes up space inside the wall. A floating vanity needs suitable backing. Even a towel bar has a location worth deciding before we cover the studs.
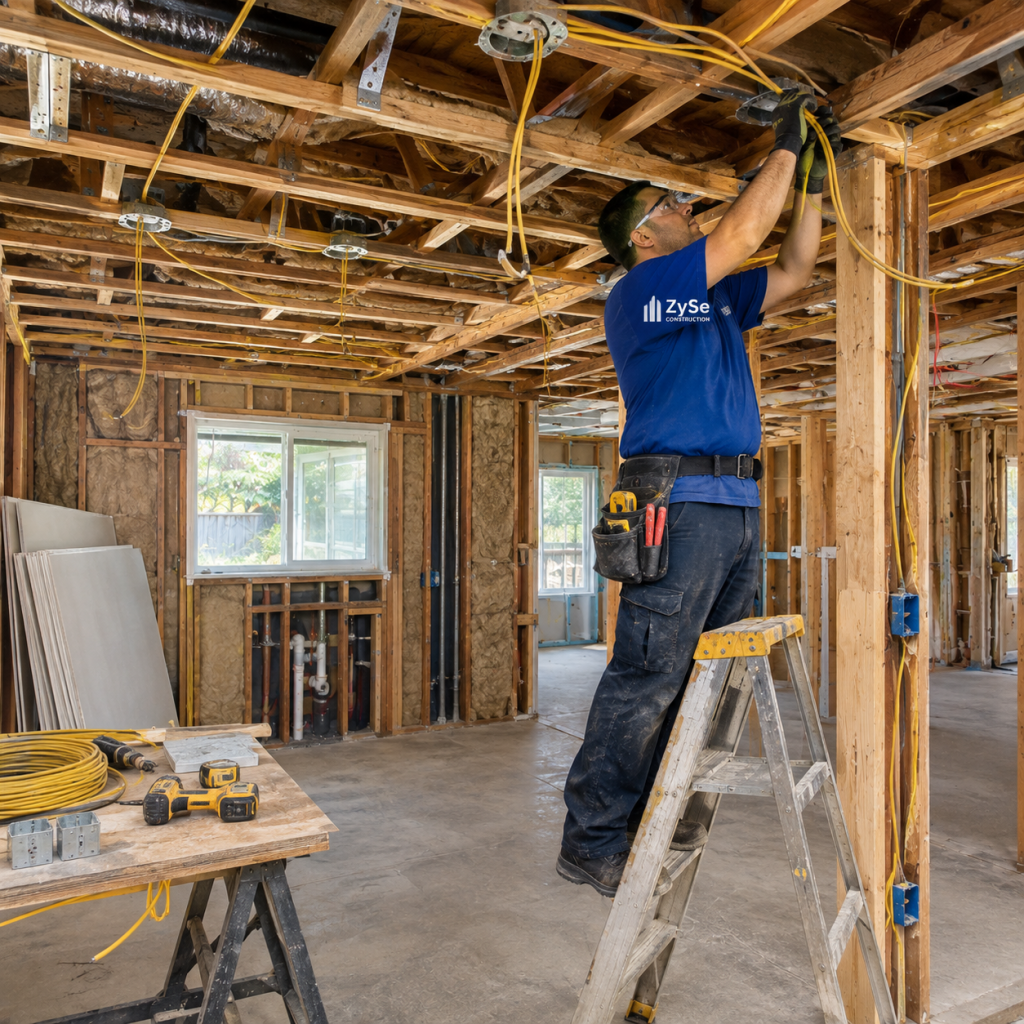
Take the medicine cabinet as an example. Its opening might land across a planned cable route. With the framing exposed, we can coordinate another route or reconsider the cabinet position. After painting, that same conversation involves cutting a hole in a finished wall.
You don’t need every decorative choice settled yet. Bring the fixture specifications you already have.
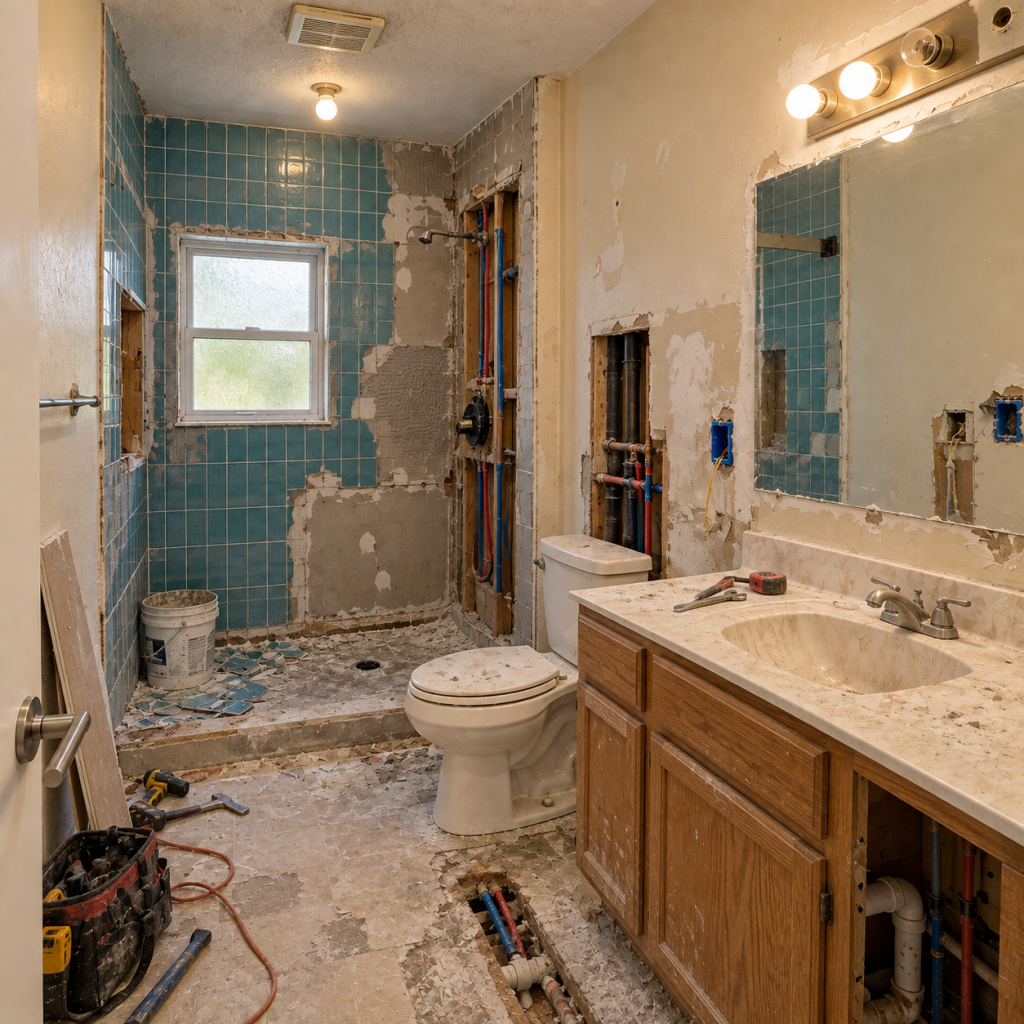
Our plumbing team needs those details too. We check the sink drain against the proposed vanity and set shower controls for the finished wall thickness. Otherwise, a drawer can hit the trap, or a valve can sit too far behind the tile. Testing and any required rough inspections happen before we cover the work.
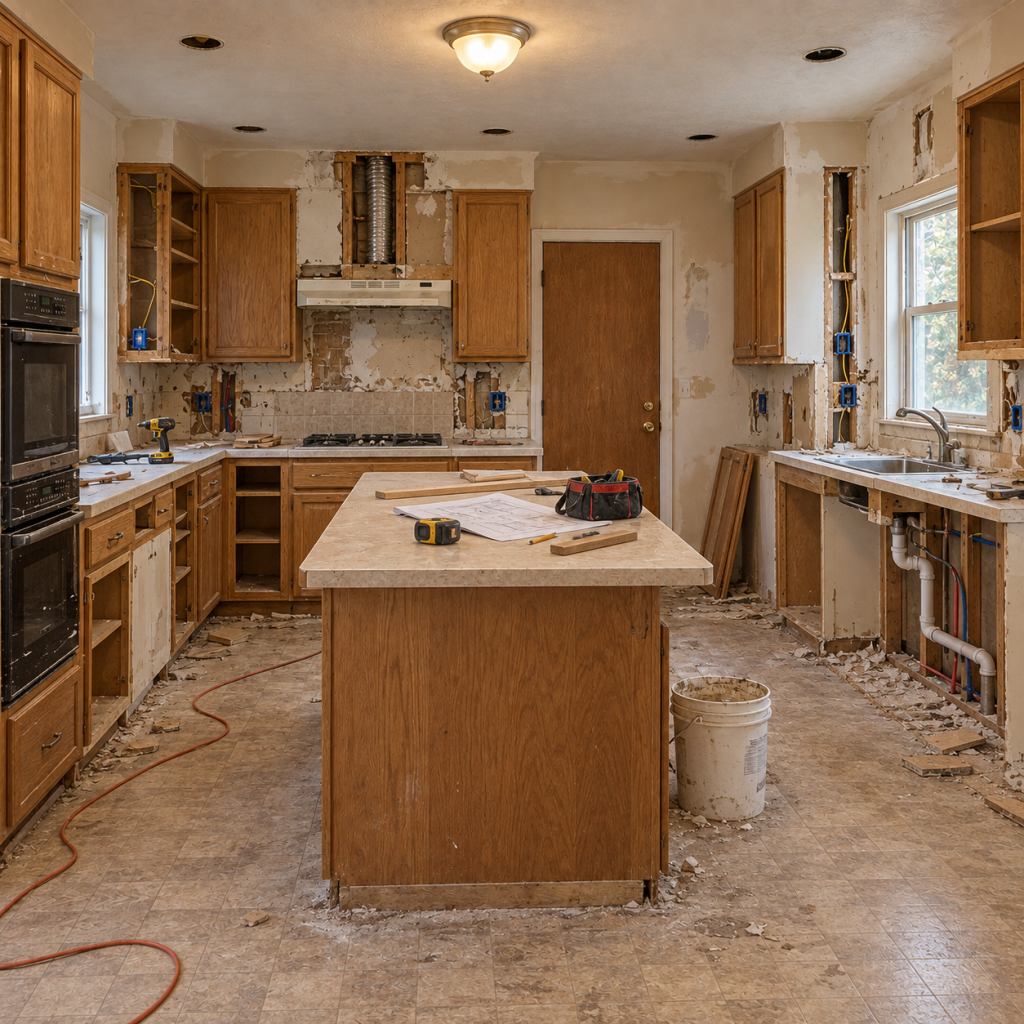
Before closing the ceiling, we check the exhaust duct route and its connections. A duct squeezed around framing or left disconnected becomes much harder to correct once the board is up. We resolve access conflicts, complete the required insulation and air sealing, and keep electrical junction boxes accessible.
Framing before finishing
A straightedge across the studs shows where the board will sit. If one stud bows into the room, fastening a sheet to it carries that hump into the finished wall. We correct the framing while we can reach it.
Patches need support as well. An opening can have neat edges and still leave nowhere to fasten the replacement piece. We add backing, then fit the patch.
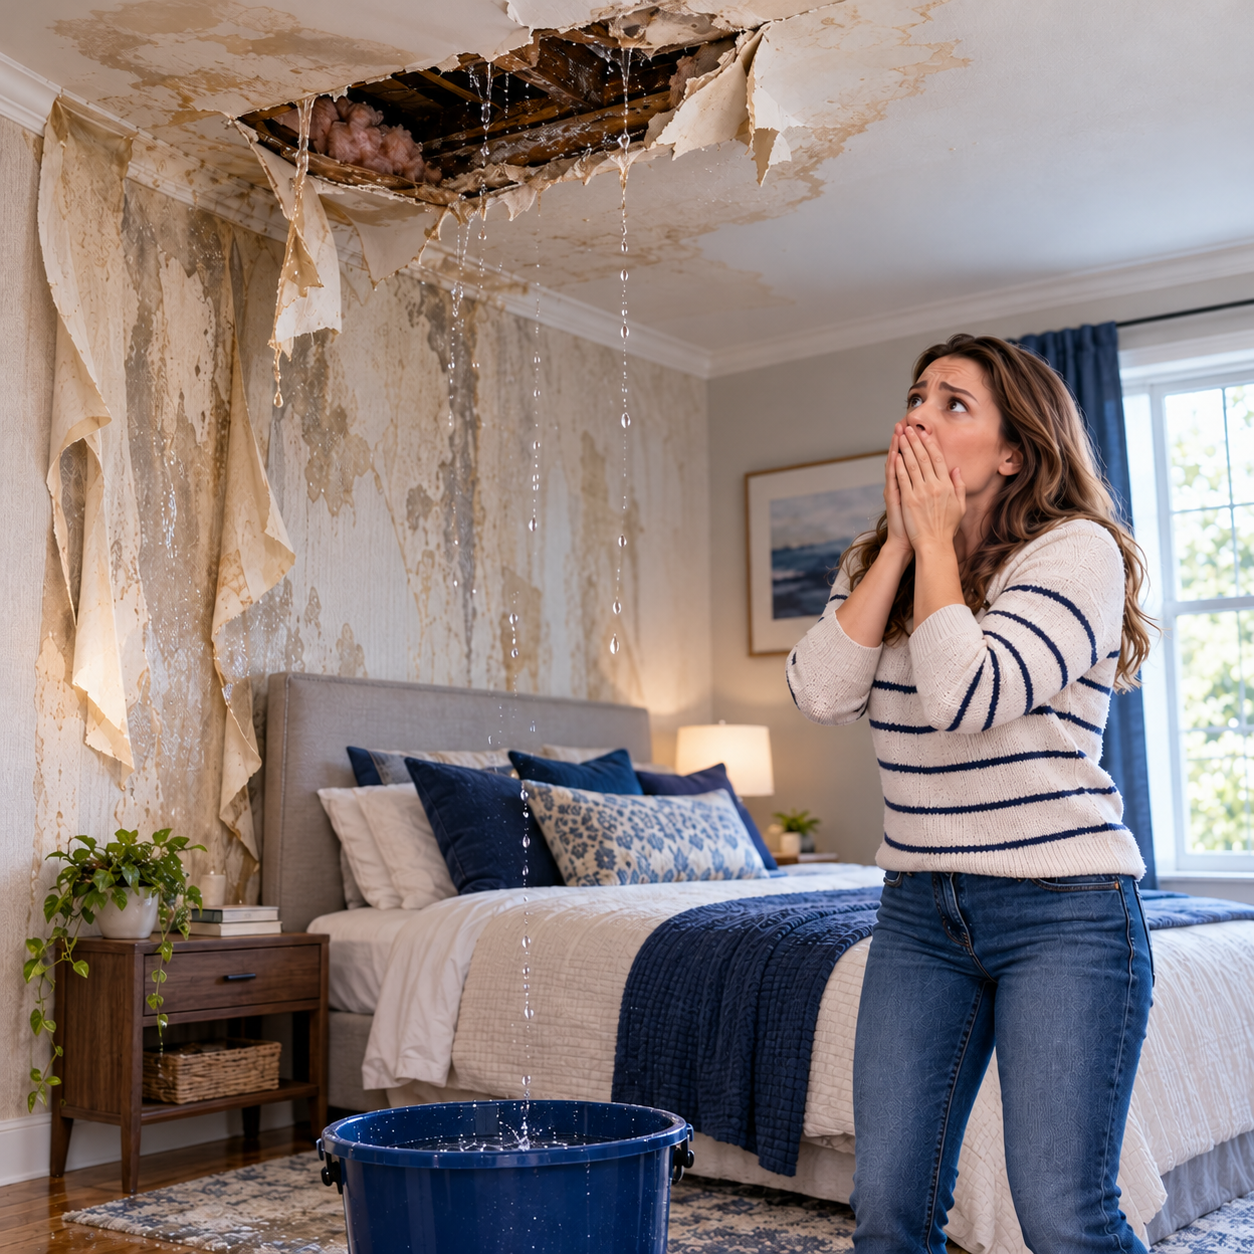
After a leak, the stain doesn’t tell us everything. Before rebuilding, we need to establish that the water source has been addressed and the affected assembly is dry enough to close. The amount of material that needs replacing may only become clear once we open it.
Hanging the sheets
Our sheetrock installers work out the joints before cutting. Around doorways and other openings, we avoid unnecessary narrow pieces where the specified assembly allows a better layout.
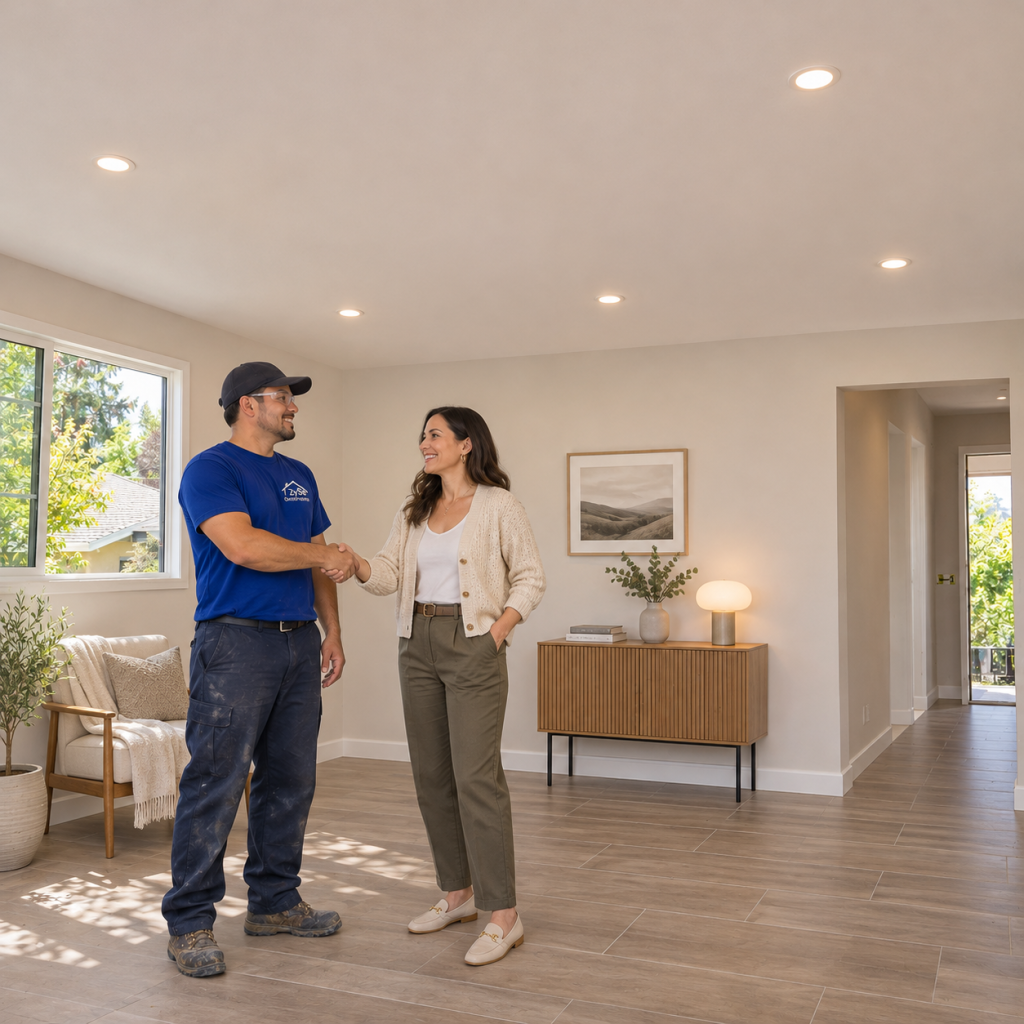
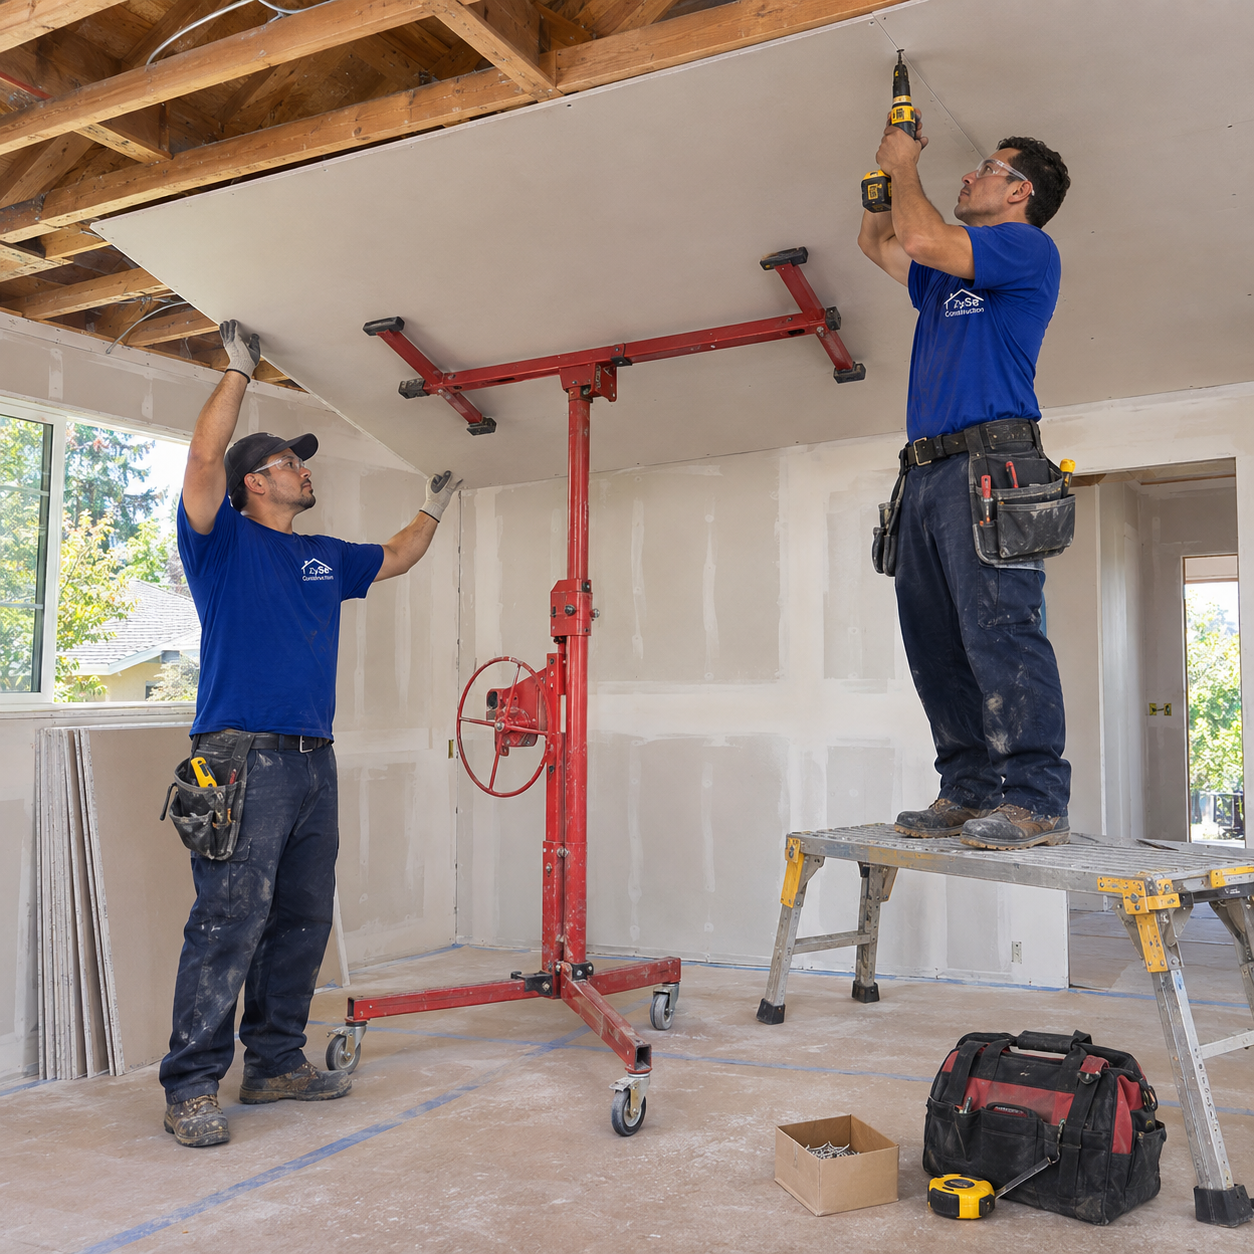
For ceilings, we check the framing spacing before choosing the board. Panel thickness, orientation, and fastening have to suit the ceiling assembly. A panel lift holds the sheet while we position and secure it. Fire-rated construction needs its specified assembly followed, including the details around joints and penetrations.
At the screw gun, depth matters. The head should sit slightly below the face without tearing through the paper. If a screw breaks through, we correct the fastening there. Filling the hole later won’t restore its grip.
We also check openings around electrical boxes before finishing starts. A cut that extends beyond the cover plate means another patch.
The finish takes visits
Hanging board can move quickly. Finishing usually brings us back over the same surface several times.
The first pass embeds the tape and starts the corner treatment. Later coats spread wider across the seams, gradually blending the joint into the surrounding board. Fastener heads get covered too. Between passes, the compound needs the appropriate drying or setting conditions.
A thick patch can still hold moisture underneath when its surface looks ready. That sometimes means leaving it alone and returning later.
Show us the paint sample before we agree on the finish level. A dark wall beside a large window can reveal seams that are hard to notice under ordinary room lighting. For demanding finishes, Level 5 includes a skim coat across the entire surface.
Before priming, we check with light running across the wall. We touch up ridges and low spots, sand with dust extraction, and remove the remaining dust.
Paint, wallpaper, and tile
Paint goes over a prepared, primed surface. Bare panel paper and joint compound absorb differently, which can leave visible bands through the decoration. A suitable drywall primer helps even out that difference before the finish coats.
For wallpaper, bring the sample if you have it. Thin or reflective paper can show small surface defects. We prepare the wall accordingly and use a wallcovering primer compatible with the paper and adhesive.
Tile areas need a suitable, flat substrate. The joint treatment follows the selected tile system, so we don’t automatically give those walls the same mud-and-primer treatment as a painted bedroom.
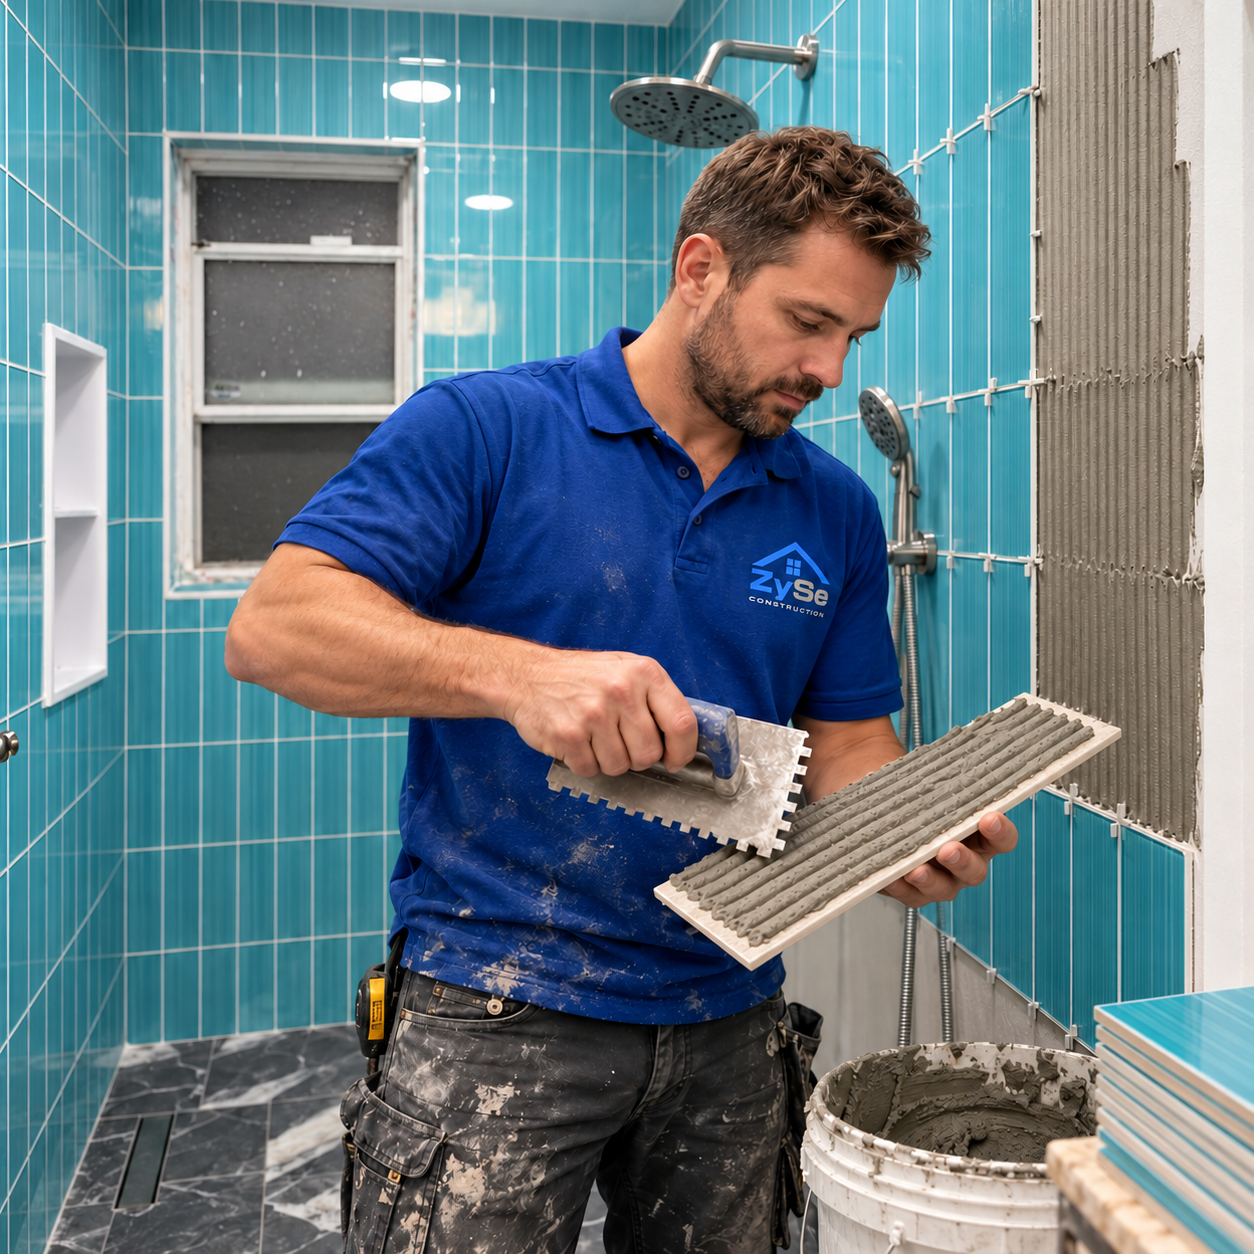
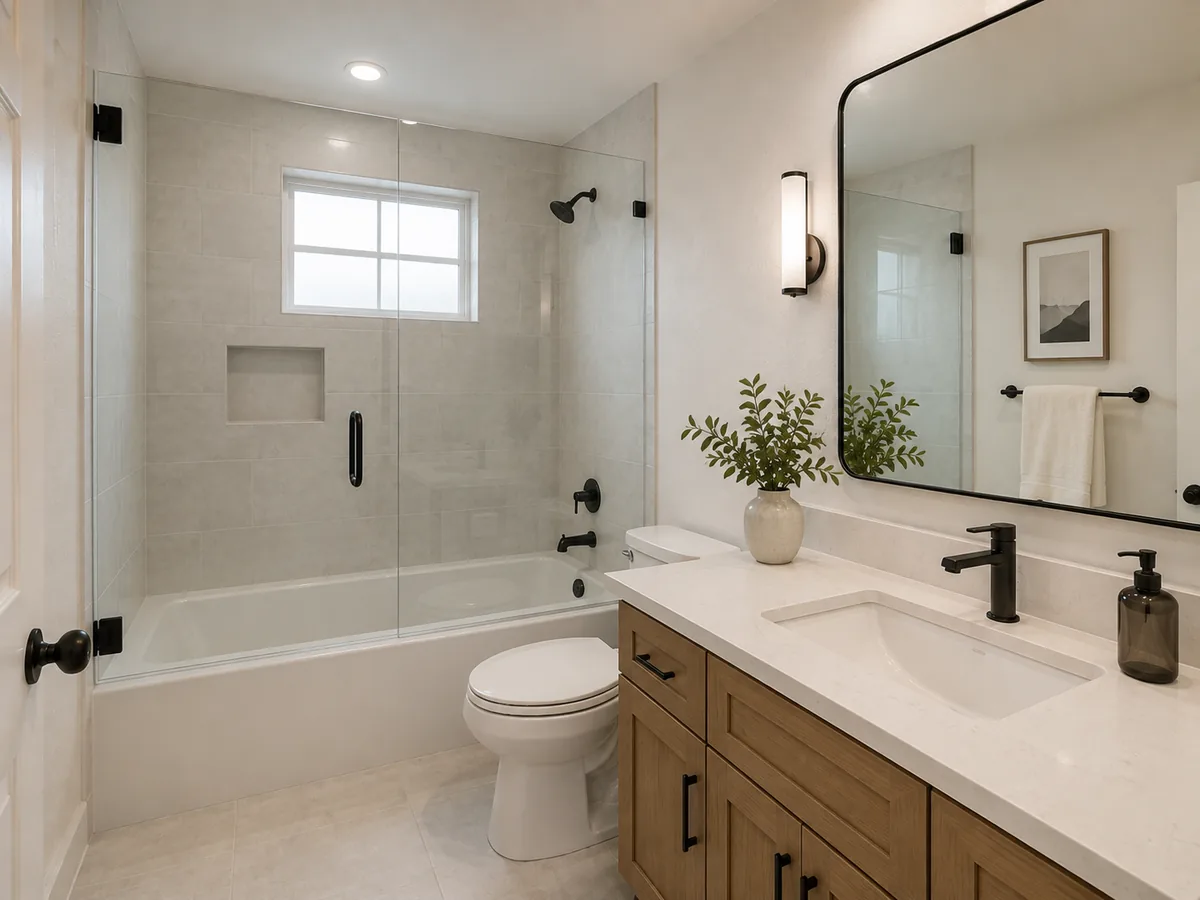
Shower walls are different. We don’t put up bare drywall and tile straight over it. The waterproofing system determines what can go underneath and how we prepare it. For example, Schluter KERDI allows drywall as a substrate when installed according to the system’s requirements. We follow those details through the corners, seams, and plumbing penetrations.
What the estimate includes
Drywall installation cost is difficult to judge from floor area alone. A small bathroom might need ceiling patches, several plumbing openings, and repairs where old tile came off. An empty rectangular room can be much easier to work in.
When comparing sheetrock contractors, ask where each quote stops. “Finished drywall” might mean taped and sanded, while you’re expecting a painted room. We separate the board work, surface finish, and decoration so you can see what’s included.
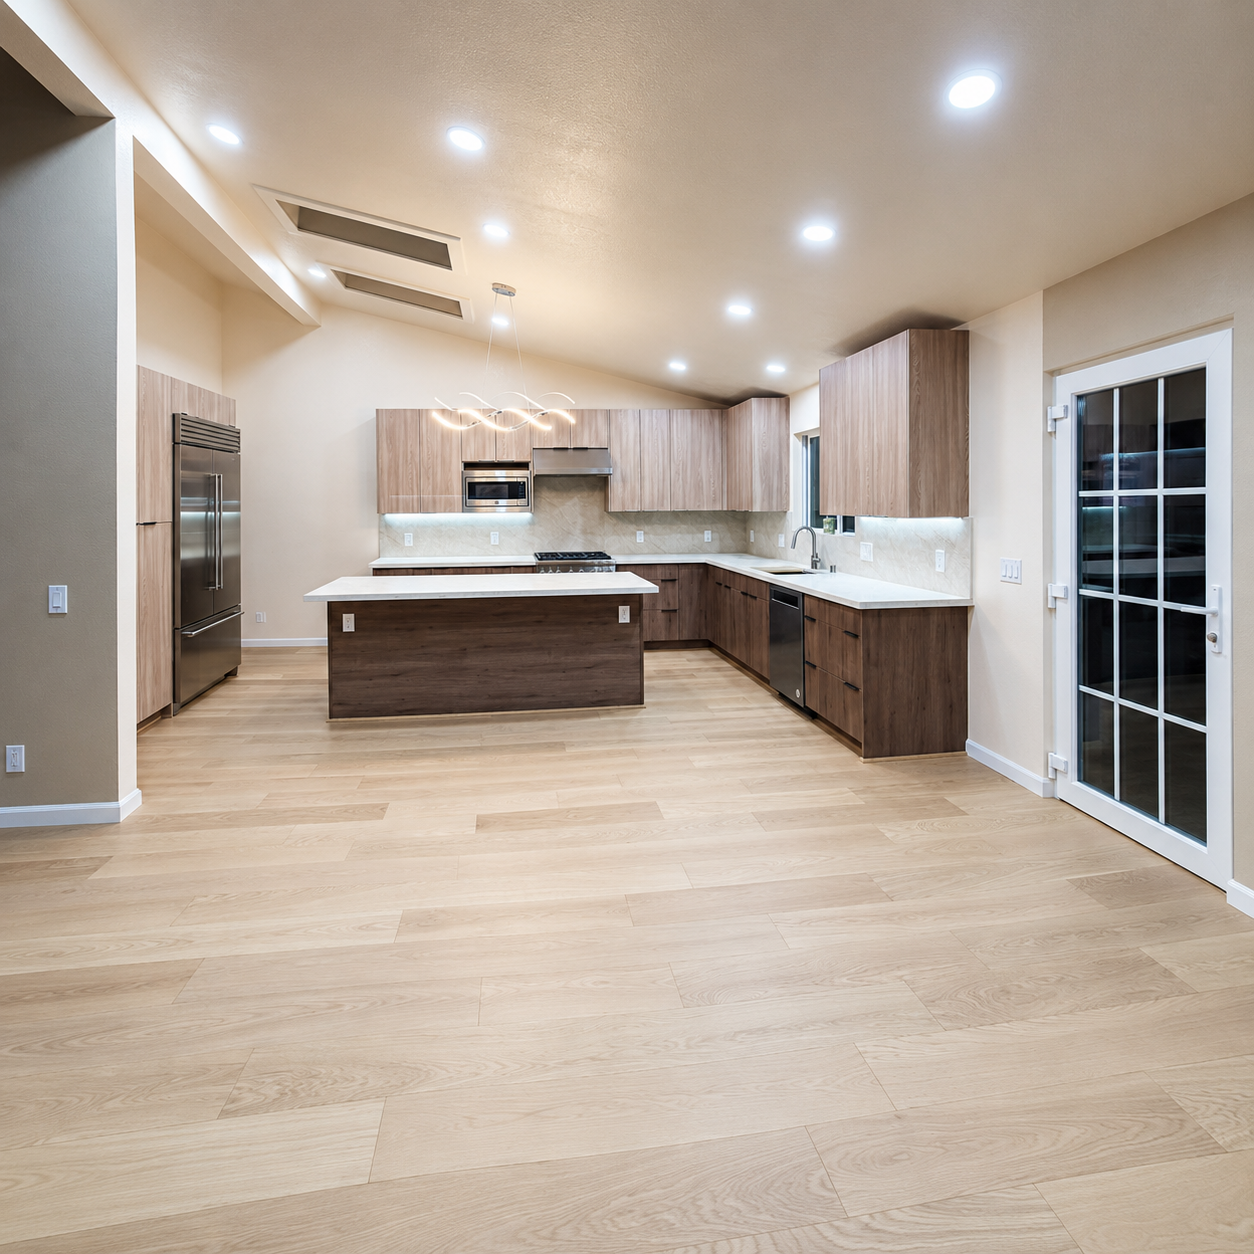
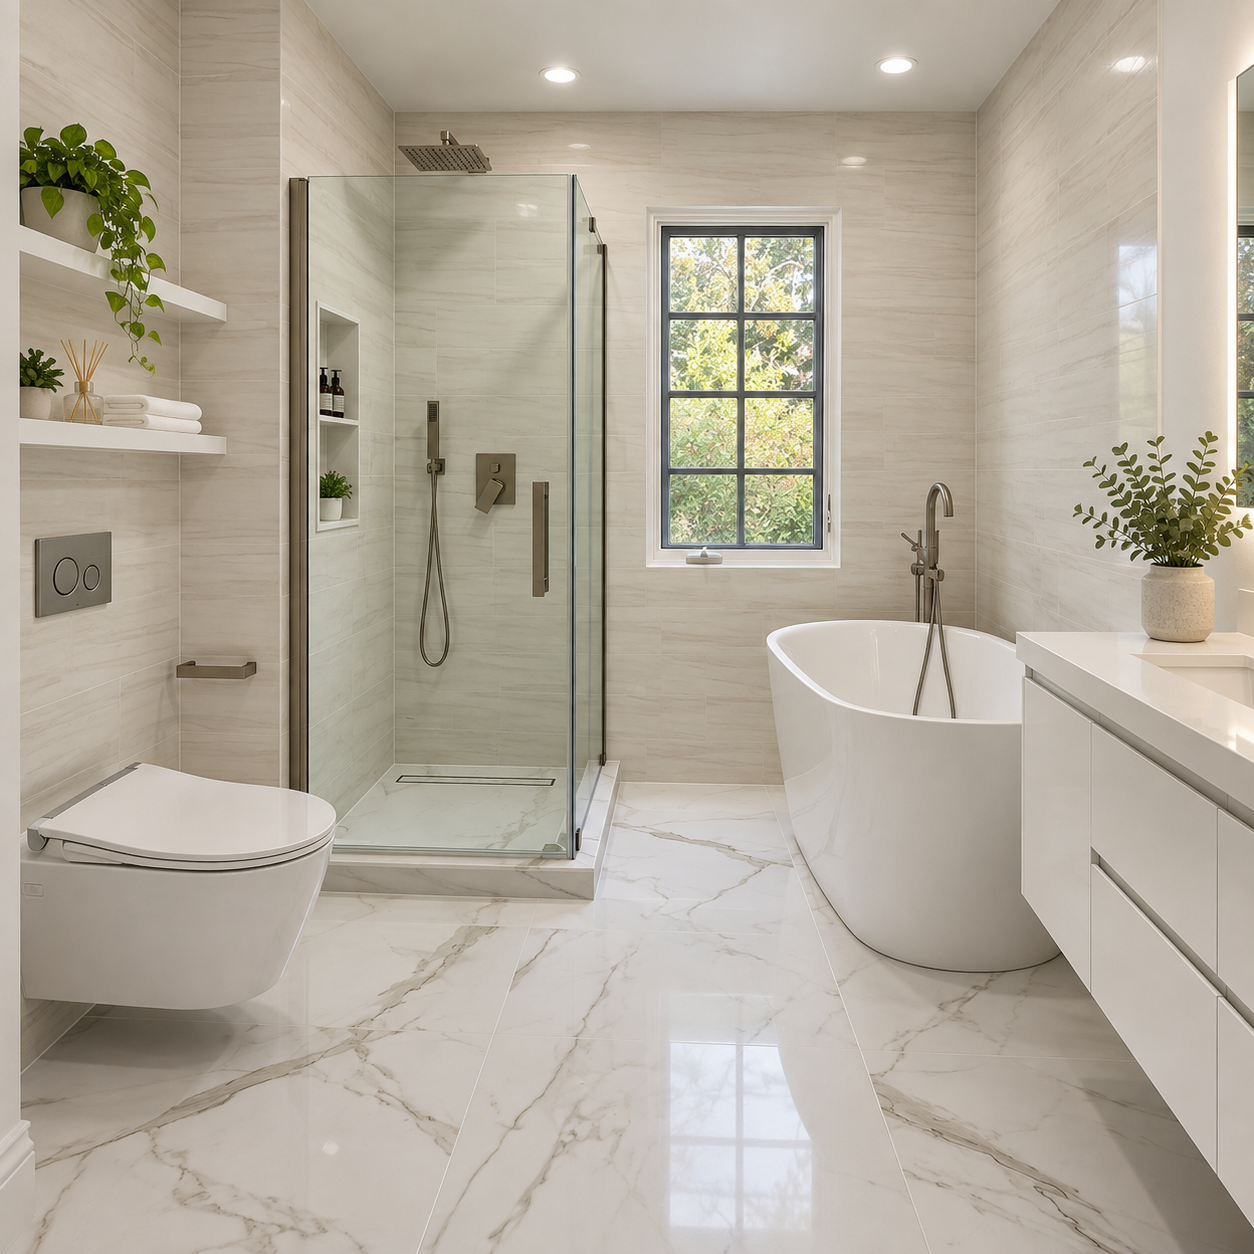
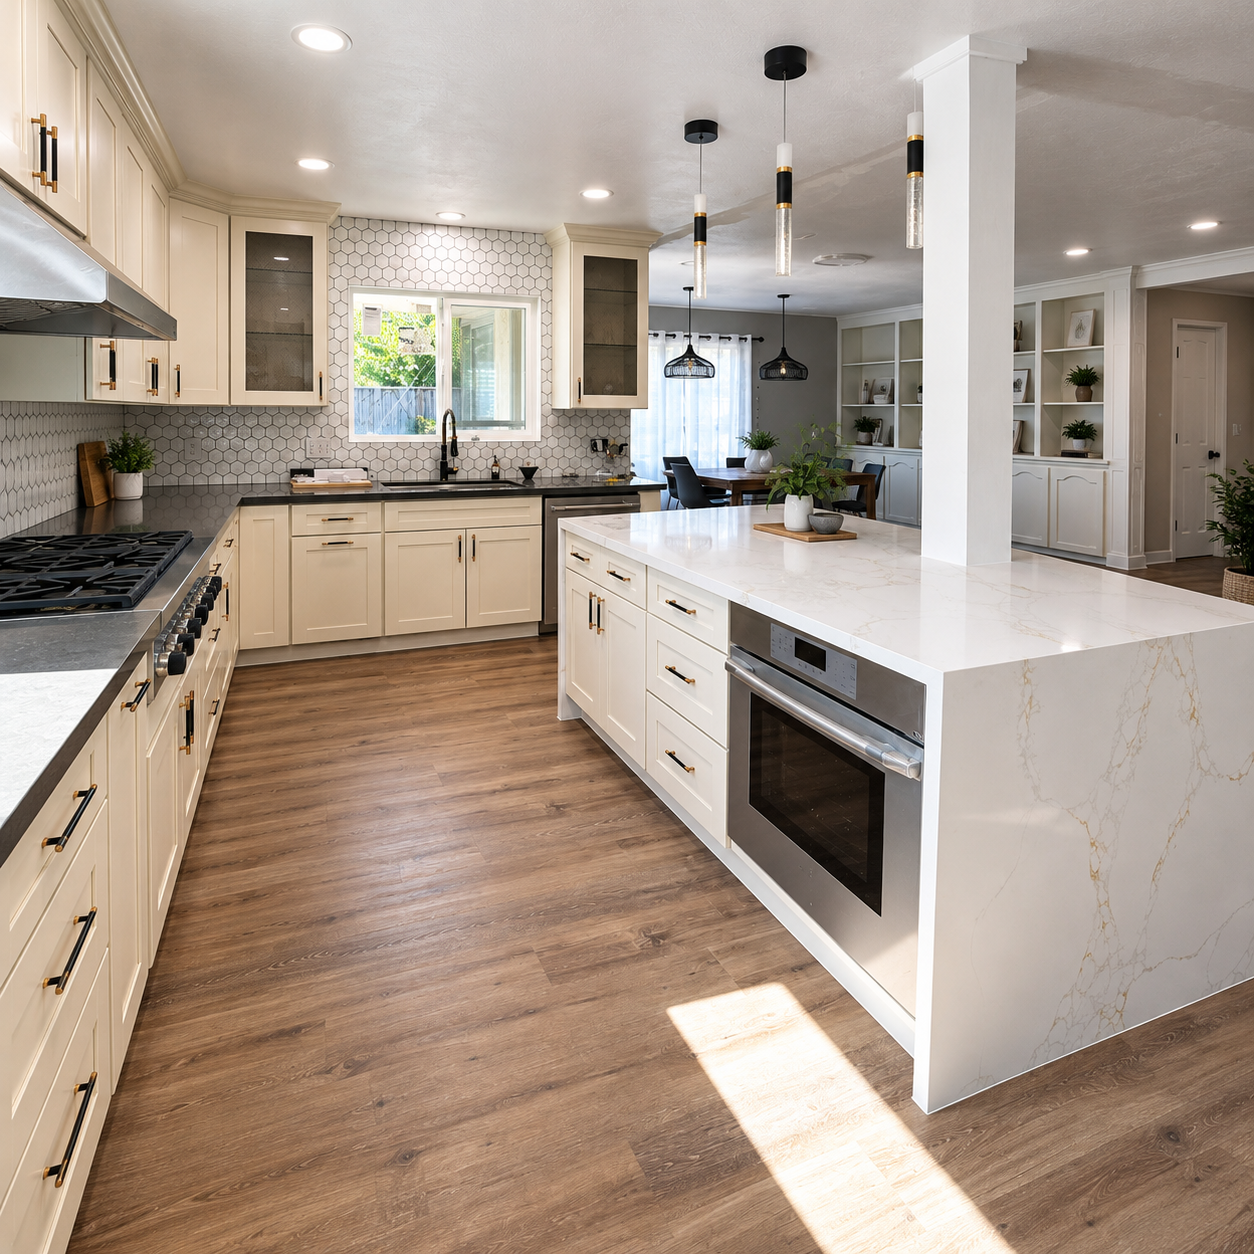
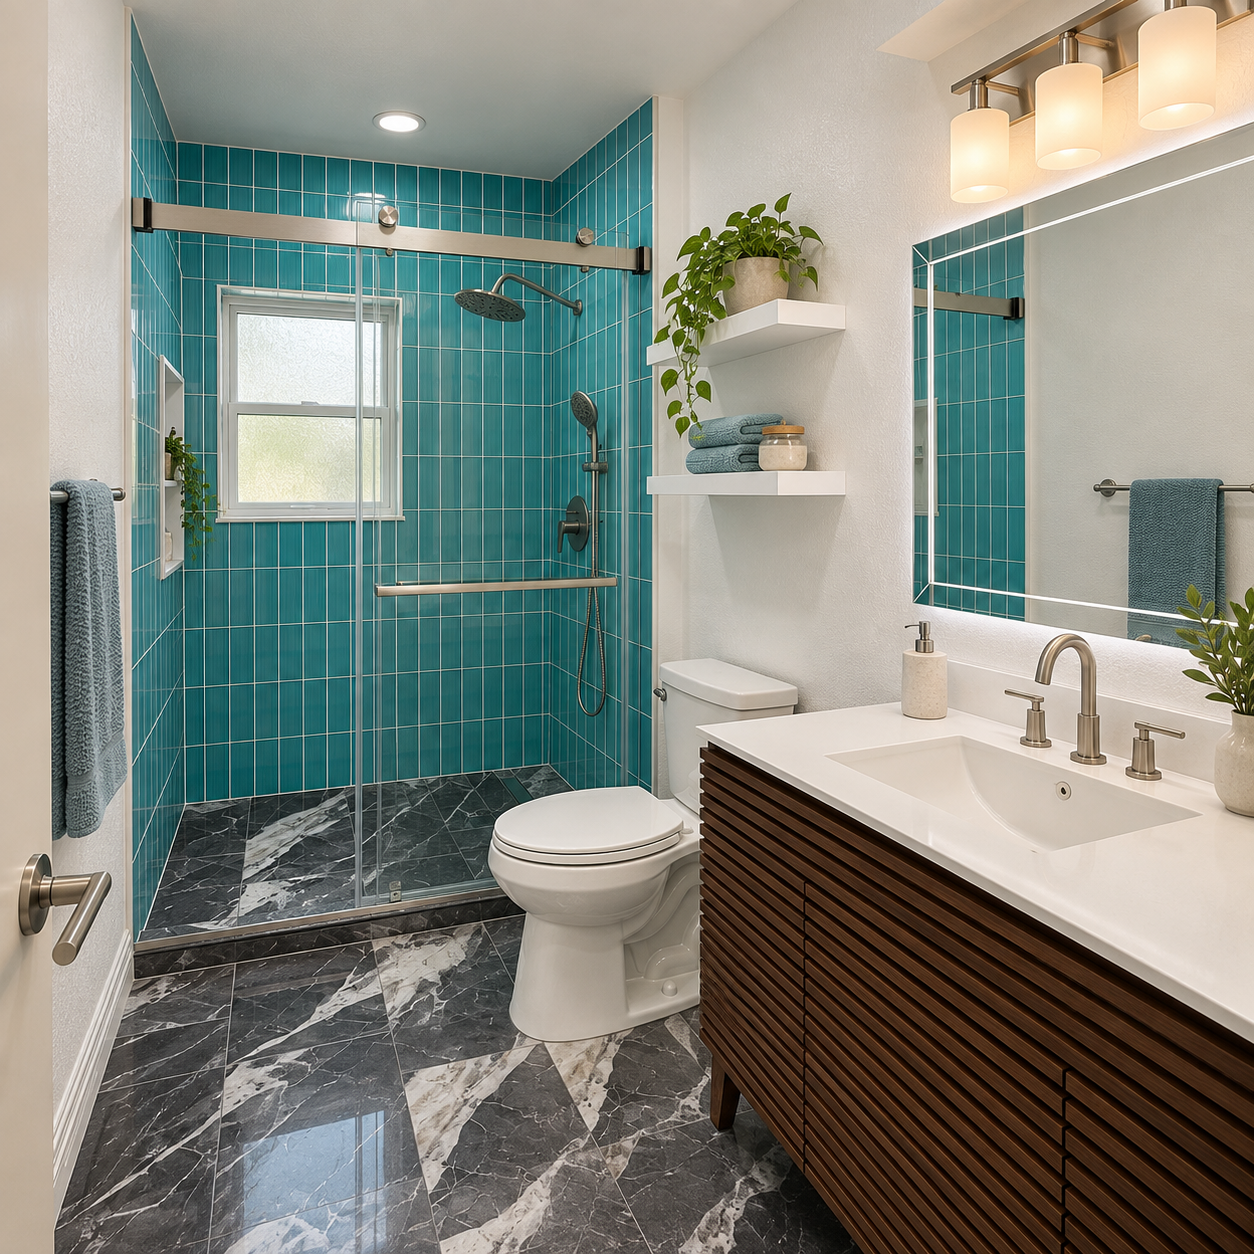
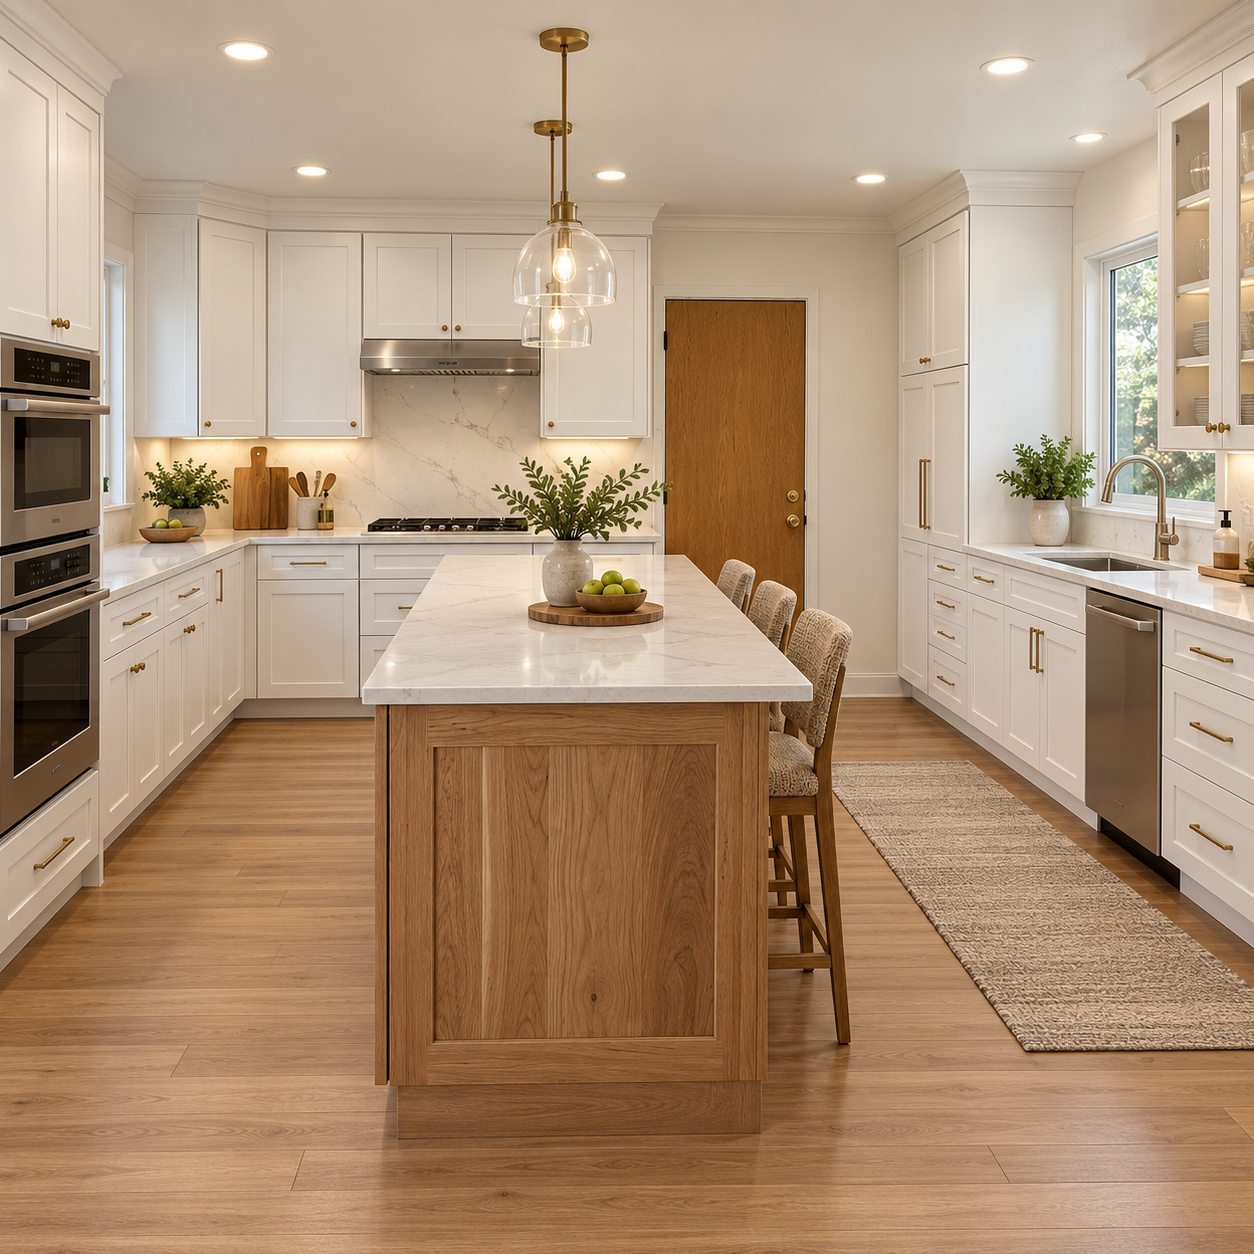
For a kitchen or bathroom renovation in Cupertino or Sunnyvale, we can include drywall installation in the remodel. If you only need the walls and ceilings done, we can quote that work separately.
If you’re in Campbell, Los Gatos, or Milpitas, send us a few photos of the room. One wide shot and a close-up of the problem area are a good start. Tell us whether you’re planning paint, wallpaper, or tile when you request your free estimate.