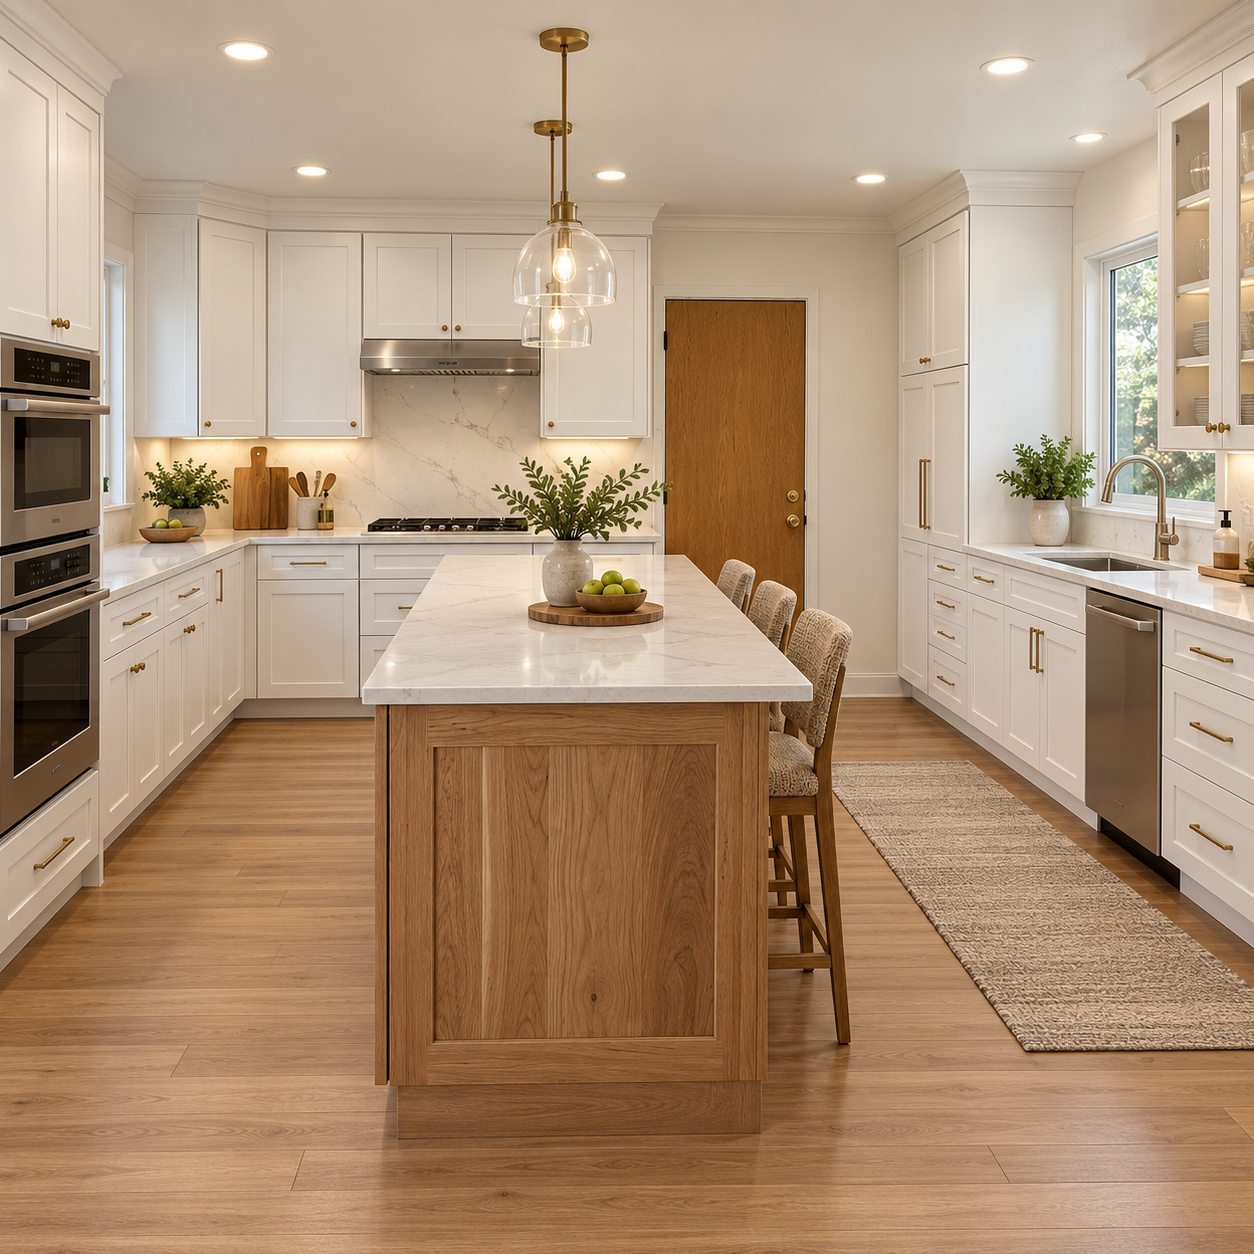


Kitchen remodeling San Jose
Rough start
Electrical layout
Hood and venting
Cabinets and island
Backsplash and tops
Flooring and finish
Rough start
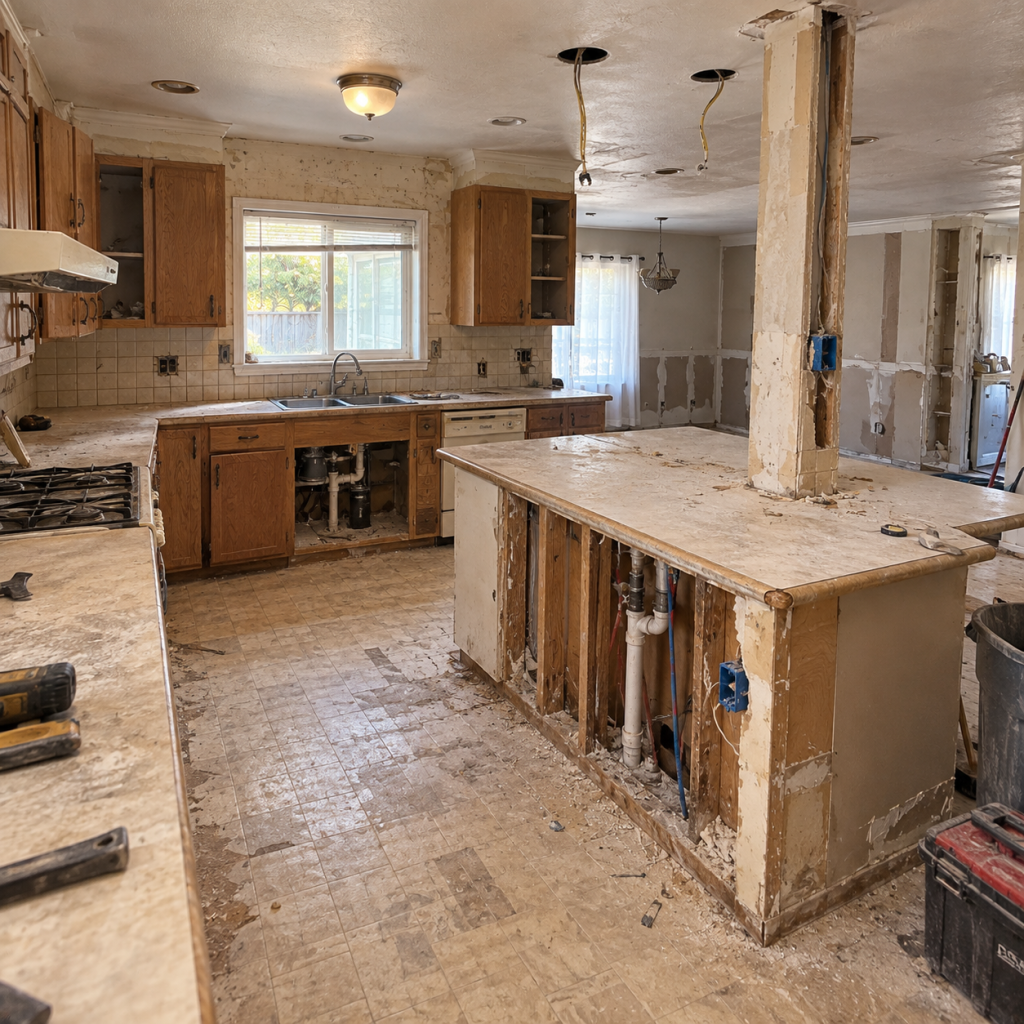
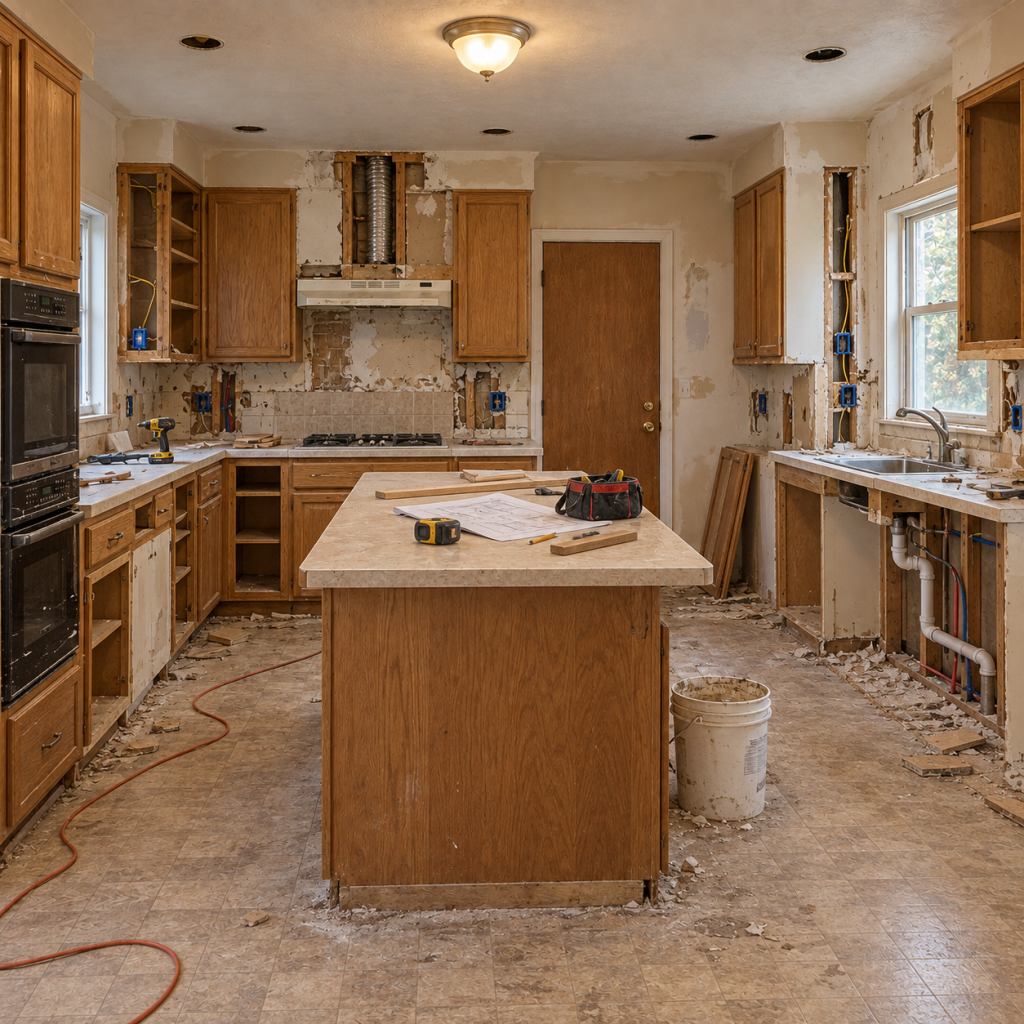
We started this kitchen remodeling job by taking out what was left of the old kitchen. The island came down almost completely. Inside it were the sink drain, water lines, wiring, old blocking, and very little room to work.
The refrigerator stayed plugged in during the first part of the job. We covered it with plastic, pulled it forward when somebody needed the wall, then pushed it back again. After a few days, everybody was tired of moving it. It was always exactly where somebody needed to stand.
I checked the island measurments against the cabinet plan several times because the drain looked wrong from one side. From the front, it seemed fine. Once I measured from the partition line, it was too close. We moved it before the cabinet base went in.
Some drywall looked solid until we touched it. A few edges broke away immediately, so we cut those sections back. We added fresh backing behind the cabinet areas while the walls were still open.
Electrical layout
The old kitchen left electrical boxes in places that no longer worked. A couple of runs were dead. Others went to outlets that was being removed. We traced everything with a Klein tester and marked the circuits before pulling anything out.
The new layout needed power for the dishwasher, microwave, hood, countertop outlets, and island. Fairly normal work. The ceiling was the annoying part.
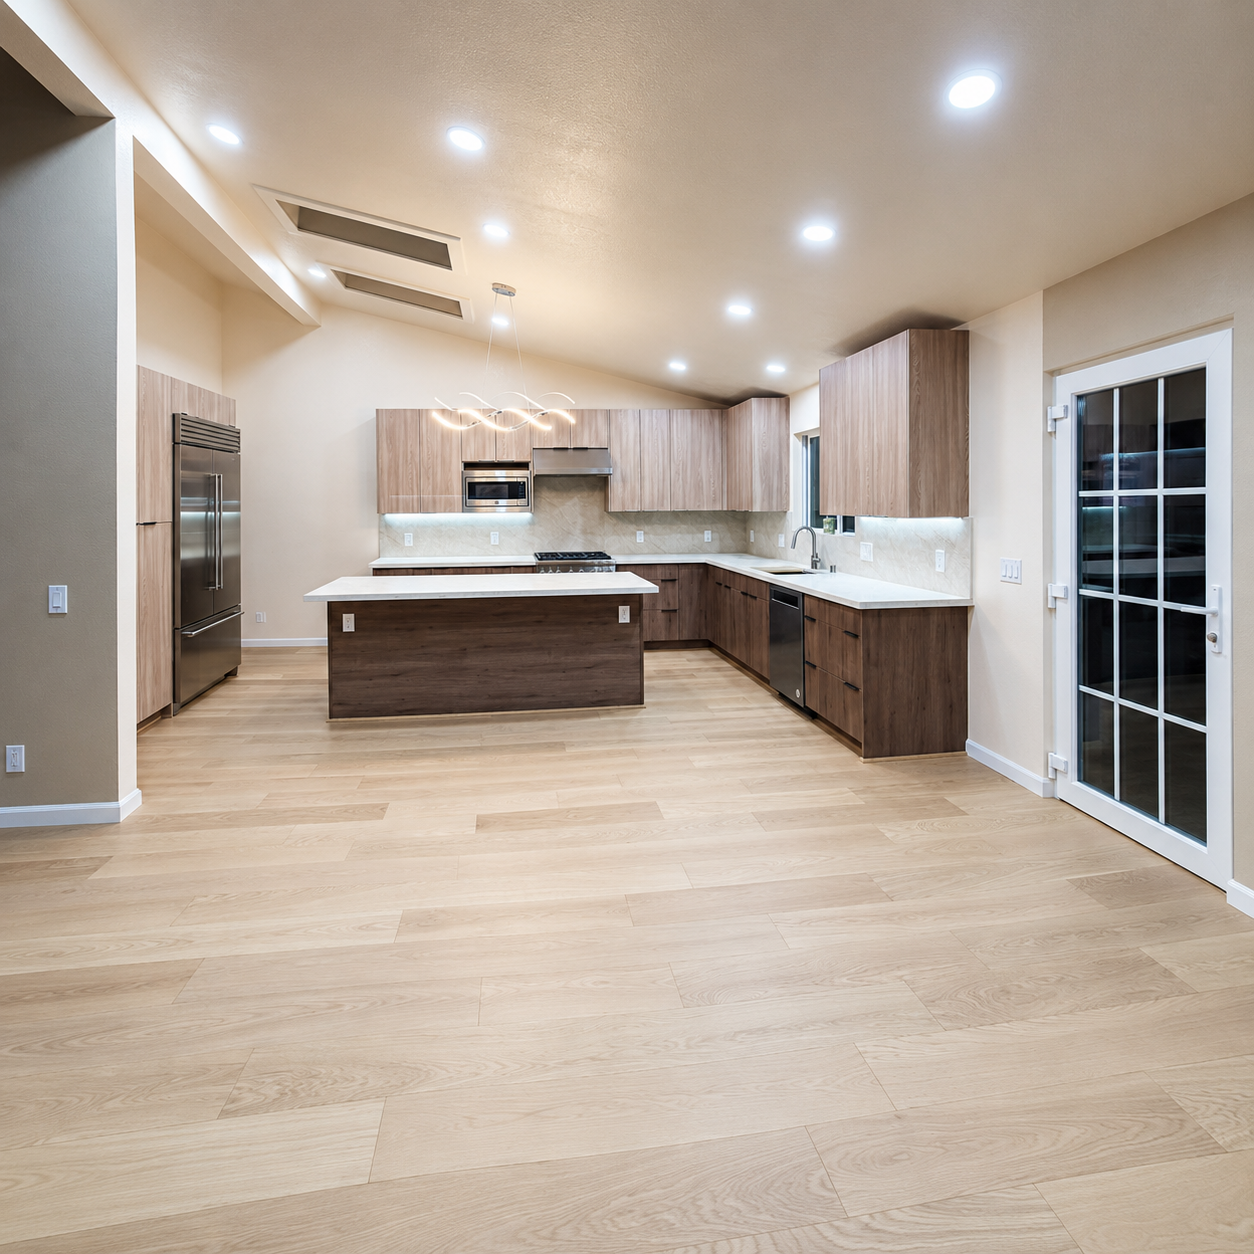
It slopes across the room while the island runs straight underneath it. Following the old holes would have shifted the pendant and recessed lights away from the cabinets. We marked the island, shot the line with a Bosch laser, and worked upward.
One existing hole landed too close to the new pendant position. We patched it and made another cut. It added drywall work, but leaving it there would of bothered me every time I walked into the room.
I saw almost the same thing on a Campbell job. The cabinet plan changed late, but nobody moved the coffee outlet. The machine ended up sitting about six inches away. It worked, technically, but looked stupid.
Hood and venting

The hood was easier to handle while the wall and part of the ceiling were open. We marked the range center and held the hood body in place before closing anything.
The drywall crew was already there that morning. They wanted to close the ceiling, so we asked them to leave that section alone. Then the cabinet installer needed the final hood width before setting the upper boxes. A few phone calls followed.
On the first dry fit, the hood sat slightly off center. It was a small difference, but the cabinets would have made it obvious. The duct had enough movement, so we reset the connection and checked it again.
When the cabinets arrived, the hood fit between them without cutting either finished side panel.
Cabinets and island
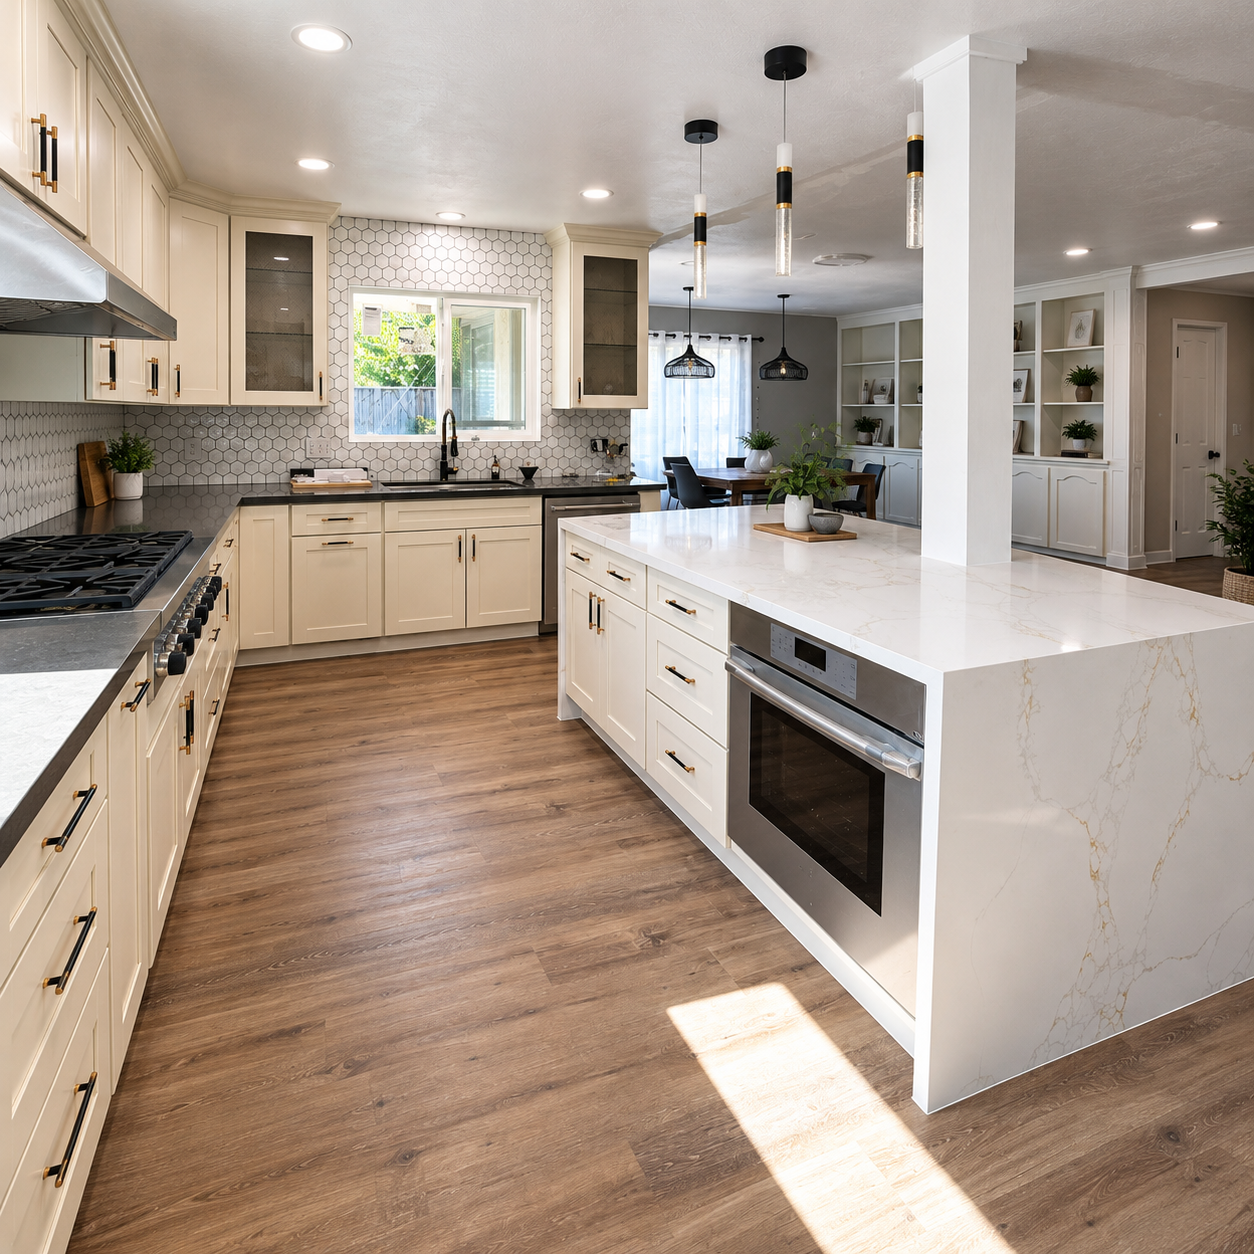
We installed light slab-front cabinets on top and darker cabinets below. The island matched the lower run. Tall panels closed the gaps around the refrigerator, so it stopped looking like an appliance pushed into an empty corner.
The walls created more work than the cabinet boxes. One corner was far enough out that the first cabinet looked fine, and so did the second. By the third box, the door gaps started showing the problem.
We shimmed the first cabinet again, pulled the filler, scribed it, and put everything back. Then part of the run came down one more time.
That corner used most of an afternoon.
The island had its own issue. One water line came up too close to the rear panel. Cutting around it would always been visible whenever the cabinet was opened. The plumber shifted the support and moved the line slightly.
About an hour of work. Better than leaving a bad cut inside a new cabinet.
Older San Jose homes are like this sometimes. You measure one wall at three different heights and get three different numbers. We use the drawing for the layout, but we still build to the wall that is actually there.
By this stage, the kitchen remodeling job finally looked like a kitchen again. Before that, it was framing, open boxes, wires, dust, and somebody asking where the pencil went. Usually while holding it.
Backsplash and tops
The countertop company came after the cabinet boxes were fixed in their final positions. We checked the sink cutout, range opening, wall returns, and island overhang while they templated.
The backsplash pieces were fairly large, so small wall problems showed up quickly. One outlet box stood proud of the wall. The first piece would not sit flat over it.
I stopped the installer before he cut around the box. We reset it, checked the piece again, and it sat flat. Otherwise, the outlet cover would have rocked every time somebody touched it.
The pieces around the range were dry-fitted first. We used a neutral Mapei joint color. Nobody spent twenty minutes discussing grout. We chose the one that disappeared best and kept working.
Flooring and finish
The floor looked ready from across the room. It was not.
After demolition, adhesive ridges remained in several places. We also found low spots near the island. We scraped the high areas, filled the dips, and checked everything with a long straightedge.
There was alot of dust during that part, even with the vacuum beside the grinder. By lunch, the vacuum hose was probably cleaner than any of us.
We ran the light oak planks toward the kitchen and continued them through the open room. A few rows started creeping near the island. We caught it early, pulled them back, and reset them. Annoying, but still small.
After the flooring came the punch list. One drawer rubbed after the countertop went in. Two cabinet doors needed another hinge adjustment. The silicone behind the sink looked fine from eye level, but the under-cabinet light caught an uneven section. I cut it out and ran it again.
We tested the outlets, faucet, drain, hood, and lights before cleanup. The dishwasher opening got measured one more time. Our project manager kept the remaining items on one sheet: two paint touchups, one cabinet adjustment, and some caulk.
If you are planning kitchen remodeling in San Jose or the Bay Area, have the room measured before the cabinet order goes in. Keep the appliance specifications nearby too. Call us before ordering, and we can go through the room and the drawings with you.