

Water damage restoration


Stop the source
Dry before rebuilding
Walls and ceilings
Floors and trim
Matching the finish
Planning the repair
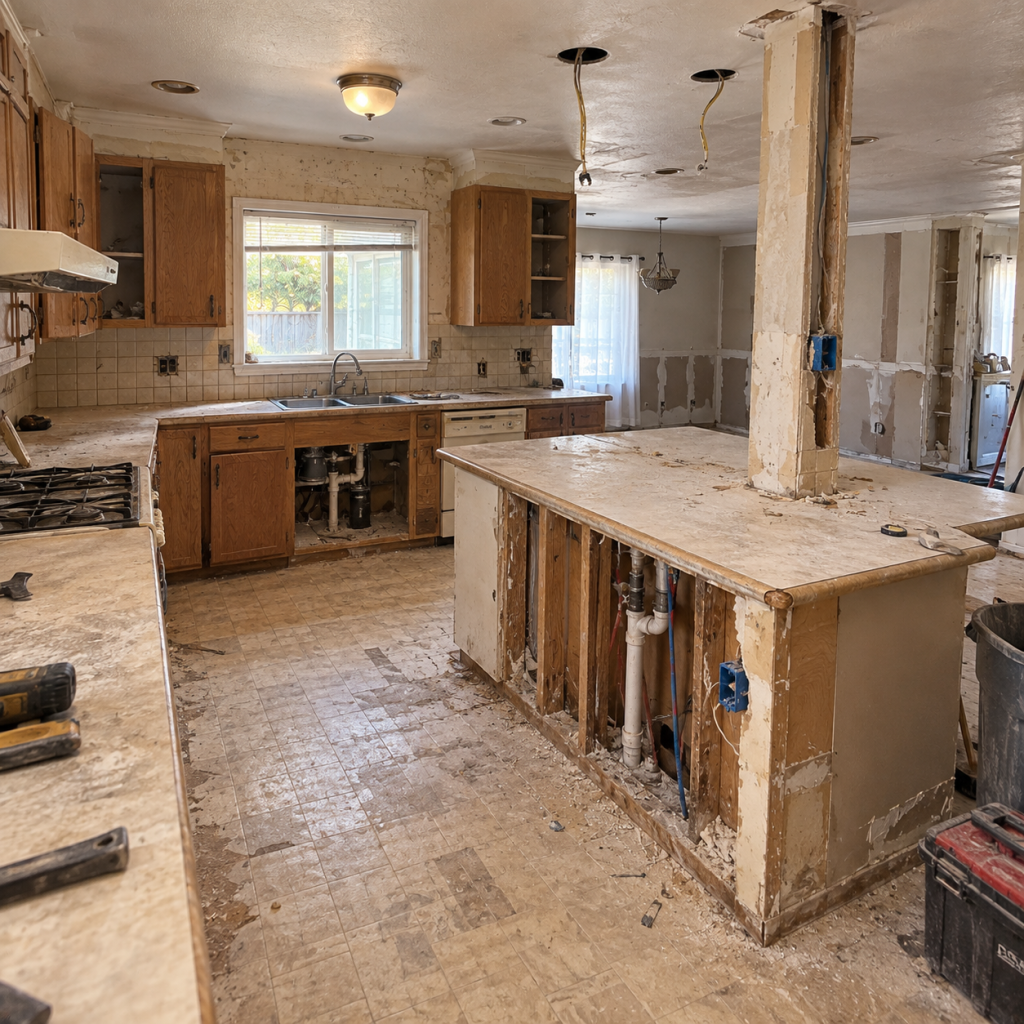
Water restoration begins with finding out what became wet, what can still be saved, and what needs replacement. A ceiling stain or swollen baseboard rarely shows the full repair scope. Send us photos and a short description through the Get free estimate form, and we can review the visible damage before arranging an inspection.
Stop the source
Before we rebuild anything, the leak has to stop. That may involve a plumber, roofer, appliance technician, or another appropriate trade. Installing new drywall under an active roof leak only creates the same repair twice.
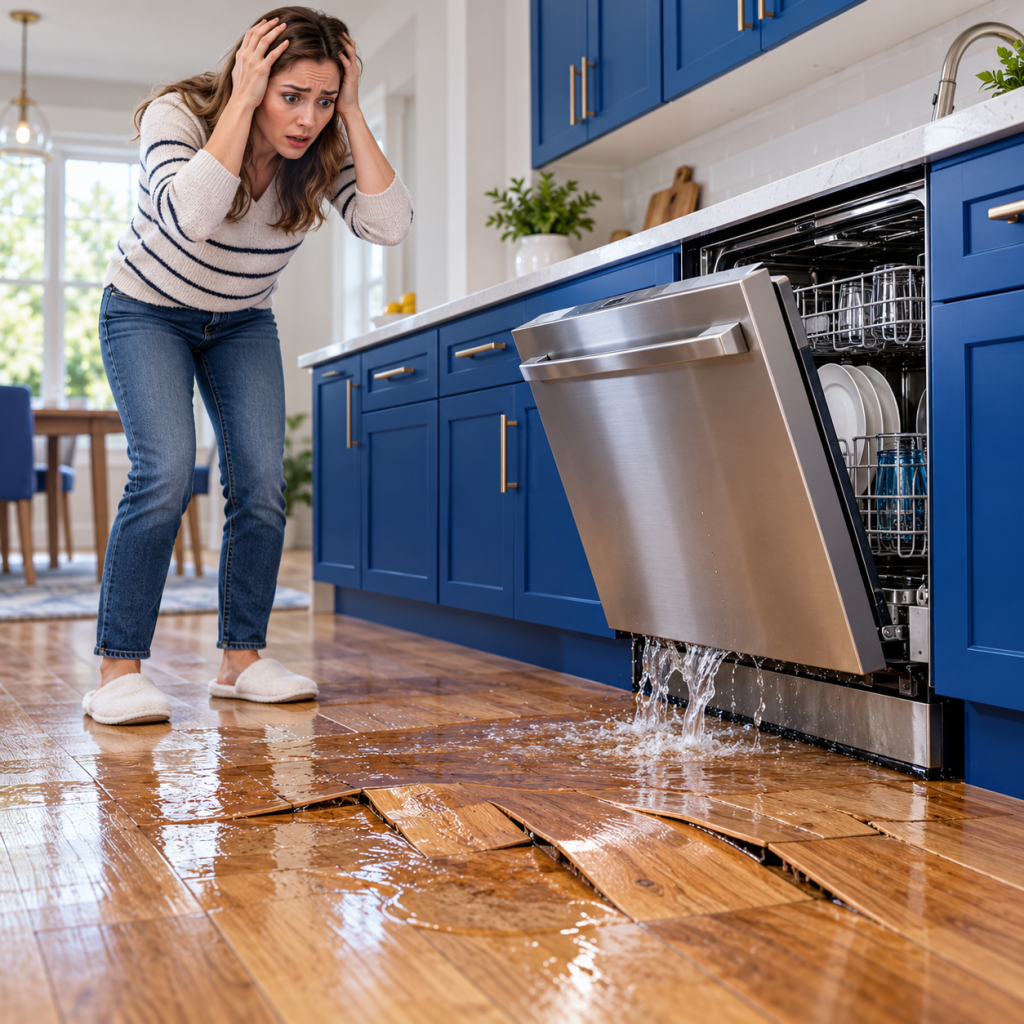
If water is still standing, materials remain soaked, or sewage is involved, the first call should be to a qualified water mitigation company. Its crew handles extraction, containment, drying equipment, moisture tracking, and disposal of contaminated materials. Our reconstruction work starts after the affected area is safe, dry, and ready to rebuild.
Take photographs before demolition whenever it is safe. Keep invoices, drying reports, and notes about the source. Those records also help us understand what the previous crew removed and why.
Dry before rebuilding
A wall can feel dry at the surface while the insulation or backside of the drywall remains damp. We check questionable areas with a moisture meter instead of trusting the paint color. Corners, bottom plates, cabinet toe kicks, and flooring transitions tend to hold moisture longer.
The EPA recommends drying wet materials within 24–48 hours when possible. Materials that cannot be properly cleaned and dried may need removal. This frequently applies to porous products such as insulation, ceiling tile, and damaged wallboard.
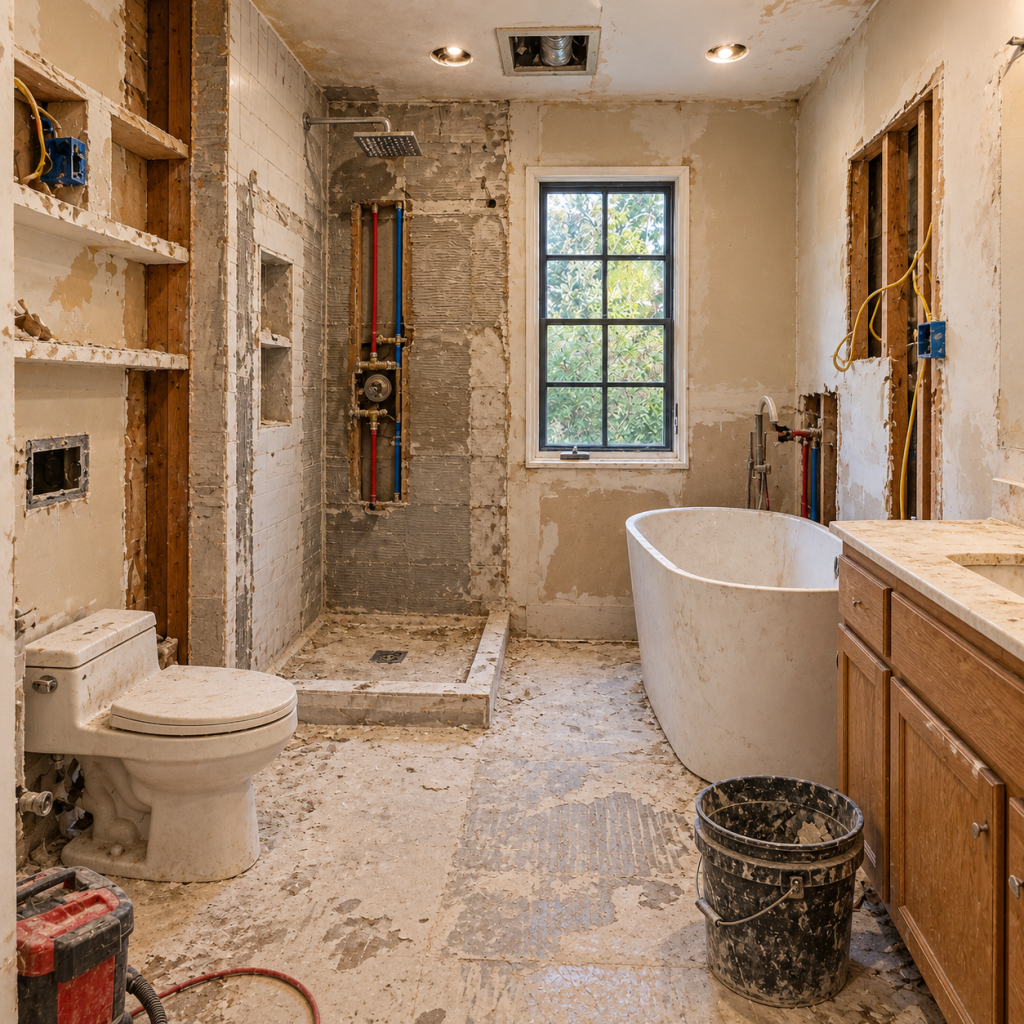
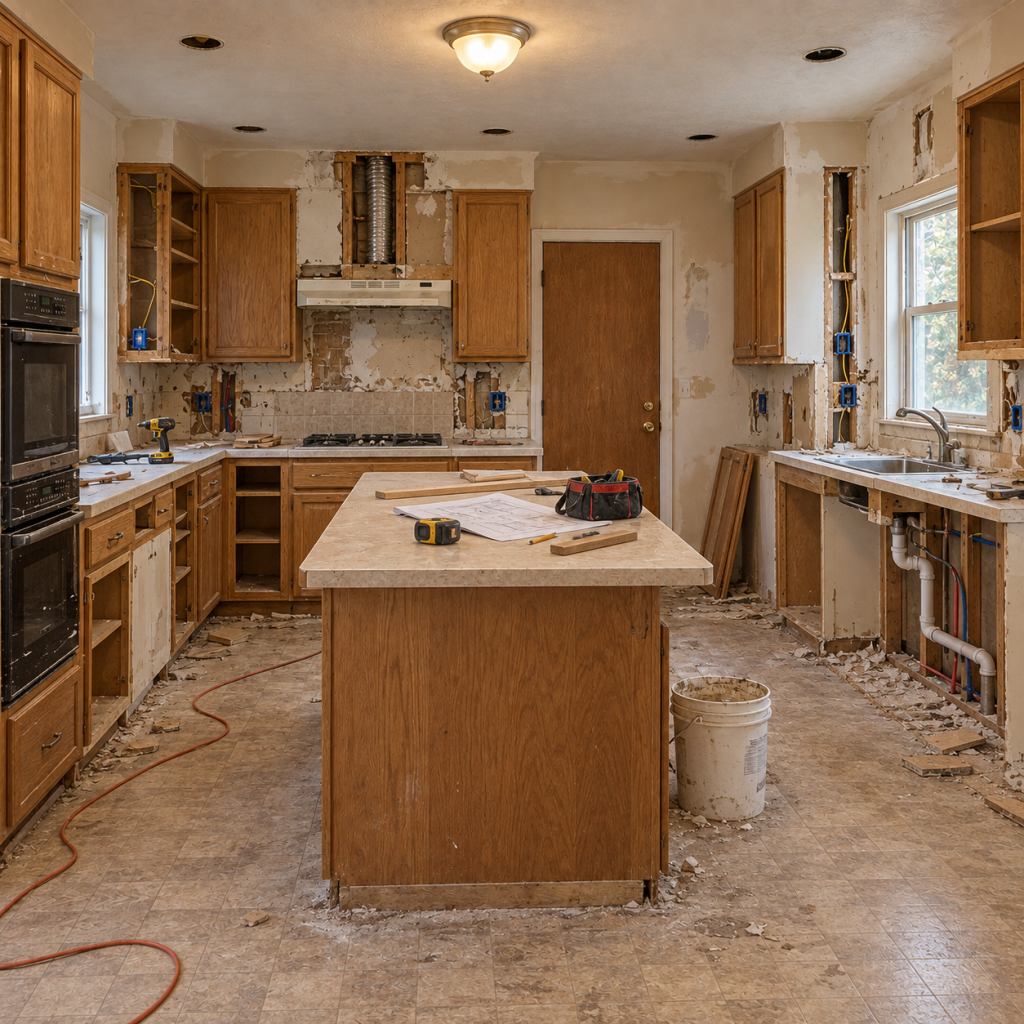
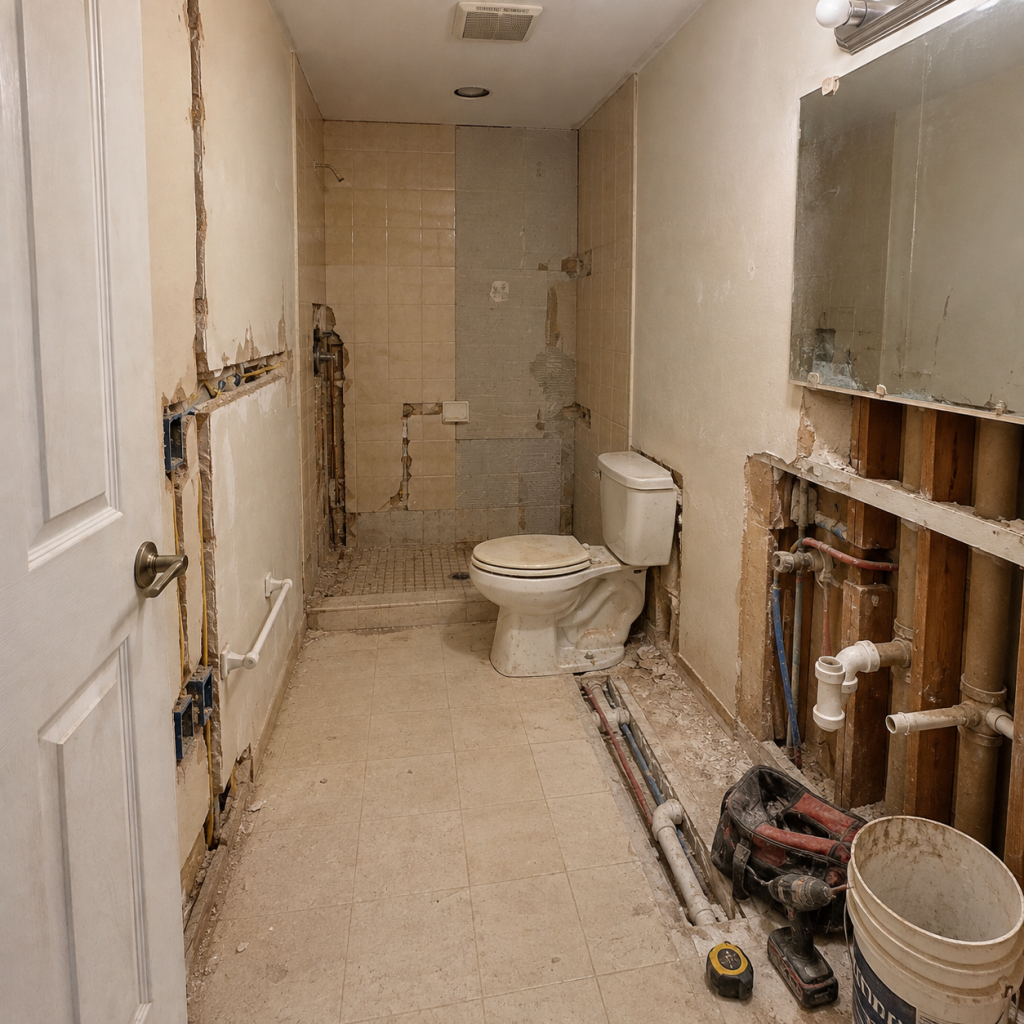
Sometimes the opening left by a mitigation crew looks larger than expected. Usually there is a reason. A tidy two-foot patch is useless if damp insulation continues into the next stud bay.
We begin water restoration reconstruction only after the drying stage is complete. Closing the wall early can trap moisture behind new finishes. The paint may look fine for a while, then a seam starts staining or the baseboard swells again.
Walls and ceilings
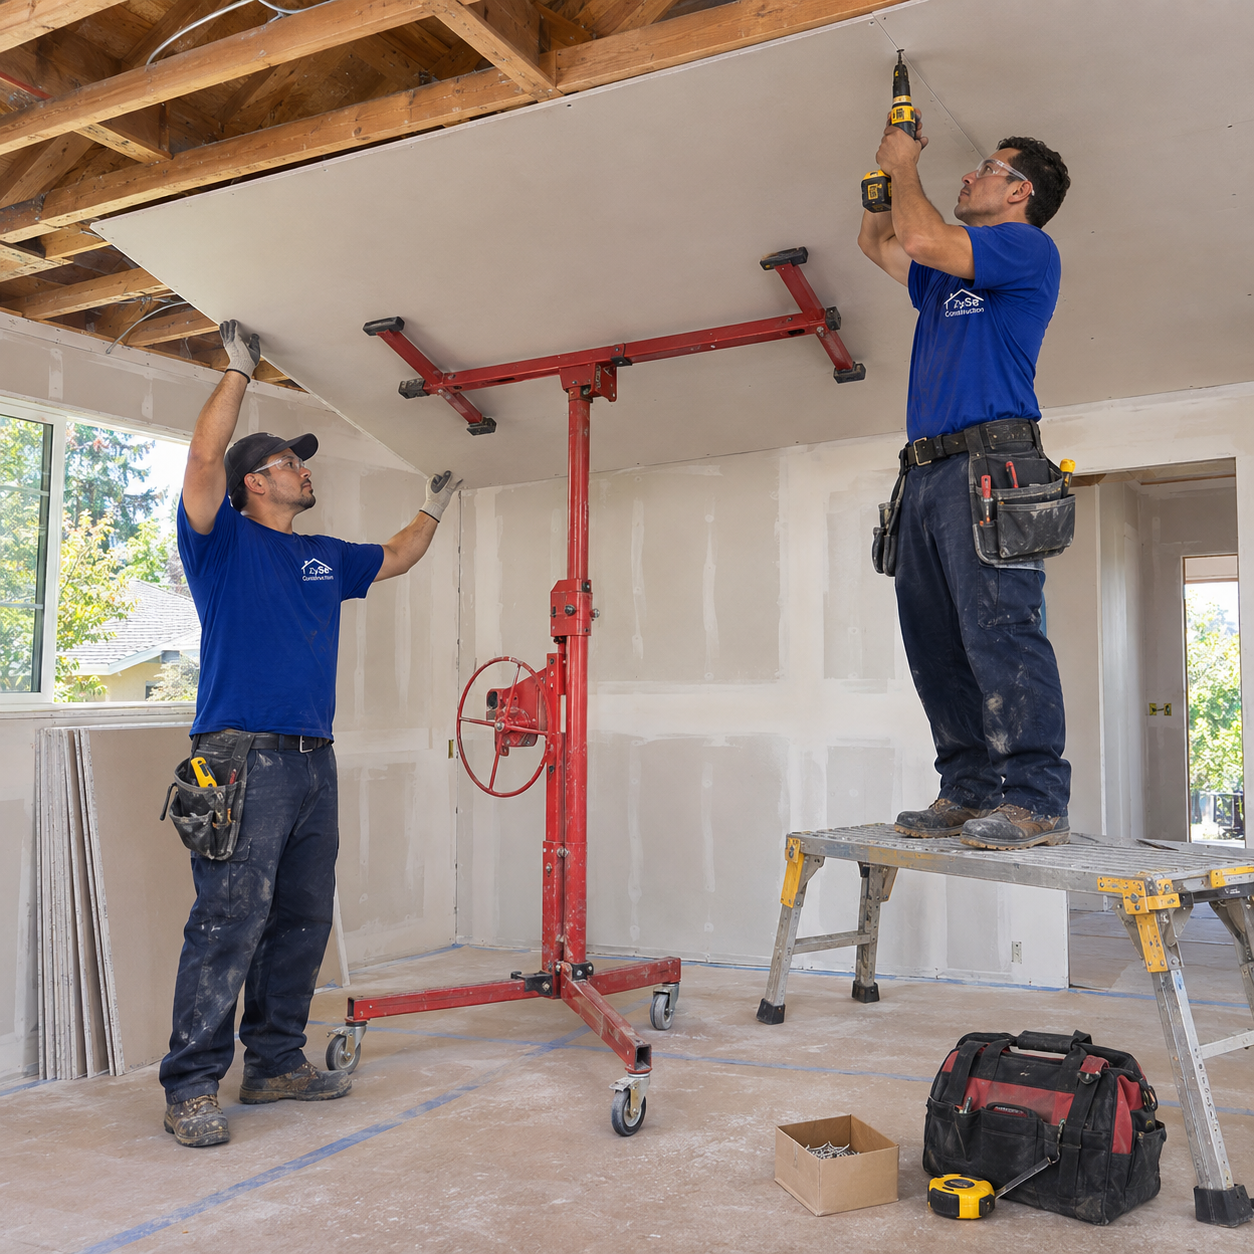
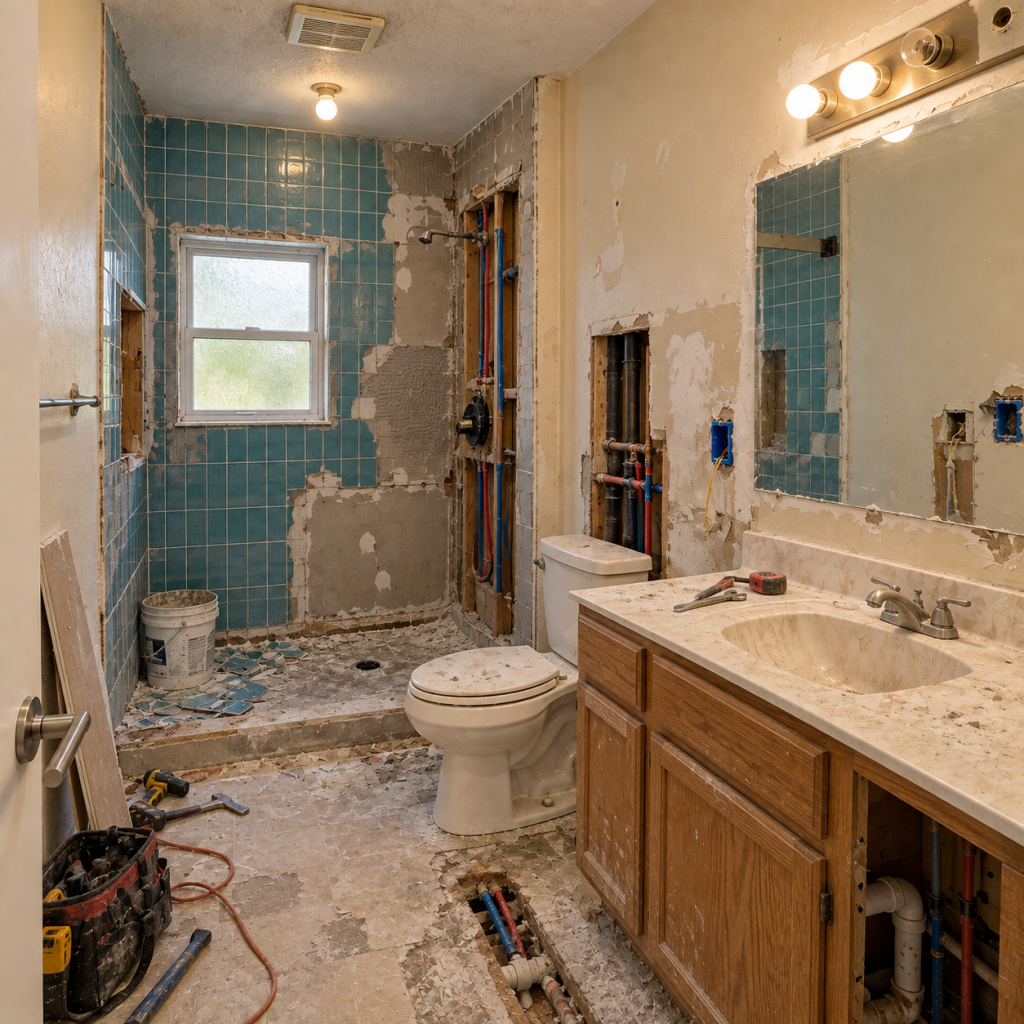
Drywall water damage repair is rarely just a coat of joint compound. We square up rough openings, inspect the exposed framing, replace damaged insulation where required, and add backing for the new board. Every edge of the patch needs solid fastening.
After hanging the board, we tape the joints and build the finish in several passes. Large ceiling patches need wider feathering because side light finds every hump. One extra check with a sanding light usually saves an ugly shadow after painting.
For drywall repair after water damage, matching the existing texture may take longer than installing the patch. Orange peel, knockdown, and older hand-applied finishes all behave differently. We test a small area before spraying the entire repair.
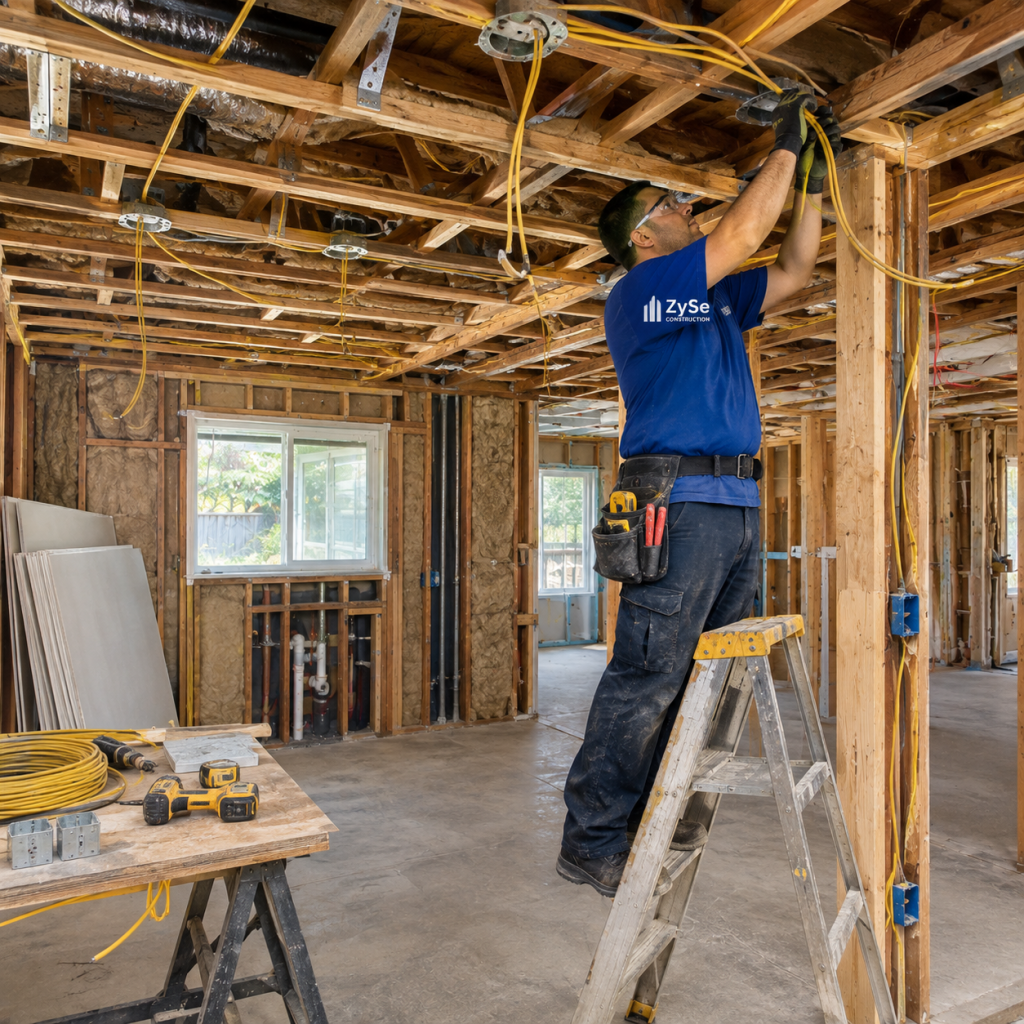
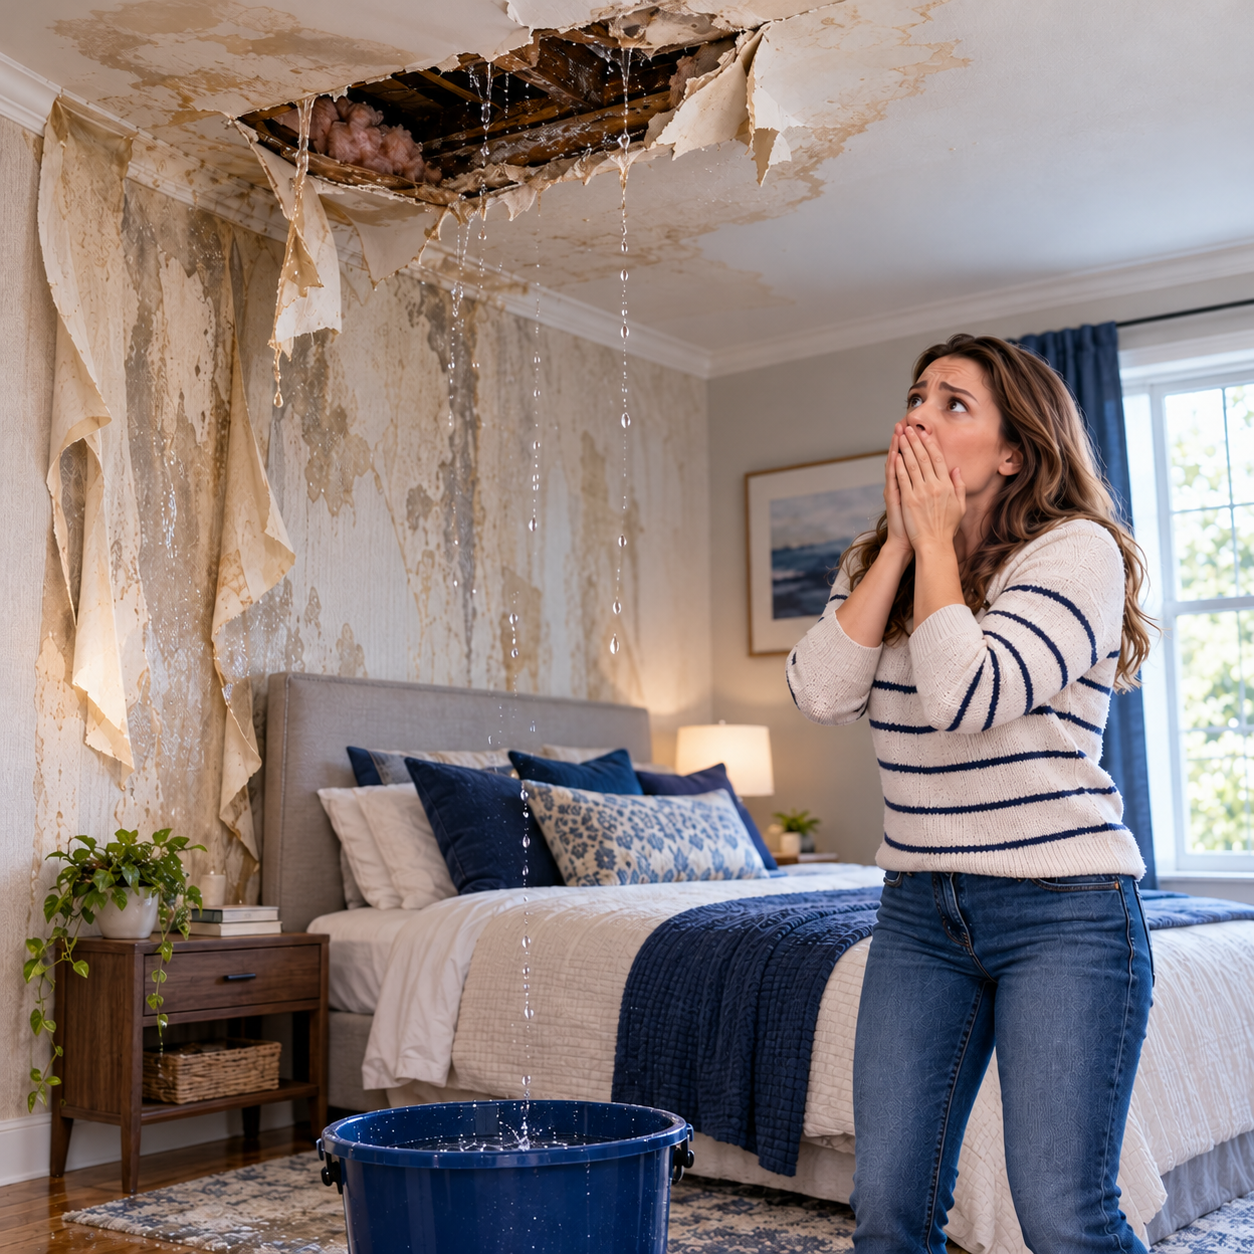
Ceiling water damage repair also requires checking what sits above the stain. Wet insulation, recessed lighting, roof framing, or plumbing may change the scope. A dark ring below a bathroom does not necessarily mean the leak began directly above it. Water travels along framing and pipes.
Do not simply paint over discoloration or visible mold. EPA guidance says the water source and mold problem should be addressed before painting or caulking.
Floors and trim
Wood floor water damage can appear slowly. Boards may cup, separate, darken, or lift at the edges several days after the leak. We first determine whether the moisture entered from above, below, or through an adjacent wall.
Some hardwood floor water damage can be stabilized when drying begins quickly and the boards remain sound. Other sections require replacement. Sanding a wet or badly distorted floor too soon can leave it uneven after the wood returns to its normal moisture level.
Replacement creates another problem: matching the existing boards. Species, width, milling profile, stain, age, and sunlight all affect the color. We may need to blend a wider section instead of placing one bright new board in the middle of an older floor.
Laminate and particleboard products are less forgiving. Once the core swells, it usually does not return to its original shape. Baseboards and door casing can have the same issue. The front may look acceptable while the bottom edge has already opened up.
Matching the finish
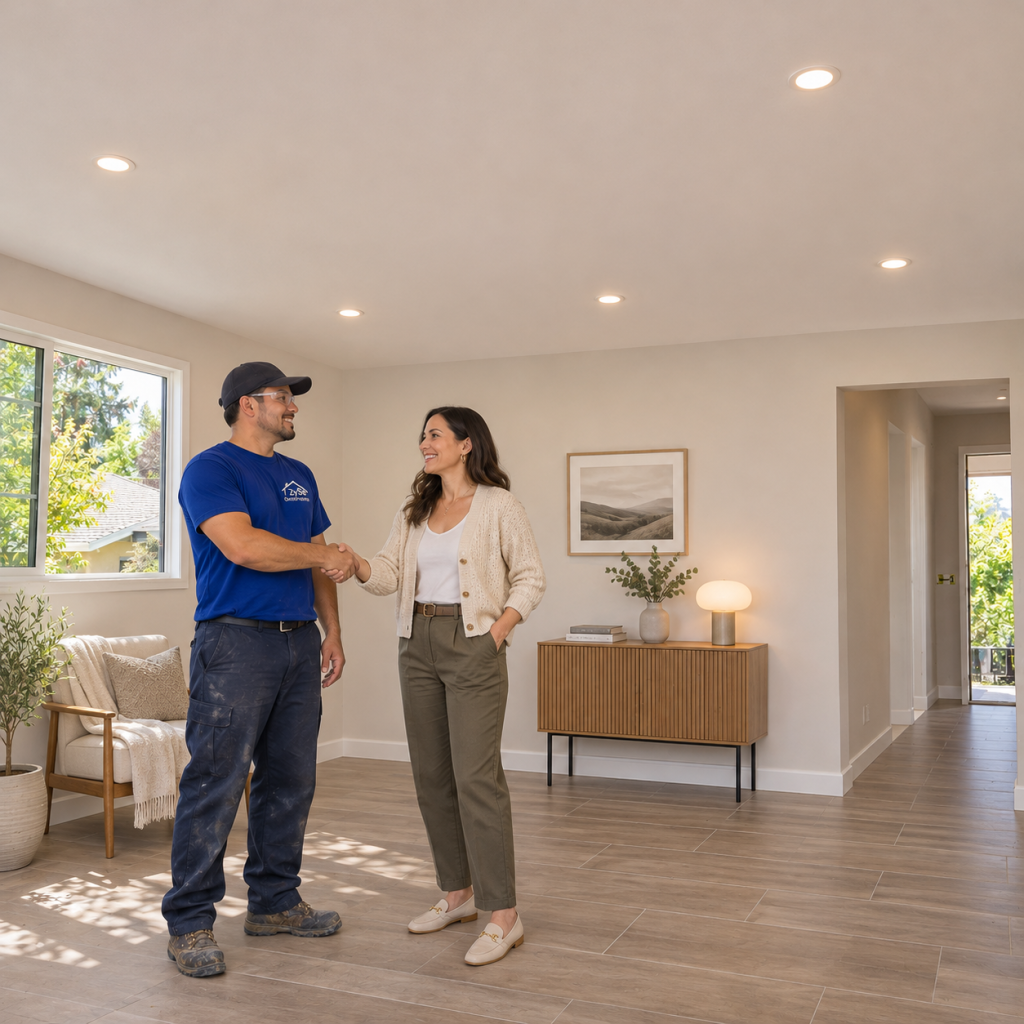
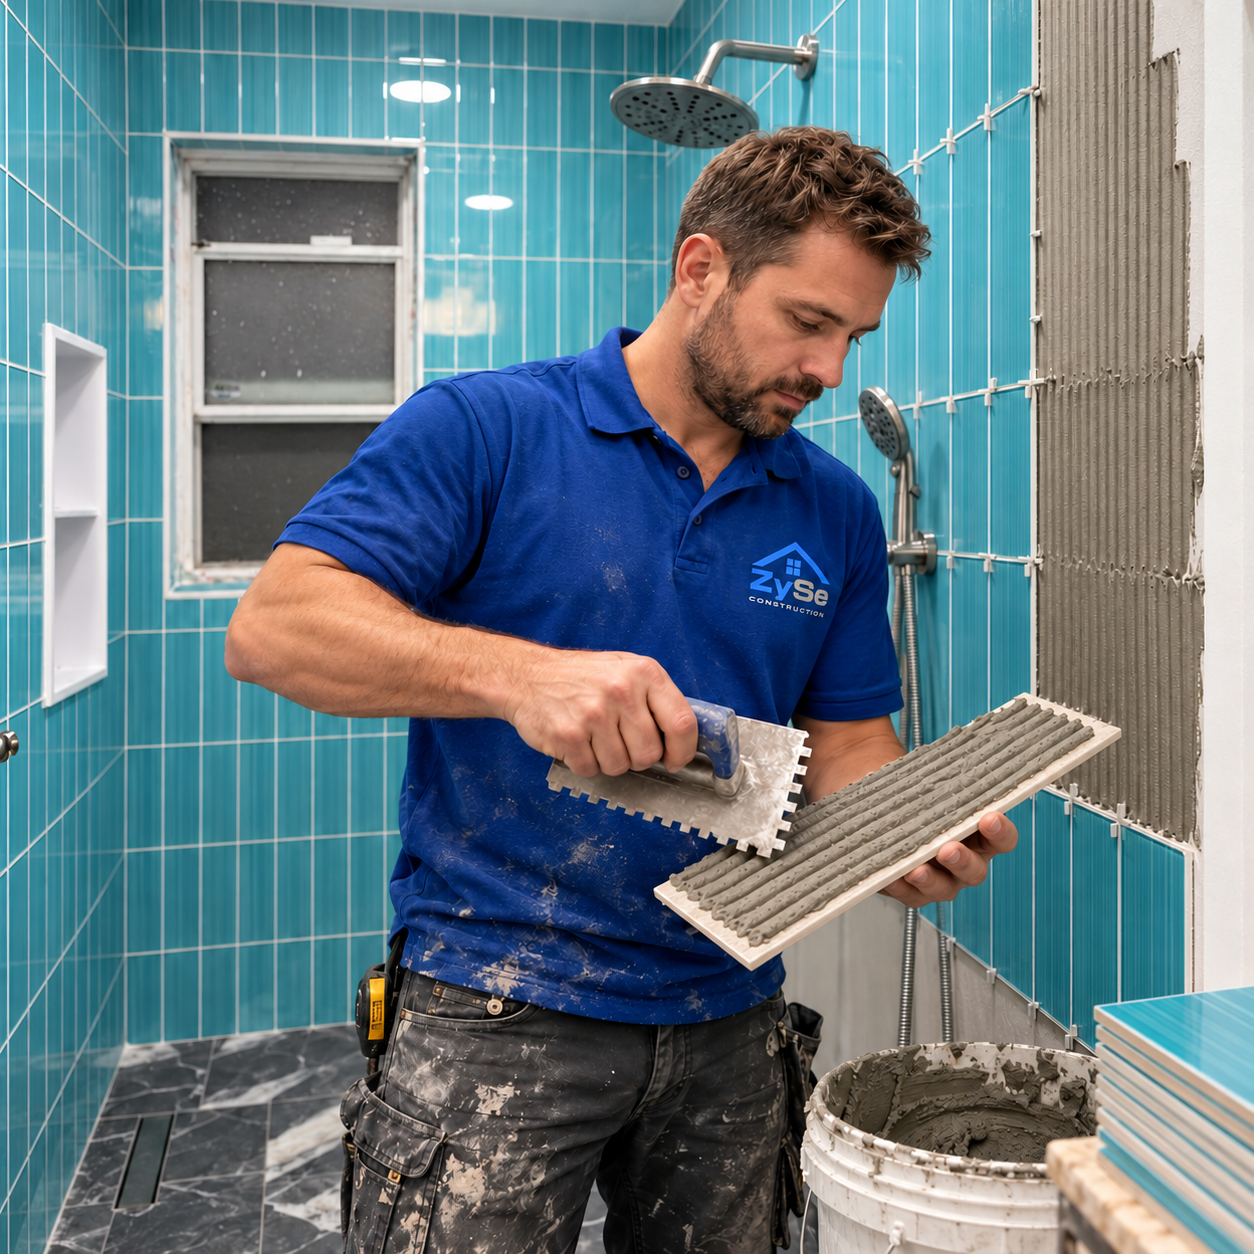
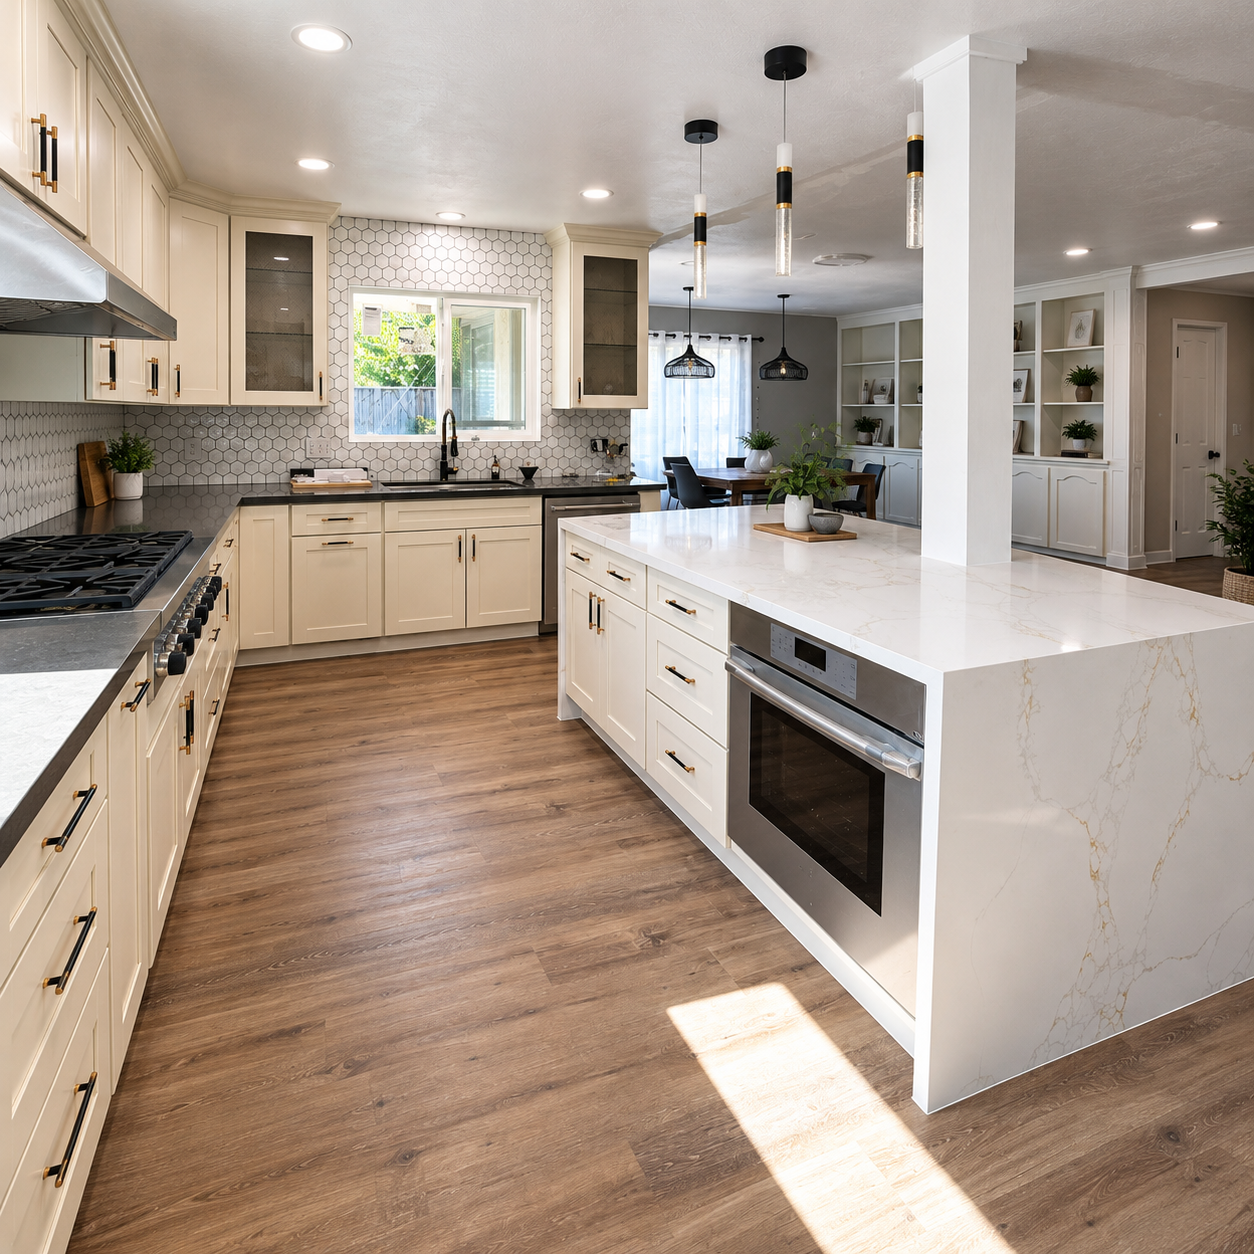
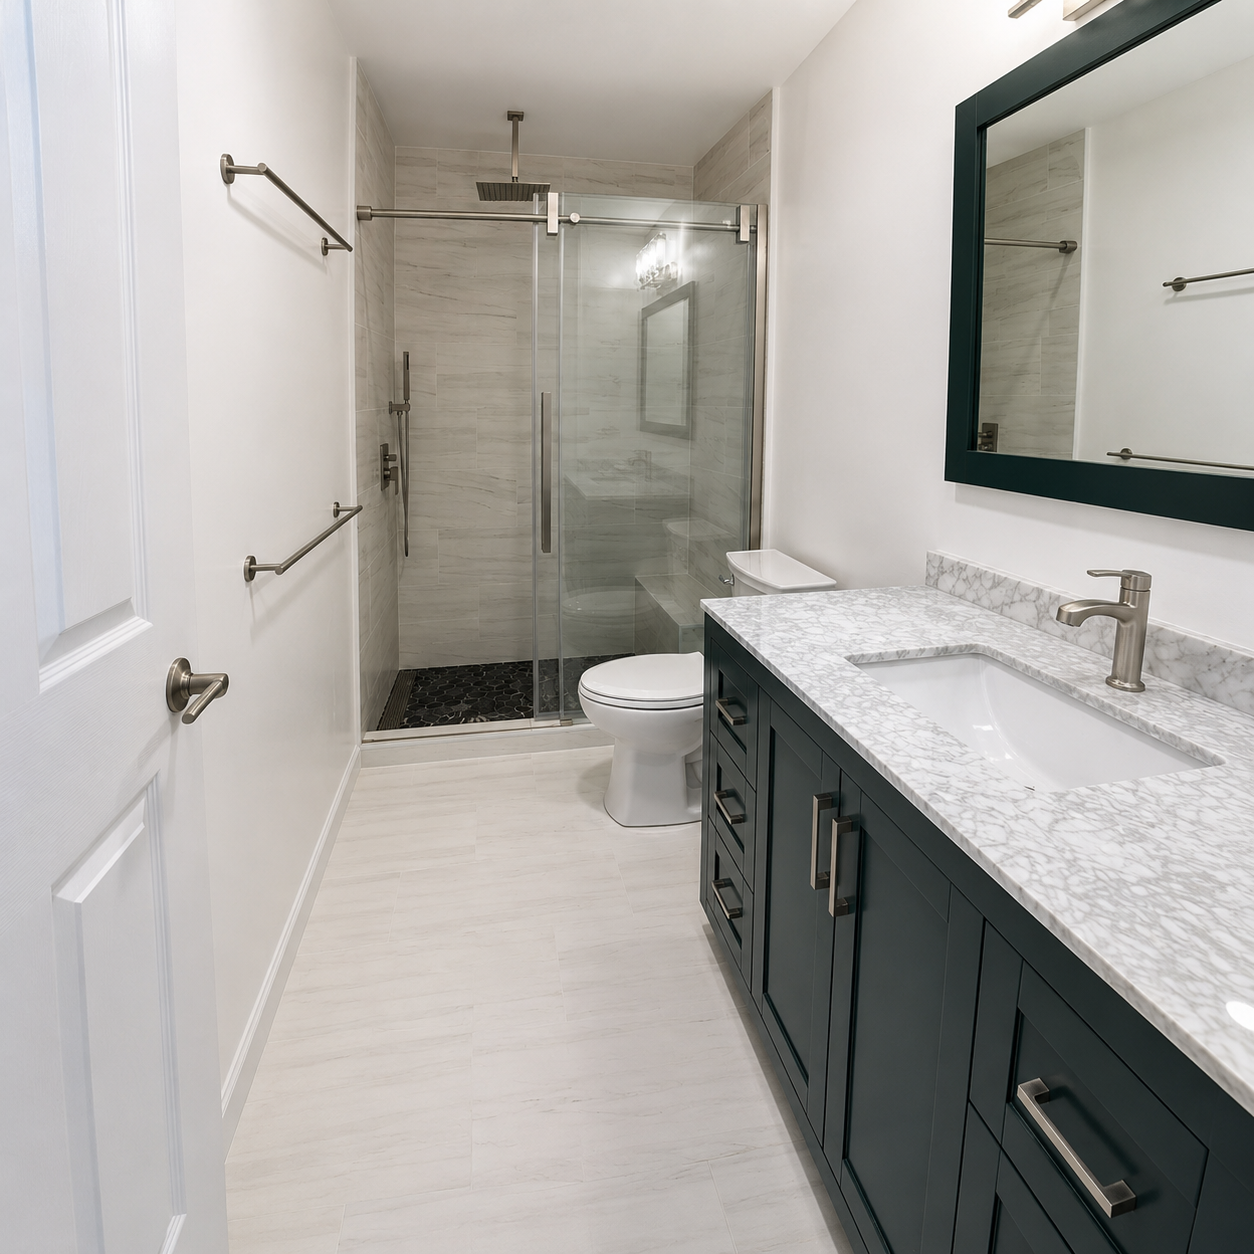
The repair should connect cleanly with the surrounding room. That means matching texture, paint sheen, trim profile, grout color, plank direction, and transition height. This is where water damage repair becomes remodeling work rather than emergency cleanup.

Paint matching deserves a practical conversation. A small wall patch may blend when the original color and product are known. Older paint often has fading, previous touchups, and a different sheen from years of cleaning. In that case, painting from corner to corner gives a cleaner result than chasing a spot match.
The same applies to ceilings. A new patch in the center of an older ceiling may flash under daylight even when the color looks correct in the can. We price the smallest area that can be finished cleanly, then explain the alternative before work starts.
Our project manager keeps the remaining items together: drywall, texture, paint, flooring, trim, caulk, and final cleanup. Fewer handoffs usually mean fewer unfinished edges.
Planning the repair
When comparing water damage restoration companies, ask where mitigation ends and reconstruction begins. Some companies remove wet materials and operate drying equipment but do not reinstall drywall, flooring, cabinets, or finishes. Others manage both stages. The proposal should clearly identify who is responsible for each part.
A useful reconstruction estimate needs more than one close-up picture. Send one photo of the damaged area, one wider view of the room, and any pictures taken during demolition. Include the property location, known leak source, mitigation report if available, and the finishes you want restored.
If you need water restoration repairs in San Jose or the Bay Area, request a free estimate after the leak is controlled. We will review the damaged walls, ceiling, flooring, and trim, then prepare a repair scope based on what your home actually needs.