

Kitchen remodel timeline


Opening the room
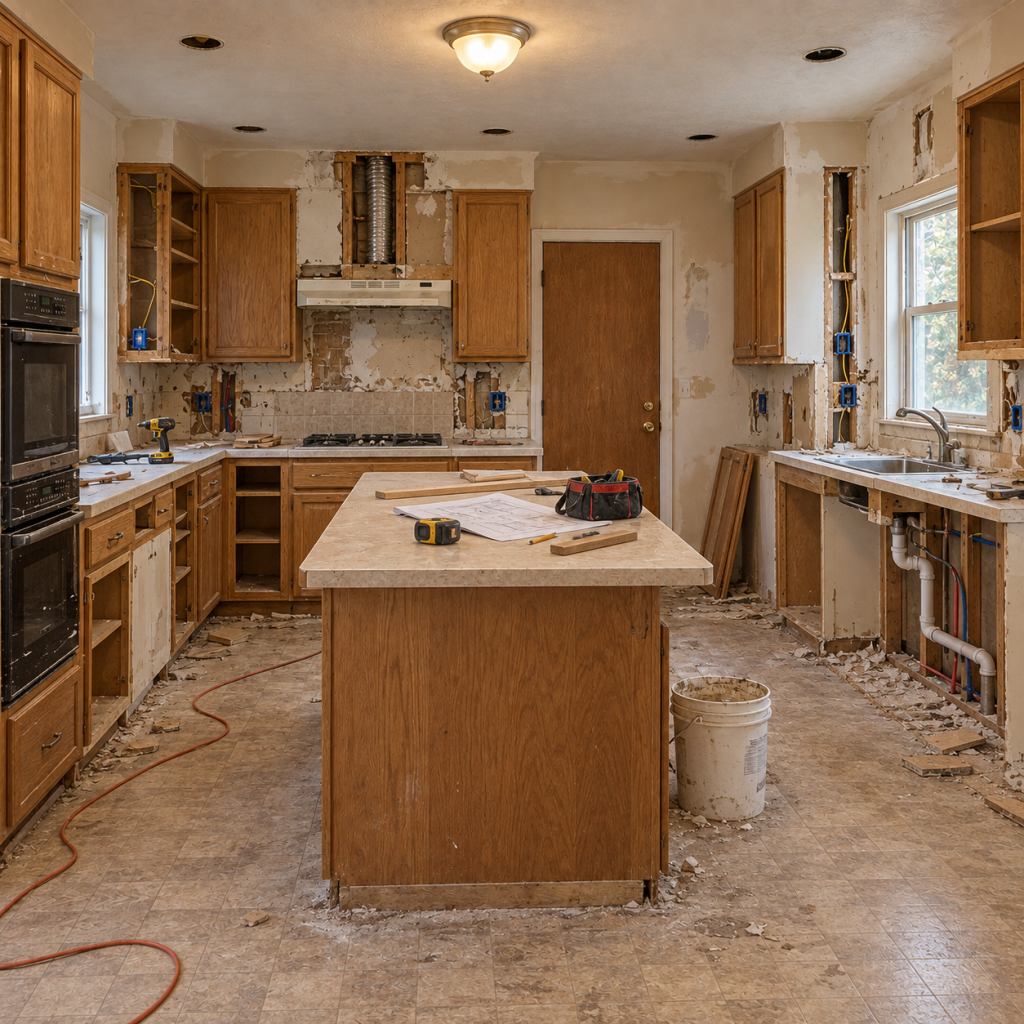
We started this kitchen remodel in San Jose by pulling the old finishes and opening the areas that needed access. The oak cabinets, worn counters, small tile backsplash, and old floor had reached the end of their run.
The wall behind the backsplash needed patched after the tile came off. Some pieces released cleanly. Others brought drywall paper and old adhesive with them. We cut those areas back instead of trying to bury the damage.
The large island was opened down to the framing. Plumbing, wiring, outlet boxes, and old blocking were packed inside. The support column stayed in place, so the new layout had to work around it. Removing it would have turned the project into a different job entirely.
Utility rough-in
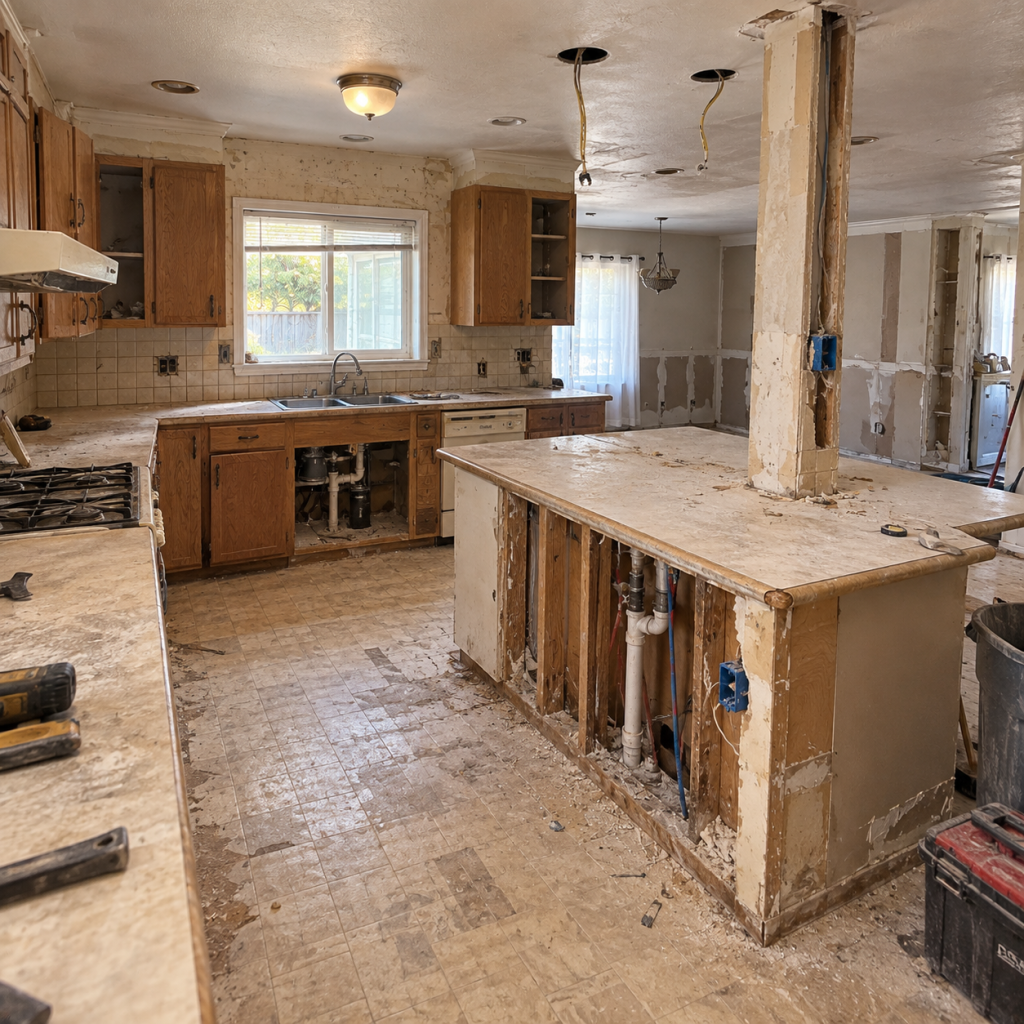
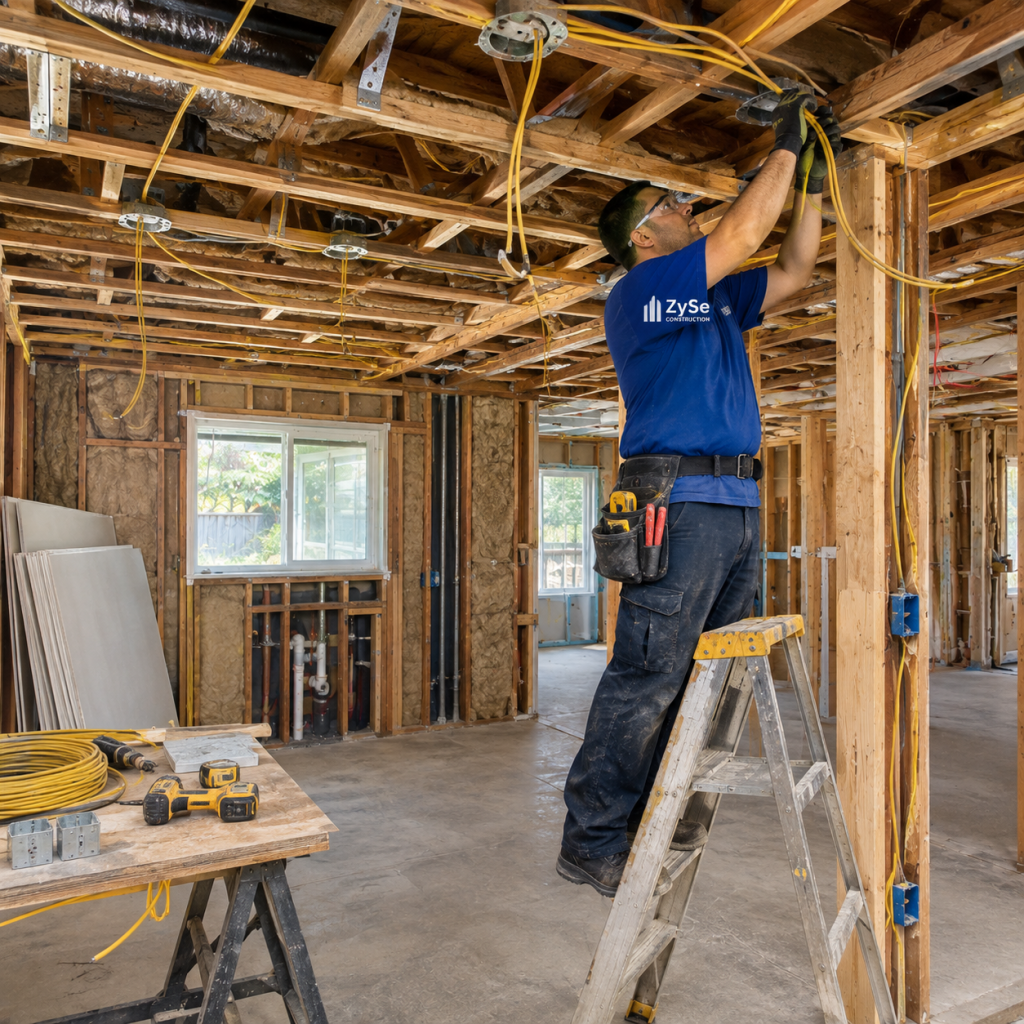
The old boxes was left in locations that matched the previous cabinets and lighting. We traced the circuits, removed unused runs, and reset the electrical points for the new layout. Ceiling openings were also prepared for recessed lights and three pendants above the island.
Under the sink, we cleaned up the exposed plumbing and prepared the connections for the new single-bowl sink, faucet, and dishwasher position. The island utilities needed more attention becuase the new design included a built-in oven.
Cabinet drawings stayed nearby during rough-in. One misplaced box can land behind a drawer or appliance panel. We checked the clearence before the walls and island frame were closed.
Island rebuild
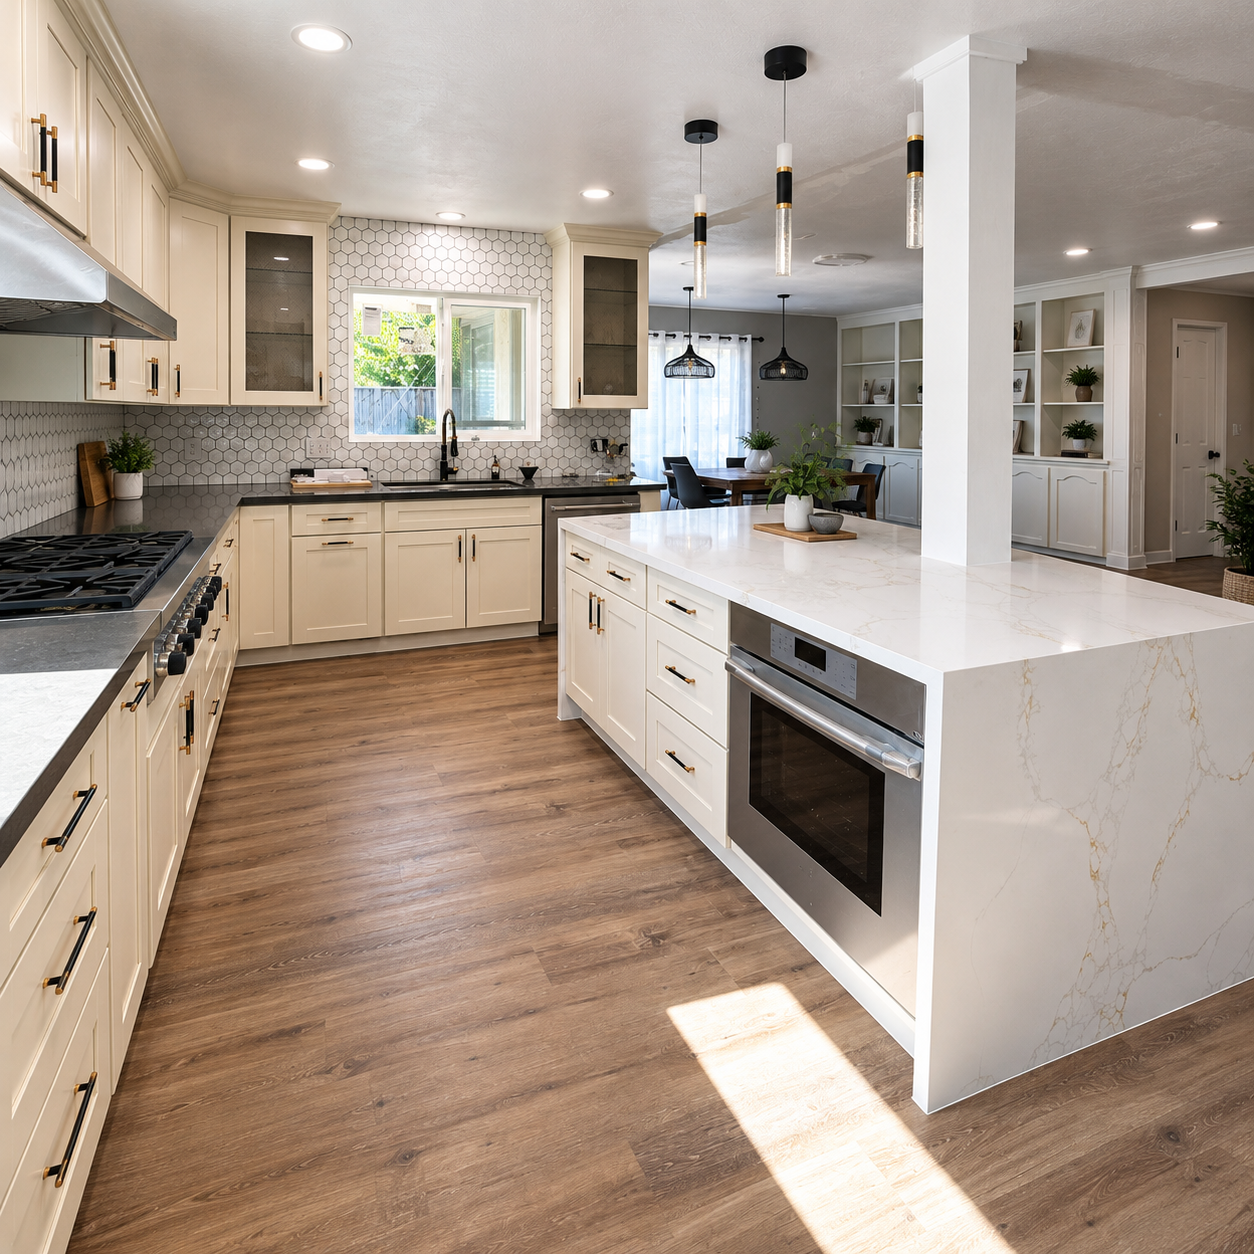
The old island had a rounded counter, exposed framing, and a column rising through one side. We rebuilt it as a larger rectangular work area with storage and a built-in oven.
The support column was squared, repaired, and wrapped in white trim. It now looks connected to the island instead of standing beside it like an unfinished post.
During the first dry fit, the oven opening and electrical location needed another check. The appliance fit, but the cable had very little room behind it. We moved the connection before the finished panels went on.
A few phone calls followed.
The island panels was installed only after the appliance dimensions were confirmed. A white veined slab was then fitted across the top and carried down the visible end as a waterfall panel.
Cabinets and storage
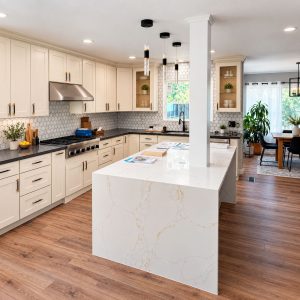
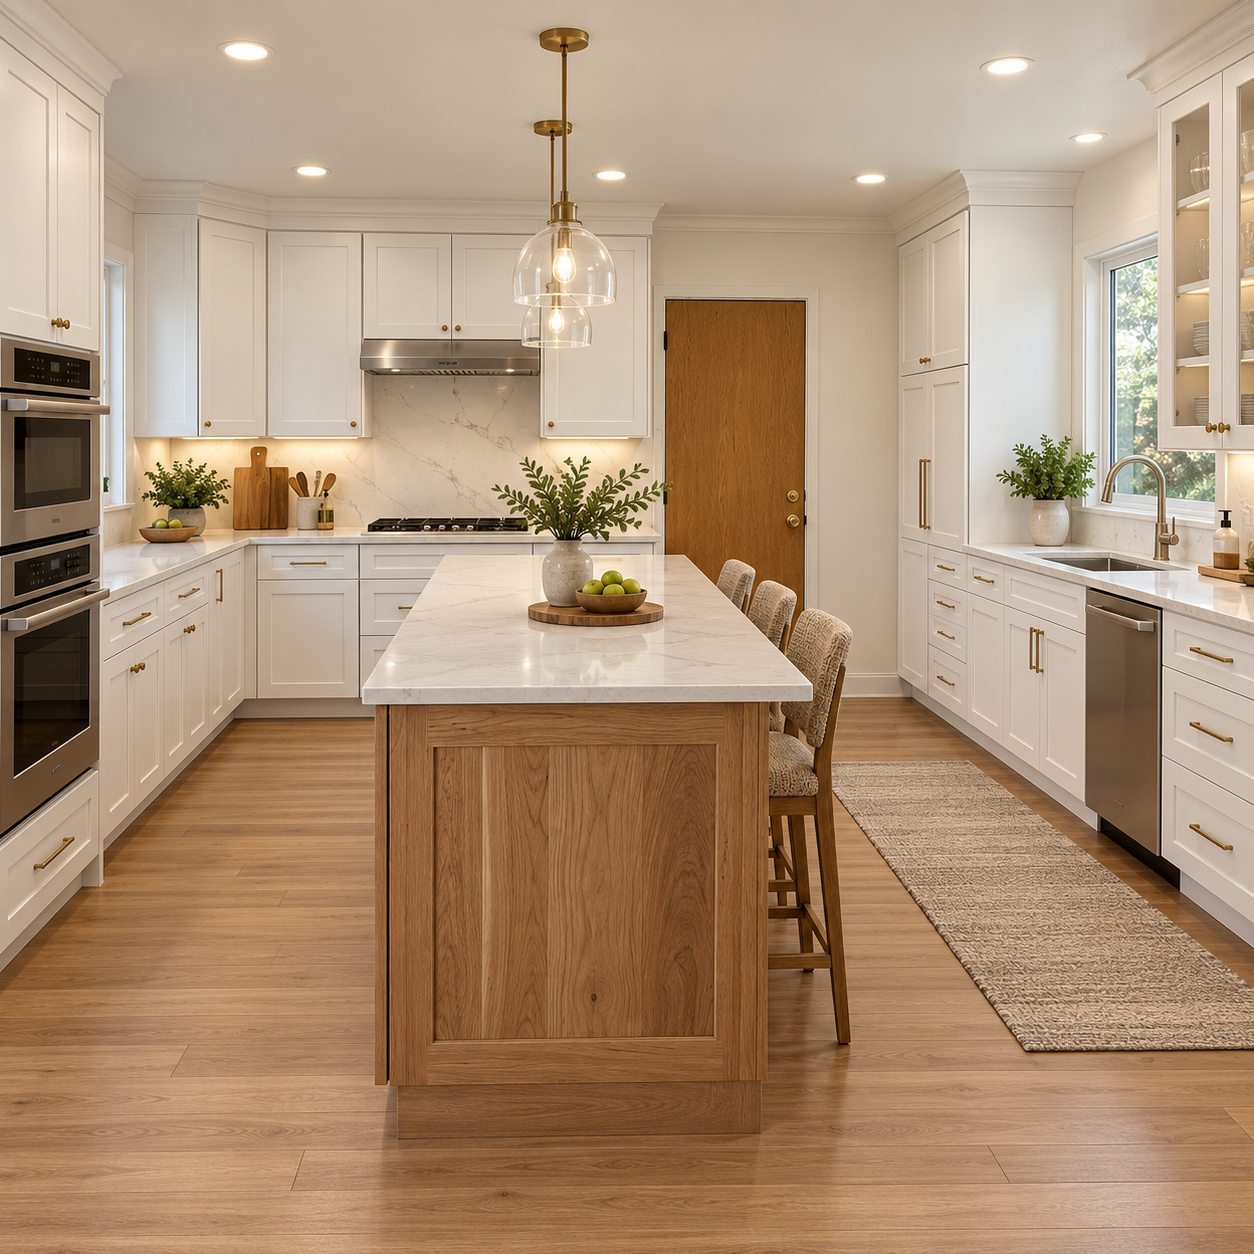
For this custom kitchen remodeling in San Jose, we replaced the old oak boxes with warm white Shaker-style cabinetry. Dark handles with brass details added contrast without making the room busy.
The upper cabinets now reach the ceiling and finish with crown molding. Around the window, glass-front cabinets balance both sides of the sink. Getting those reveals even took longer than expected. The window was square enough; the surrounding wall was less cooperative.
We also added drawers and storage to the island. In the adjoining room, the unfinished wall became a built-in cabinet and shelving unit. That work was tied into the same trim and paint package so the kitchen and dining area read as one space.
Surfaces and lighting
The perimeter received a dark countertop, while the island stayed light. That difference helped separate the main work run from the larger prep and seating area.
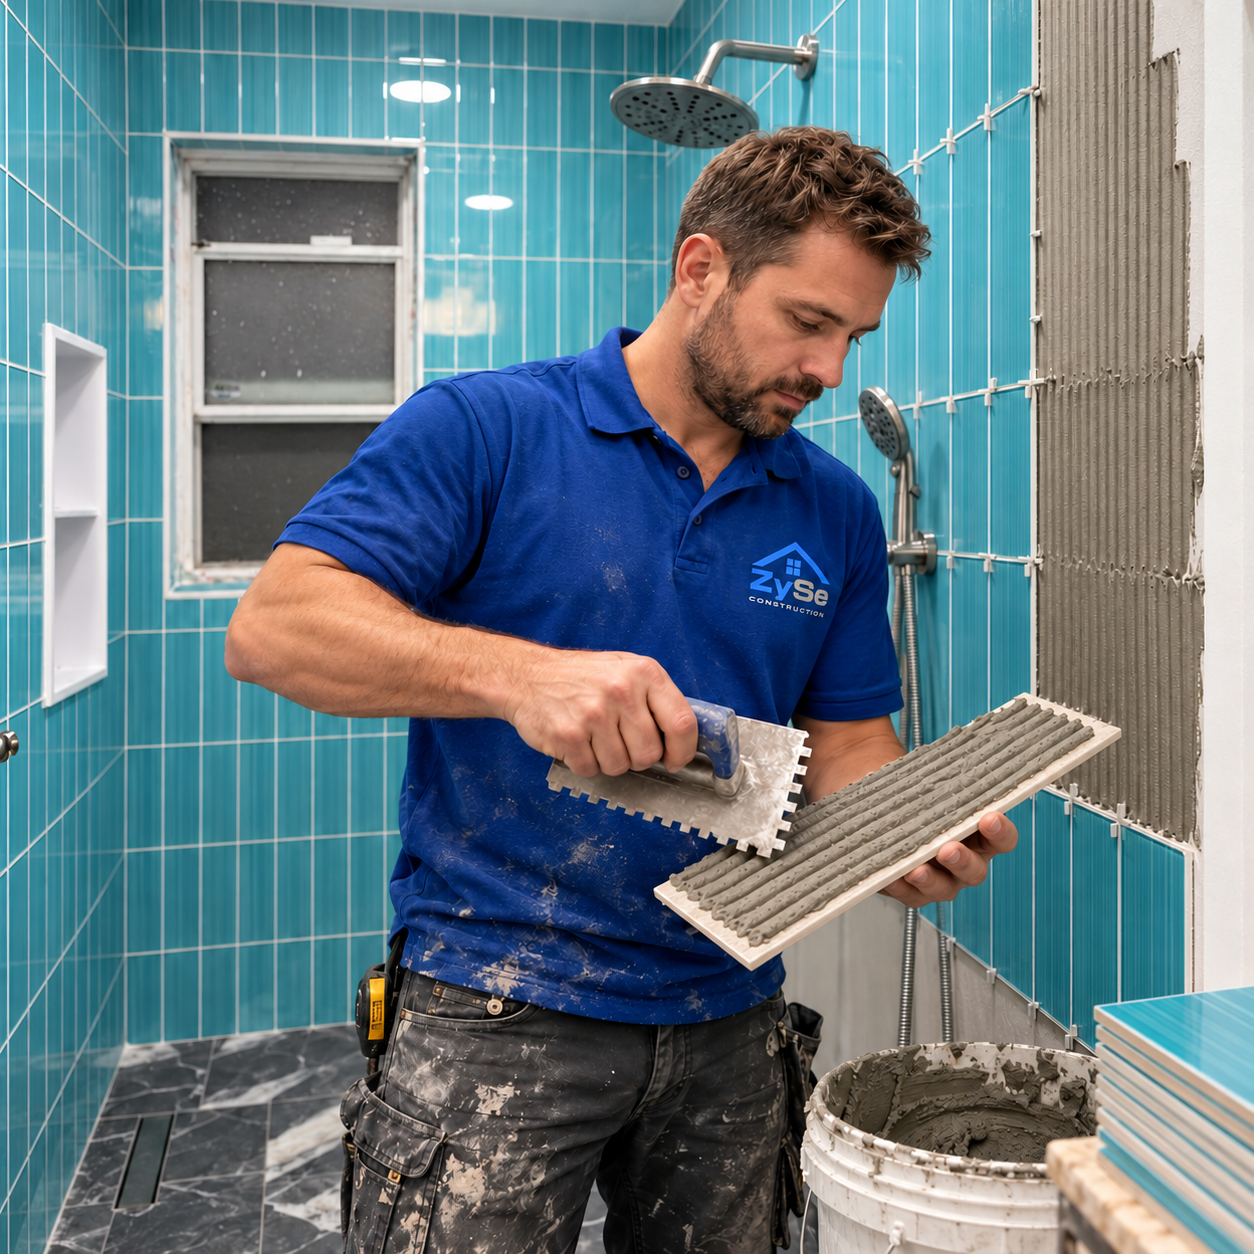
We installed a white hexagon backsplash around the range, sink, window, and upper cabinets. The cuts around outlets took time. One box sat slightly proud, and the first piece would not lie flat. We reset the box and tried it again.
The old ceiling fixtures were replaced with recessed lighting and slim pendant lights over the island. Two darker pendants went into the dining area. We checked the aligment from the kitchen entrance because that is where a shifted row shows up first.
The range hood, cooktop, dishwasher, built-in oven, sink, and faucet were fitted after the surrounding surfaces were ready. The protective film stayed on longer than anyone liked, but it saved the stainless during the last round of work.
Flooring and handover
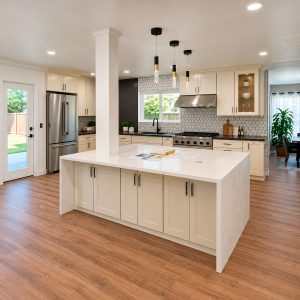
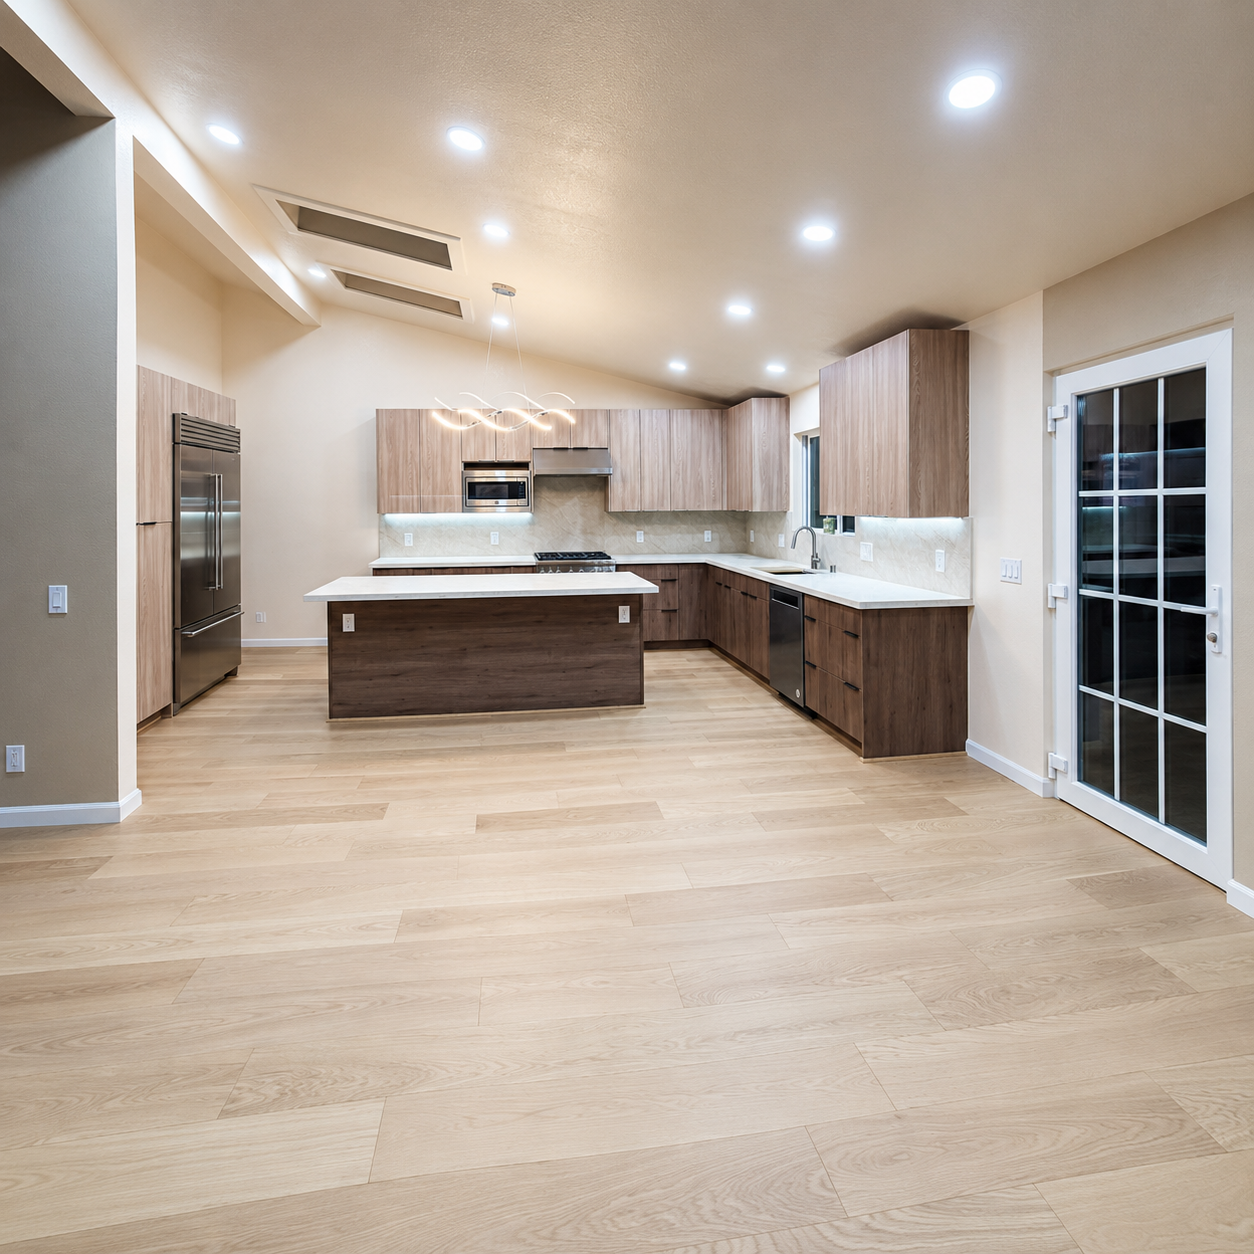
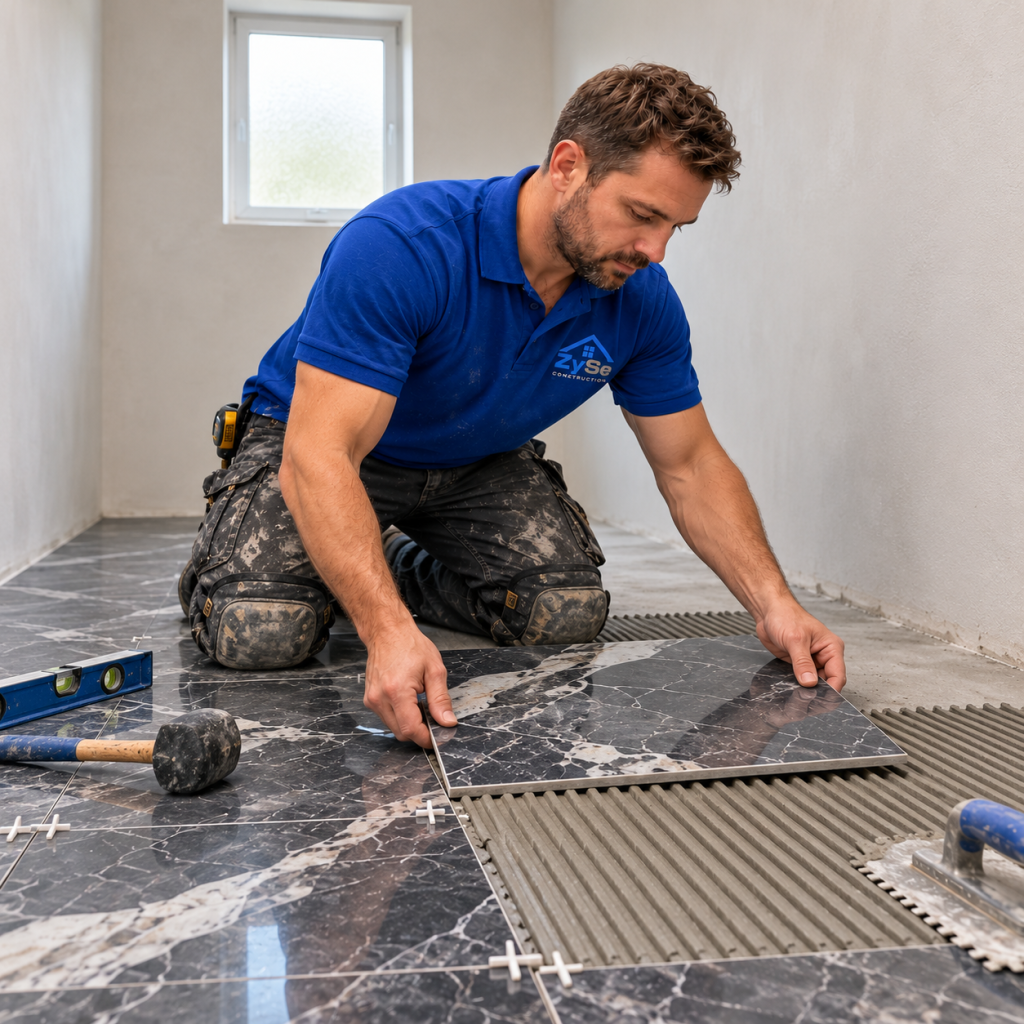
The old small-format floor covering came out with the demolition. Afterward, the base needed scraping and spot leveling before the new planks could be laid.
We ran warm wood-look flooring through the kitchen and into the adjoining room. A few rows started drifting near the island. We noticed it early, pulled them back, and reset them. Annoying, but still small.
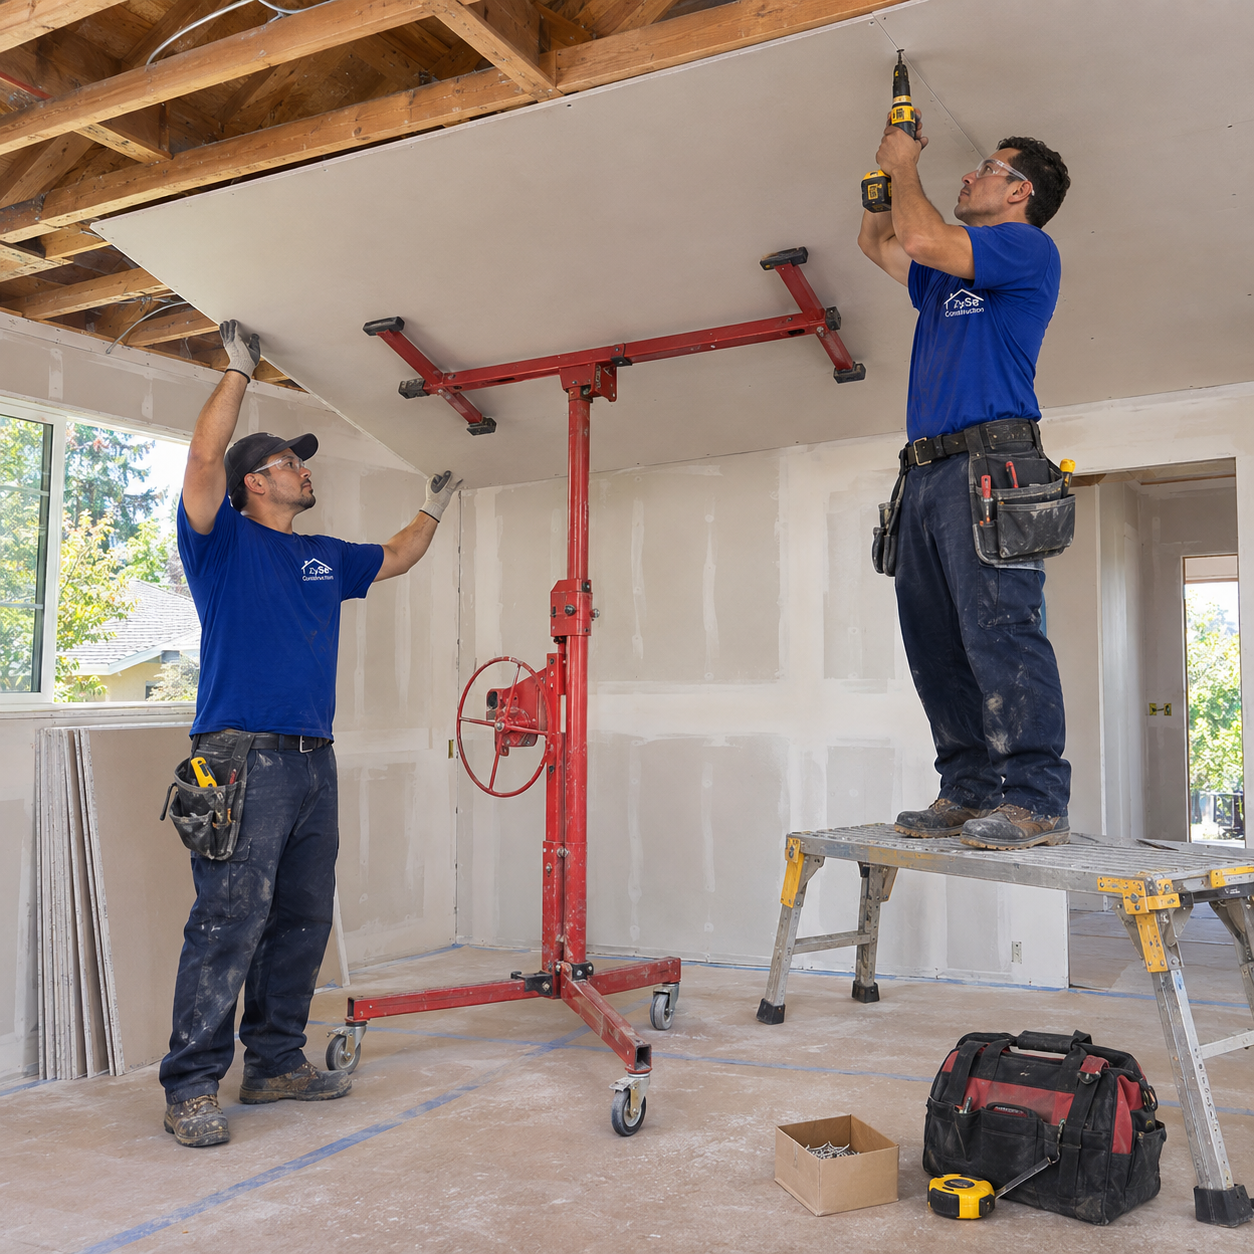
The last stage included baseboards, drywall touchups, paint, cabinet adjustments, caulking, and hardware checks. One door needed another hinge adjustment after the counters went in. The backsplash also needed a small silicone correction near the sink.
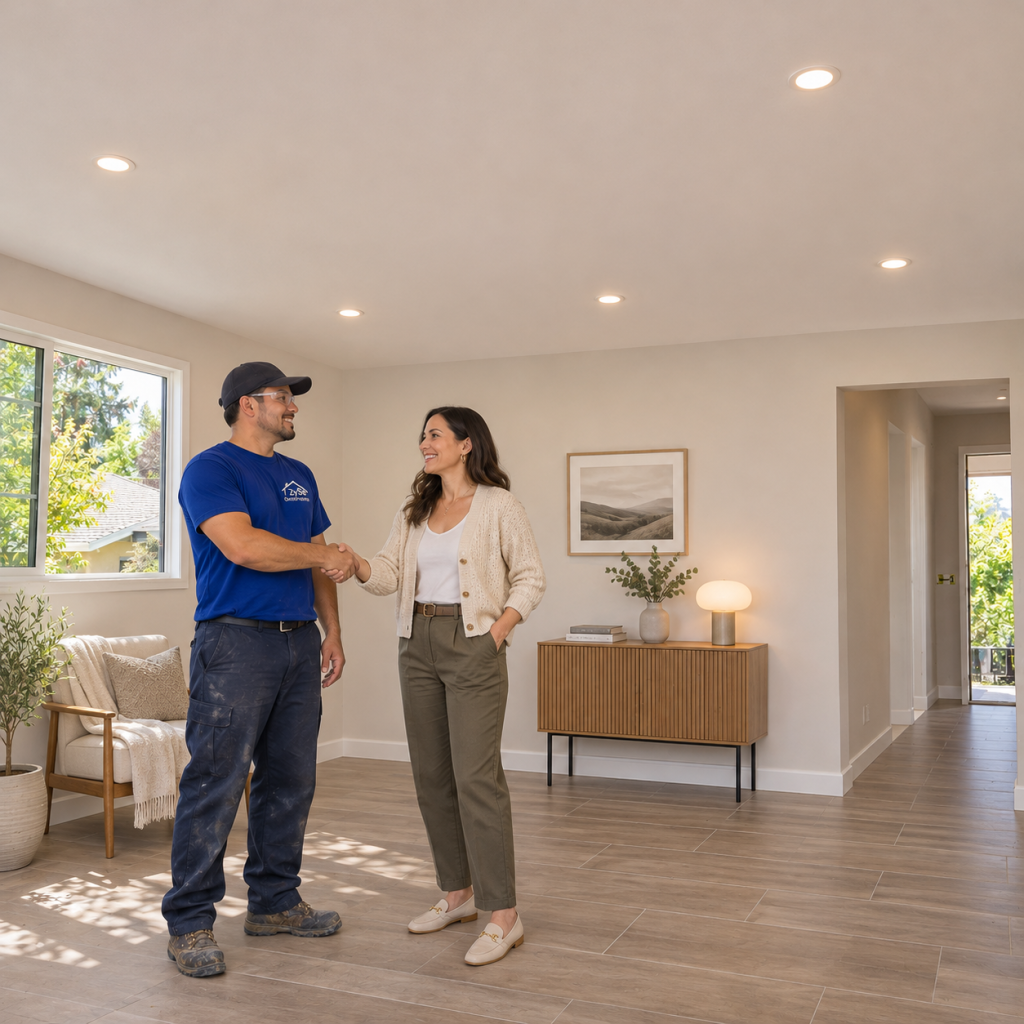
Before cleanup, we tested the outlets, lighting, faucet, drain, hood, and appliance openings. Dust was removed from the cabinets, counters, floor, and adjoining built-ins before handover.
Before ordering cabinets, have the room measured and keep every appliance specification ready. A kitchen contractor in San Jose should check the existing plumbing and electrical during the same visit. We can review the room and cabinet plan before the order is placed.