

Kitchen remodel cost San Jose


Budget before demolition
Same footprint
Open-wall work
Cabinets and surfaces
Six-week handover
Budget before demolition
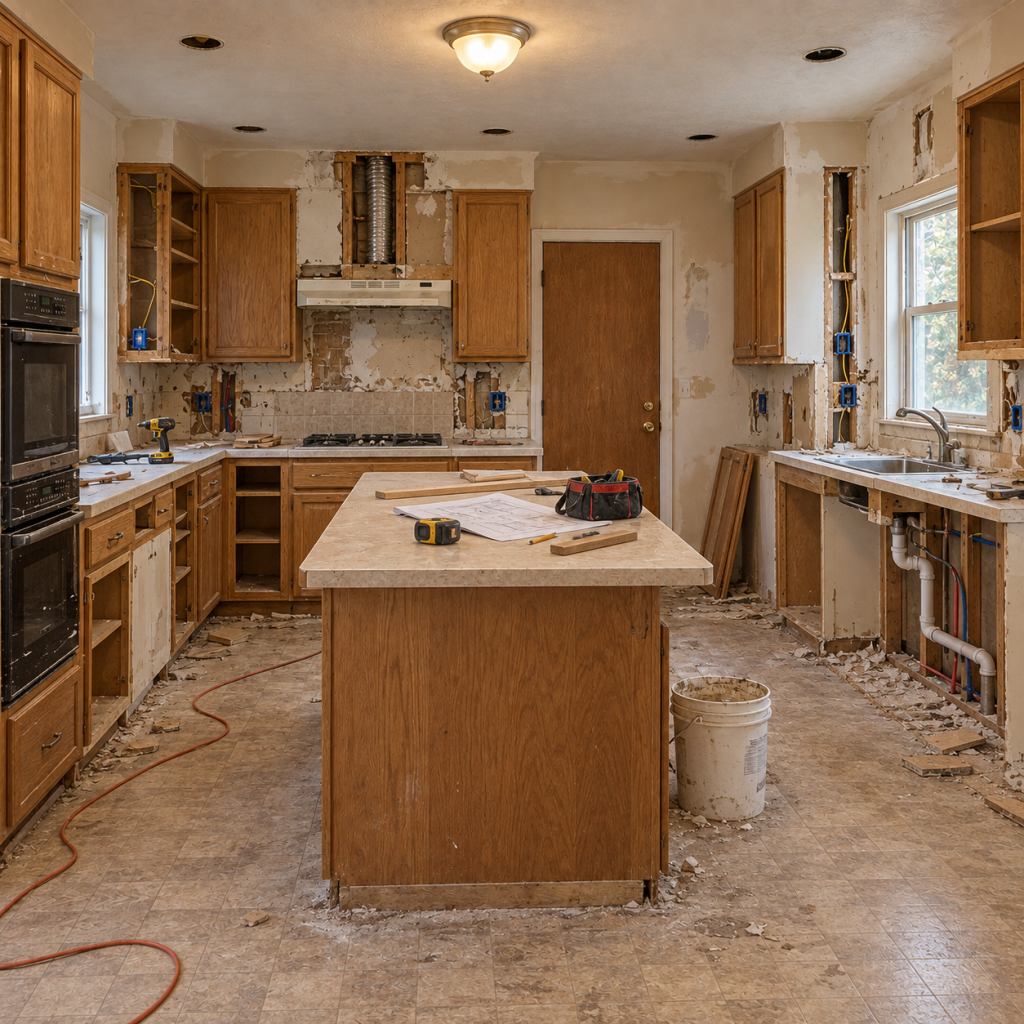
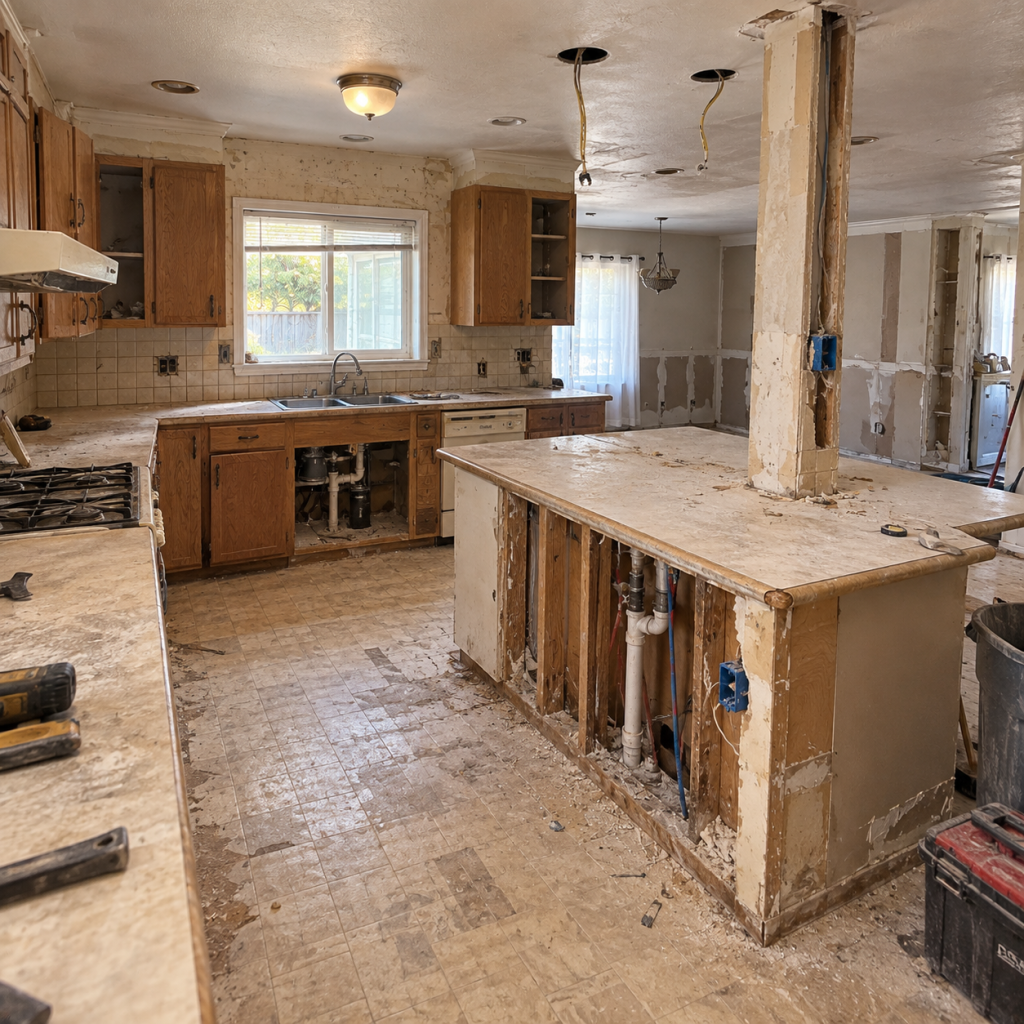
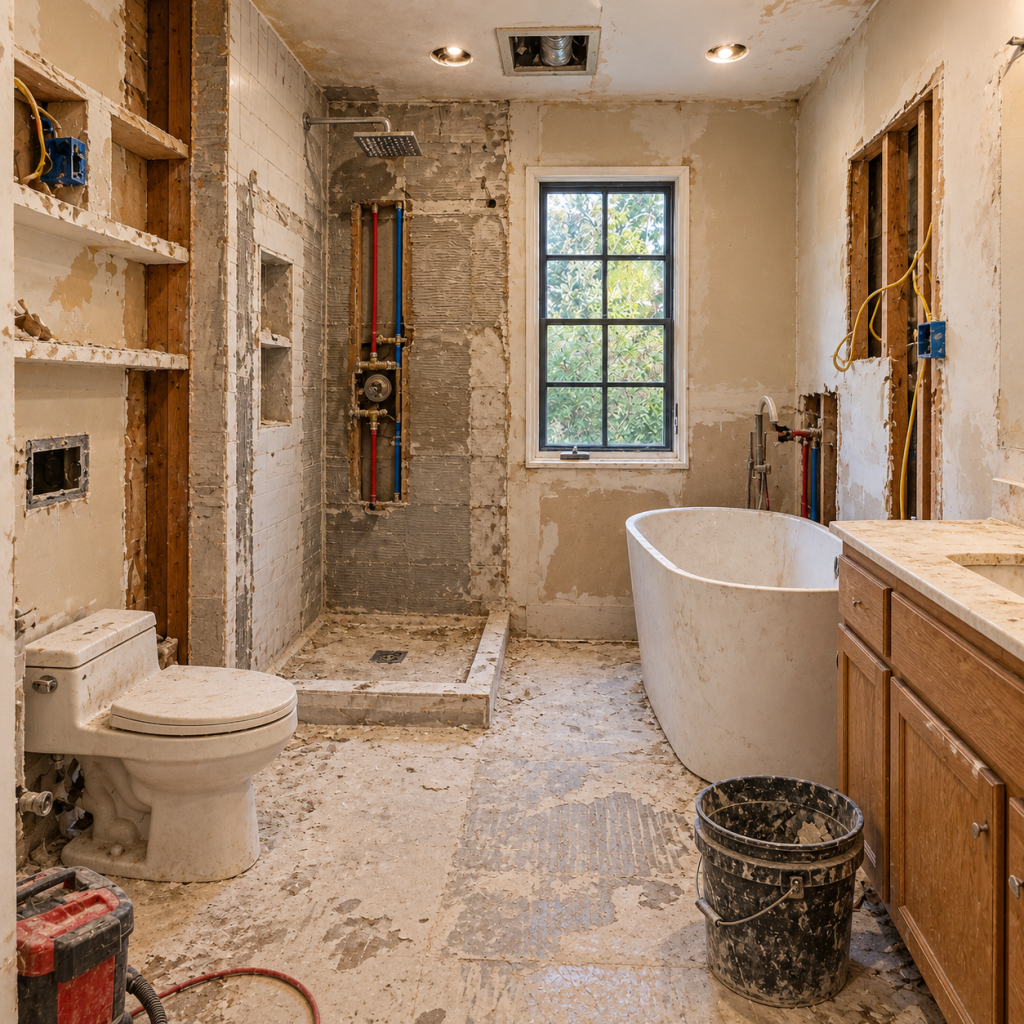
We took the first progress shot after demolition had already started. Parts of the backsplash were gone, several cabinet sections were open, and the sink plumbing was exposed. We had a $25,000 contract amount and six weeks on the schedule. That figure covered removal, rough adjustments, shaker cabinets, quartz counters, porcelain backsplash, flooring, lighting, finish work, and cleanup.
When a homeowner sends “kitchen remodel cost san jose” in the first message, I start with the footprint. Moving a sink, range, doorway, or major electrical feed changes the job quickly. Here, the expensive moves were avoidable.
People ask about the average kitchen remodel cost while I am still looking at the first room photo. I can give a range, sure. For this kitchen, I needed to know whether the cabinets cleared the window trim and where the hood duct landed. That came before the price was useful.
Same footprint
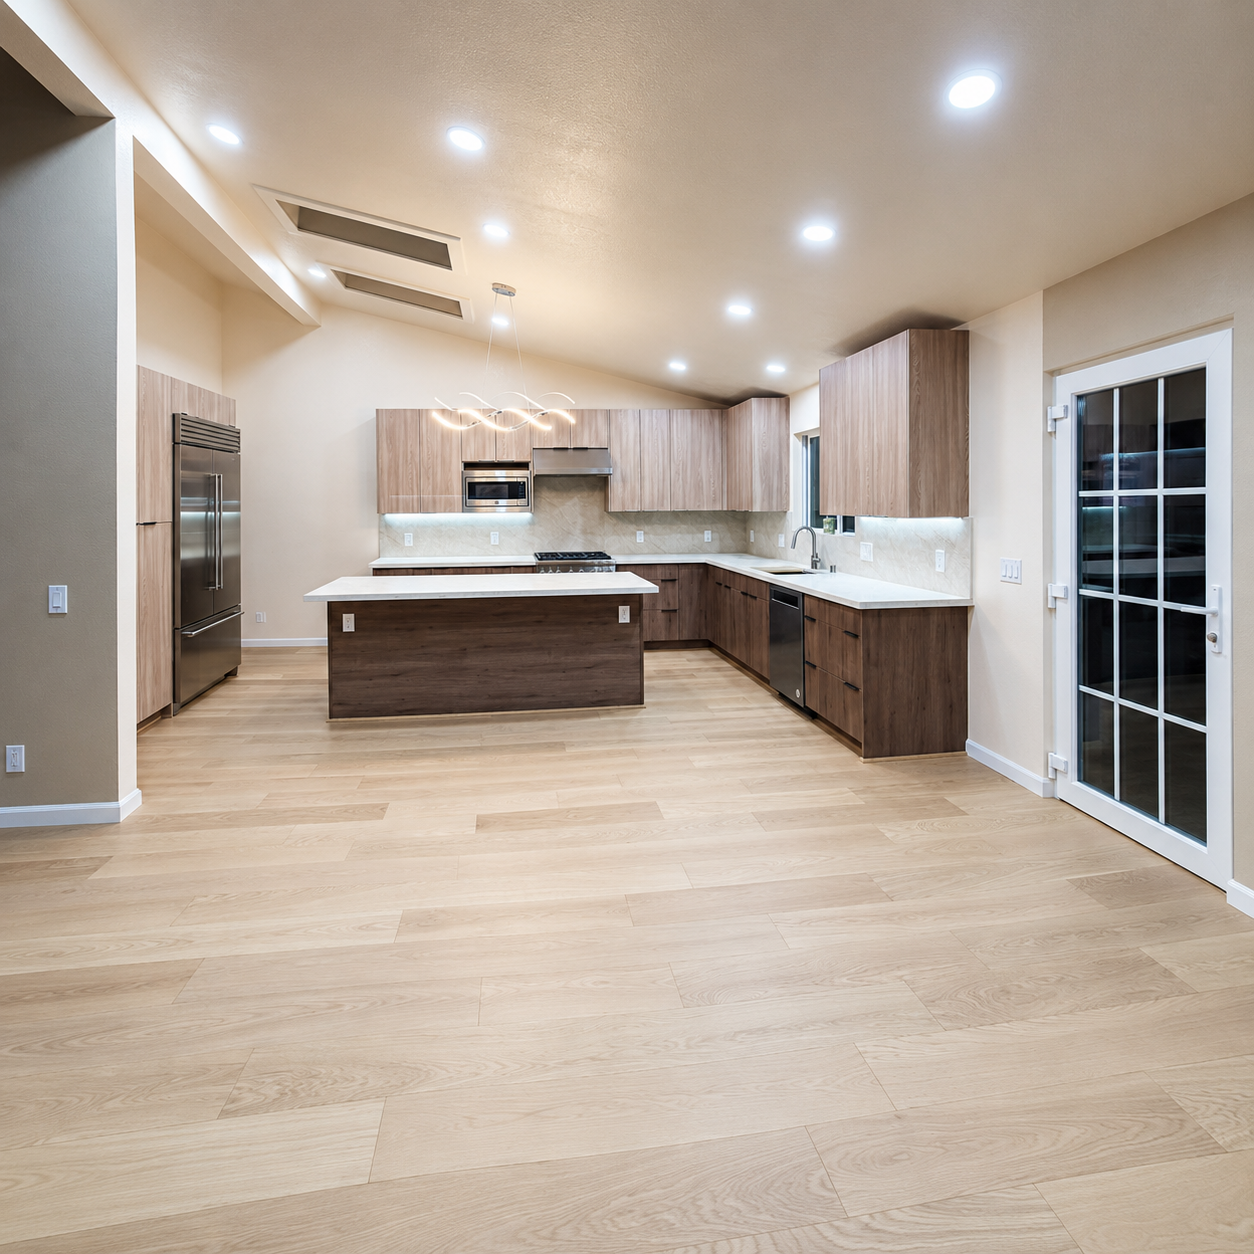
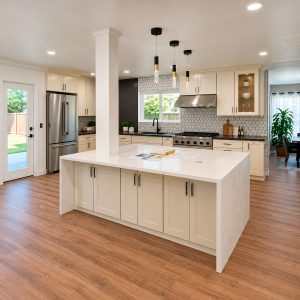
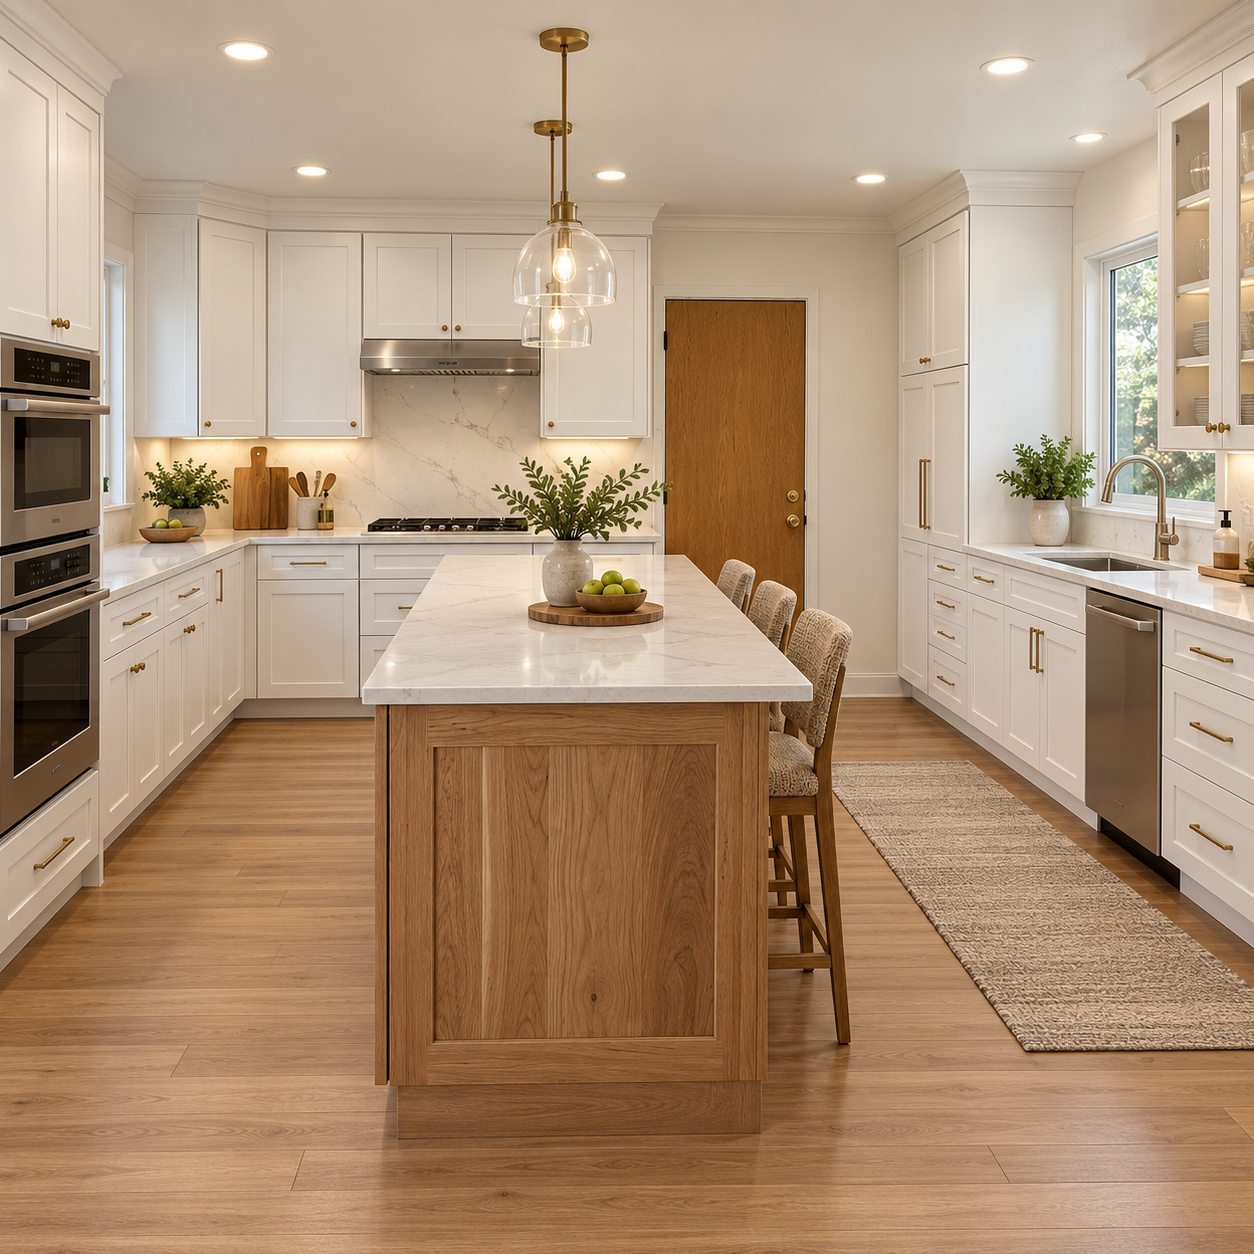
The lead came in under “kitchen remodeling san jose ca,” followed by the useful part: improve storage and workflow without enlarging the room. We kept the sink below the right window, the cooktop on the back wall, and the oven stack on the left. The back door stayed where it was.
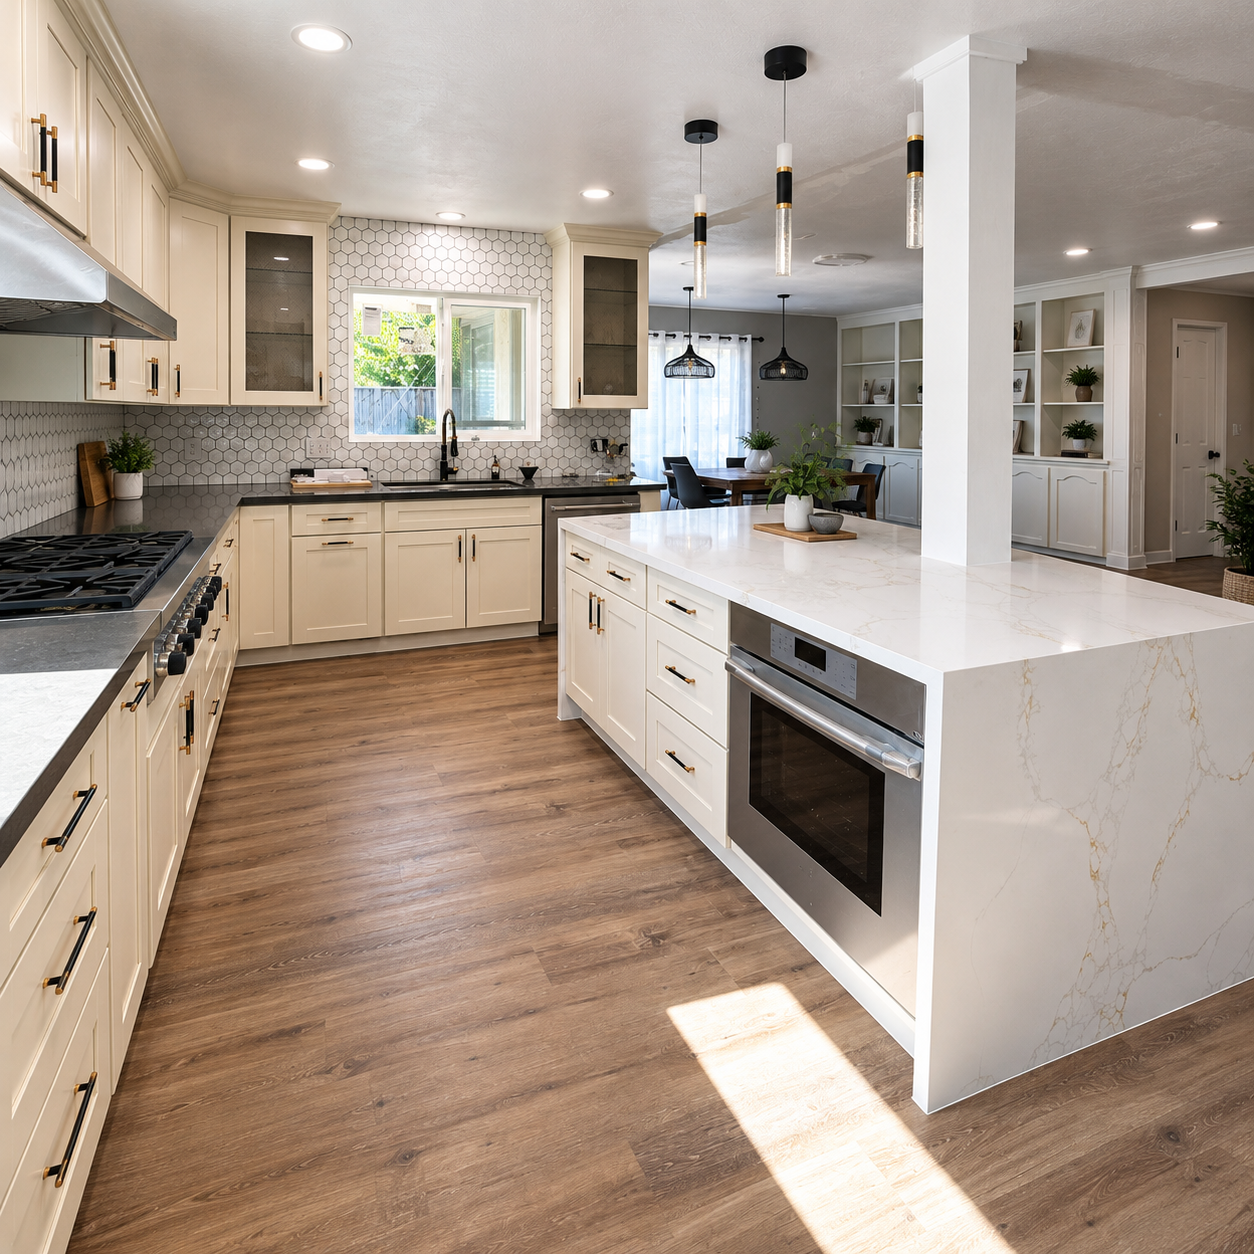
Storage improved through the cabinet plan. The new perimeter run uses more drawers, full-height pantry storage, and upper cabinets carried to the crown. We lengthened the island and added seating while keeping the working aisle open toward the sink.
Before fixing the island boxes, we stood them in place and walked the route from ovens to sink. The line on the drawing felt fine. The actual aisle was tighter once the doors and overhang were considered, so we shifted the boxes before fastening them.
Fairly normal adjustment. Much cheaper at that stage.
Open-wall work
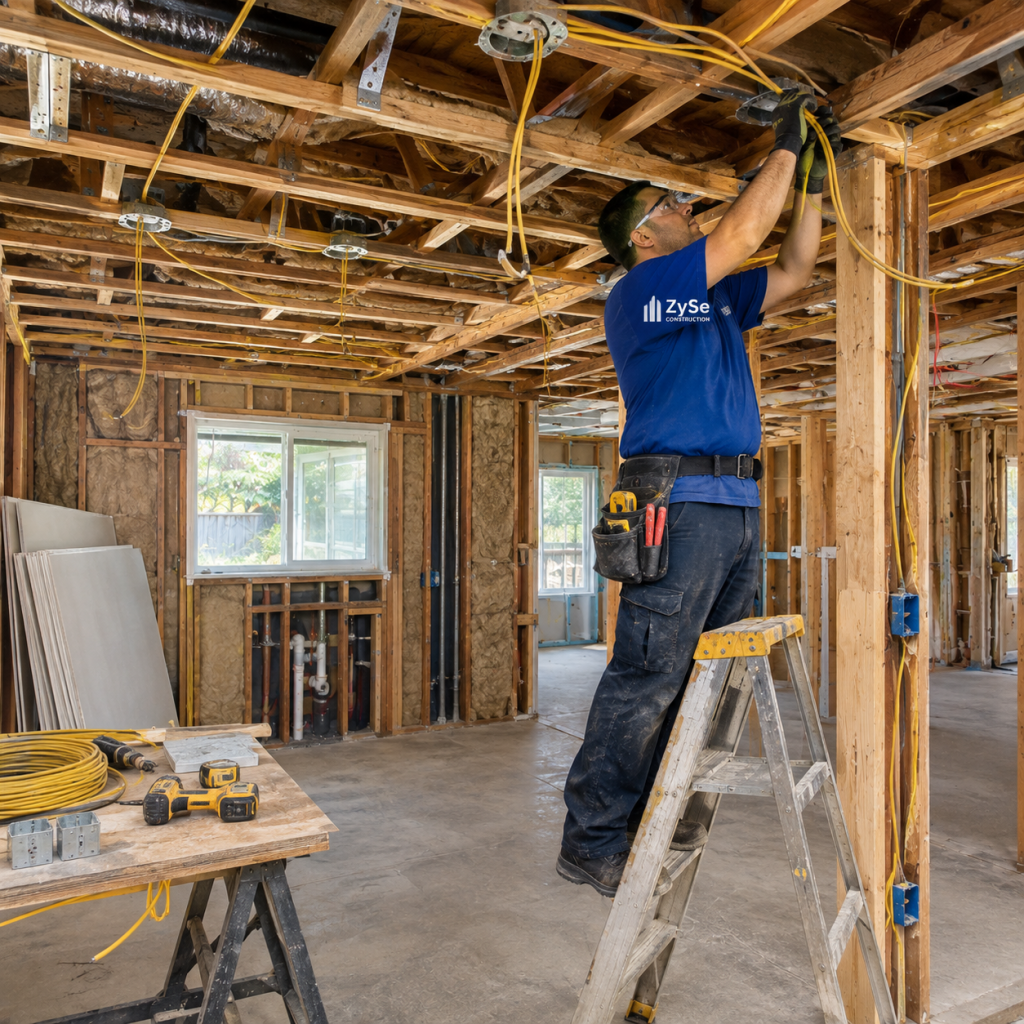
Removing the old backsplash gave us working access around the electrical boxes. Two boxes was sitting proud of the wall plane, which would have pushed the porcelain out. We reset those locations before the wall was closed and left the remaining circuits where the new cabinet plan could use them.
The old hood duct was already visible above the range. We checked its center against the cooktop and upper cabinet opening before hanging anything. The new hood stayed on that cooking wall, so we did not need a longer duct route.
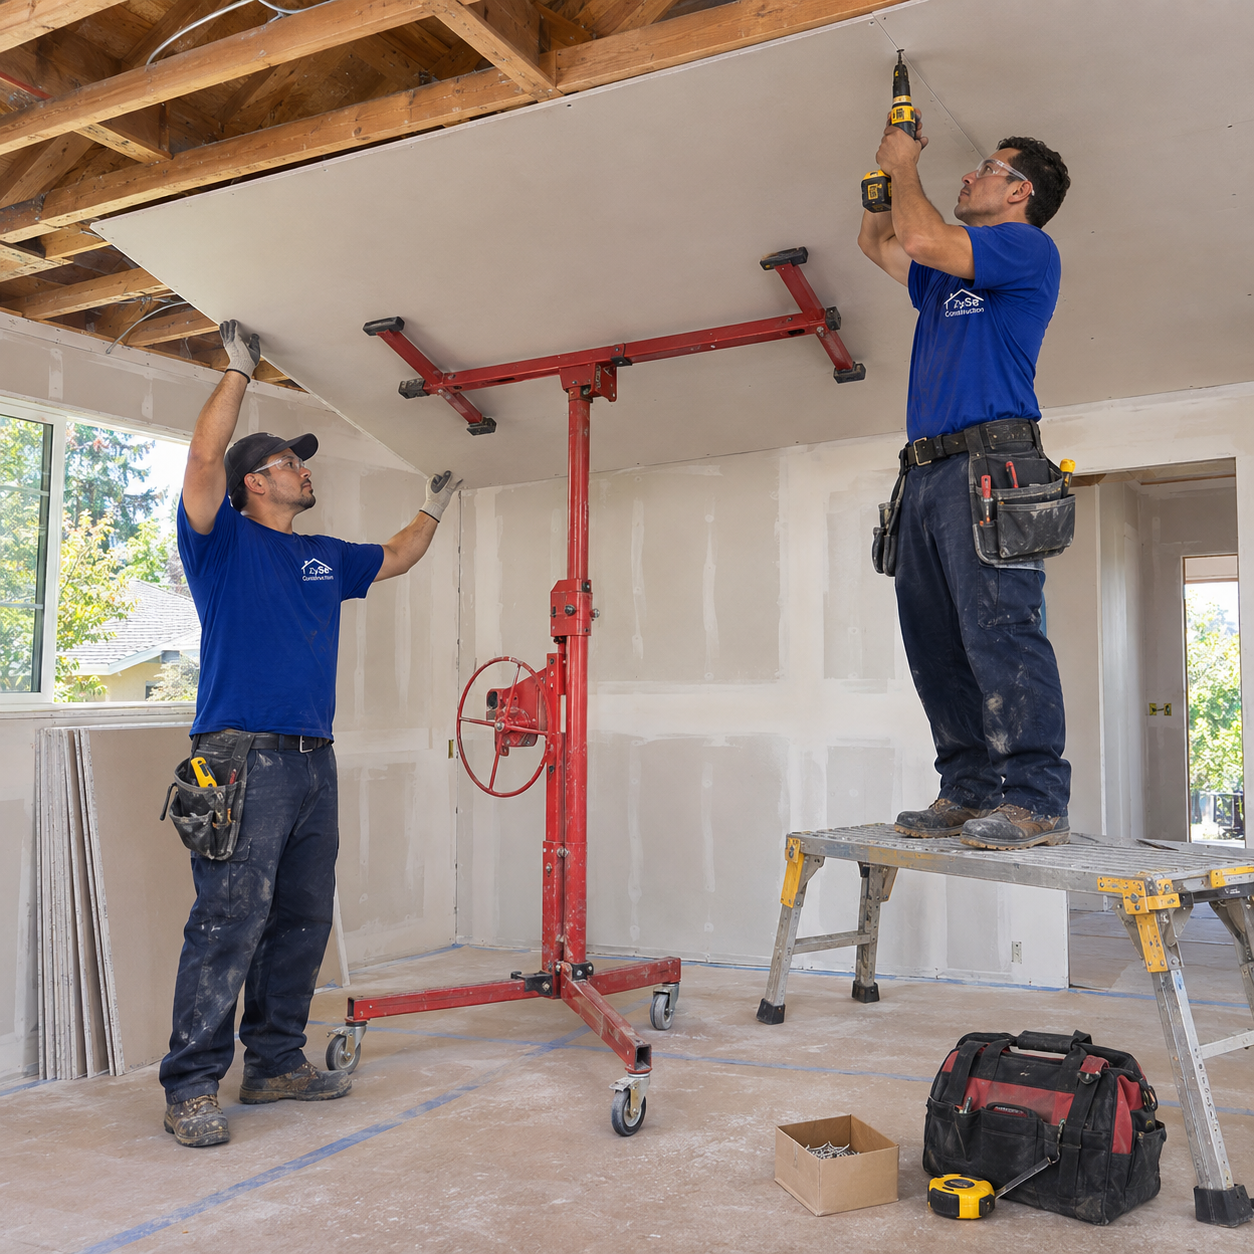
Lighting took a separate layout. The old ceiling had scattered openings and one central fixture. We marked the island first, set the pendant positions from its centerline, then filled the room with recessed light.
One pencil disappeared during that work and turned up behind the level. Nobody admitted putting it there.
Cabinets and surfaces
White shaker cabinets went around the perimeter. We used a warm wood finish on the island, which kept the center from looking like another white box. The tall pantry section also closed the loose space beside the refrigerator opening.
The drawer banks was the part that changed daily use most. Pots moved into deep drawers near the cooktop, and the sink base kept its plumbing access. One cabniet needed to come back off because its filler pinched against the window-side run. We trimmed the filler, reset the box, and checked the reveal again.
Quartz templating waited until the base cabinets and island were fixed. The fabricator checked the sink cutout, range opening, seams, and seating overhang. After the tops went in, we installed the porcelain backsplash and cut around the finished outlet positions.
Clients sometimes bring up “best kitchen remodeling companies” during an estimate. I ask them to put the scopes beside each other. One price may include countertops and cleanup. Another leaves both as allowances, usually somewhere near the bottom of the page.
Six-week handover
The last week was mostly fitting and correction. We adjusted the doors, set the hardware, finished the crown, and checked the appliance openings. Under-cabinet light showed one uneven backsplash joint, so that section got another pass. The finsh looked fine from the doorway; up close it needed ten more minutes.
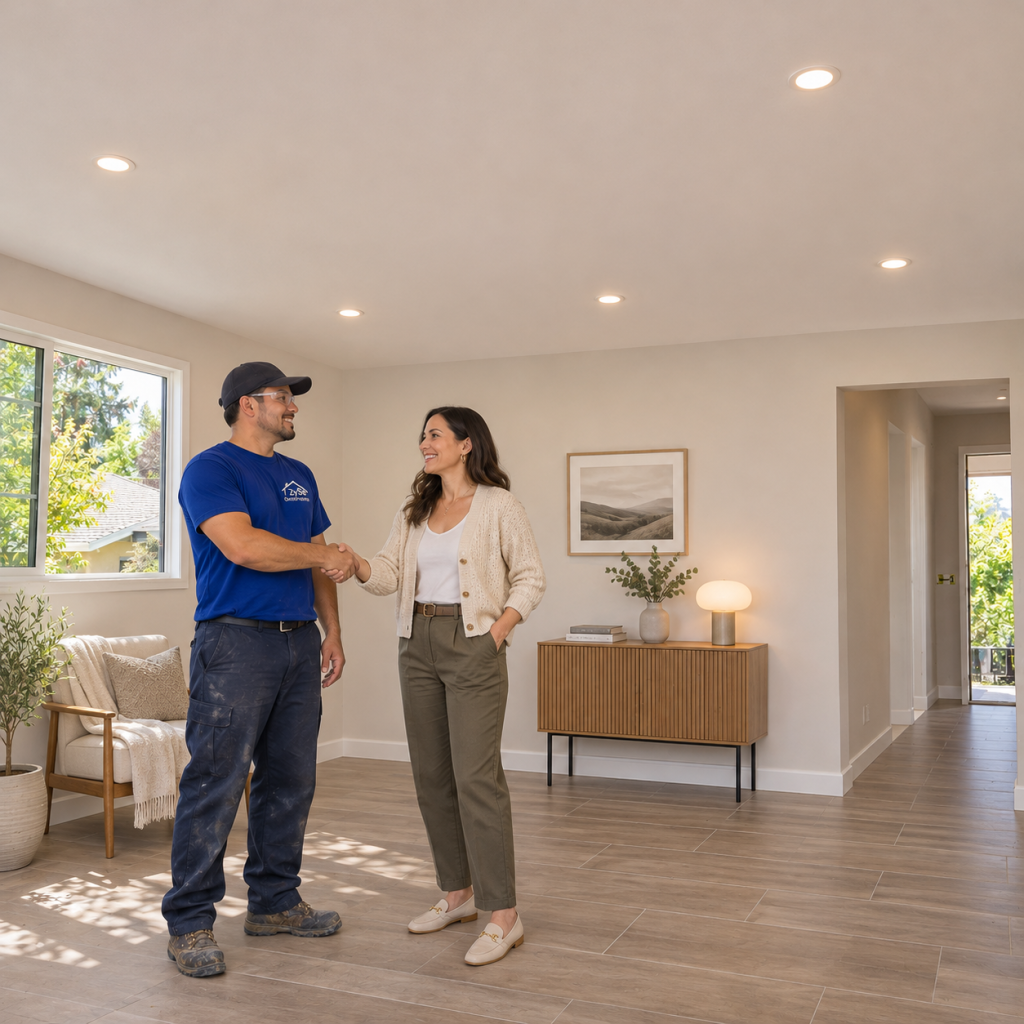
The final items was written on one sheet: two door reveals, a drawer adjustment, paint touchups, and cleanup inside the window tracks. We tested the lights, hood, faucet, drain, and cabinet doors before handover. The room stayed inside its original footprint and gained the storage and work surface the old layout was missing.
If your search started with “best kitchen remodeling companies near me,” print the quotes and mark what each one leaves out. Keep the appliance specifications with them. Bring that stack to the site visit.